
L200 L4-2.2L VIN F (2002)
Notice: Use the correct fastener in the correct location. Replacement fasteners must be the correct part number for that application. Fasteners requiring
replacement or fasteners requiring the use of thread locking compound or sealant are identified in the service procedure. Do not use paints, lubricants,
or corrosion inhibitors on fasteners or fastener joint surfaces unless specified. These coatings affect fastener torque and joint clamping force and may
damage the fastener. Use the correct tightening sequence and specifications when installing fasteners in order to avoid damage to parts and systems.
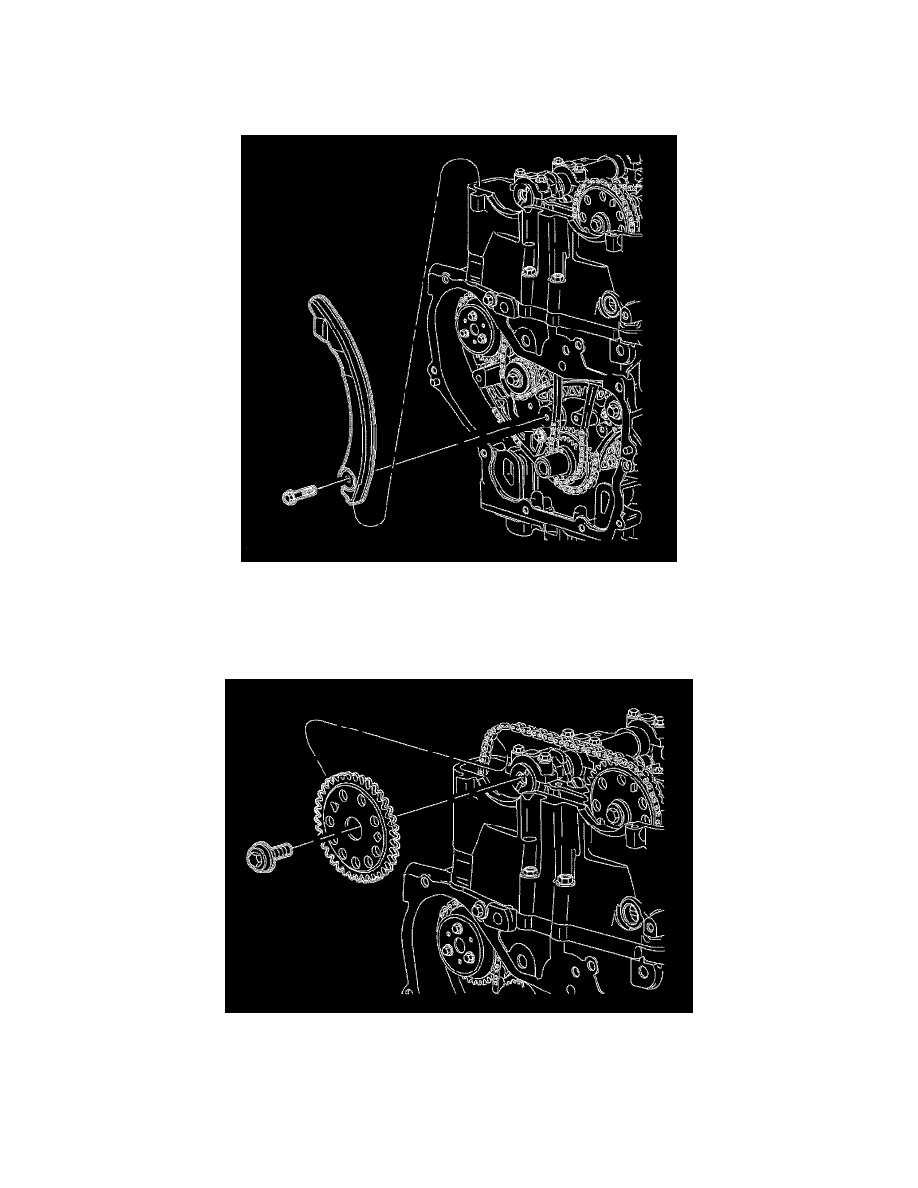
Important: There is a 2nd design adjustable guide with a contact pad for the 2nd design notched tensioner. A 2nd design guide should be used only
with 2nd design tensioner.
7. Install the adjustable timing chain guide through the opening on top of the cylinder head and install the chain guide bolt. Tighten the timing chain
guide (adjustable) bolt to 10 Nm (89 lb in).
8. Install the exhaust camshaft sprocket loosely onto the exhaust camshaft with the timing mark on the sprocket aligned with the silver link and install
the new camshaft sprocket bolt finger tight. It is not necessary to align the sprocket-to-camshaft offset notch at this time.