
L200 L4-2.2L VIN F (2002)
4.2.
Release the back end of the connector (C) and remove from the contact rail (D).
4.3.
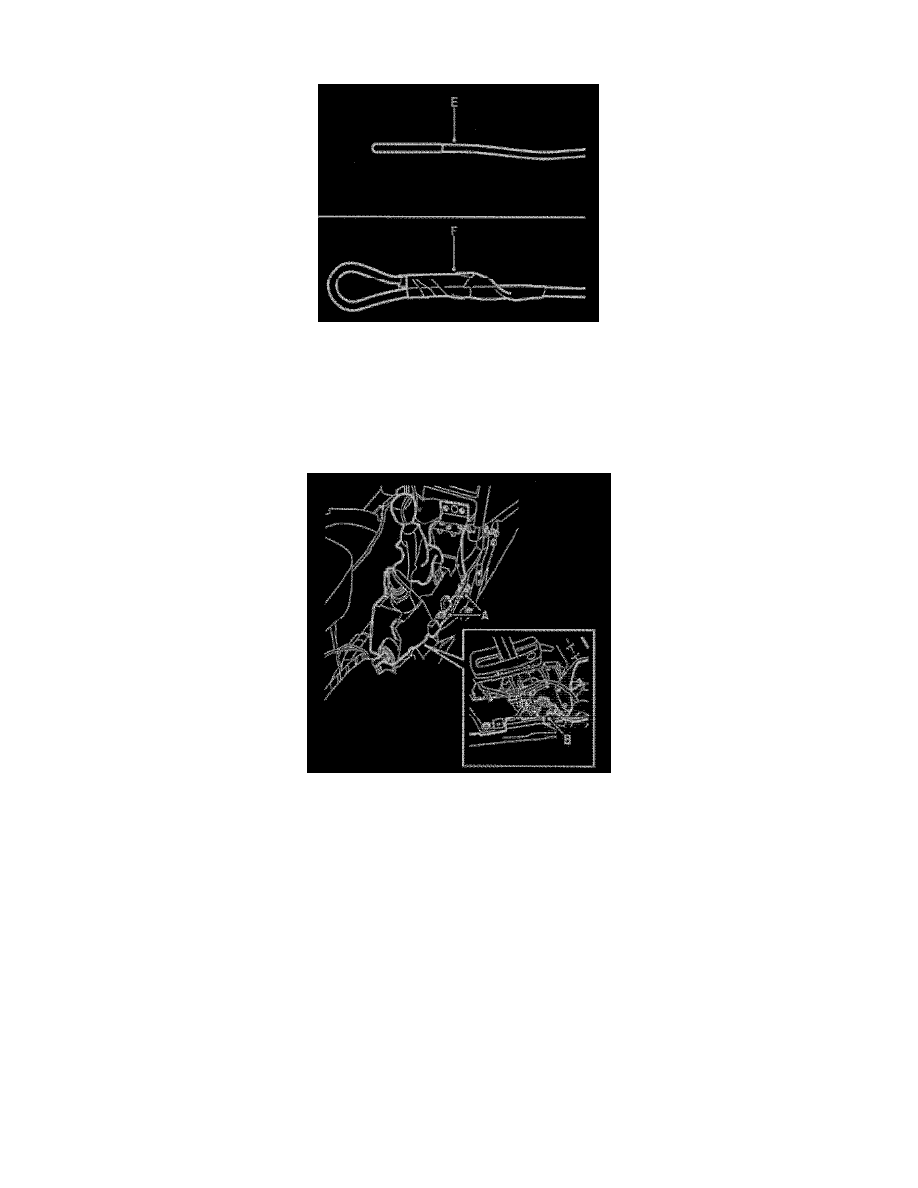
M00-01: Disconnect pin 39, cut off the cable terminal and insulate the end using tape (E). Fold back the cable and secure using tape (F).
4.4.
M02-04: Disconnect pin 58, cut off the cable terminal and insulate the end using tape (E). Fold back the cable and secure using tape (F).
4.5.
Assemble the contact rail and end.
4.6.
Connect connector (A) and secure the cable using a cable tie (B).
5.
Assemble the gear shift housing (A).
AUT: Connect connector (B).
6.
Assemble the center console, see WIS - Body - Interior.
7.
Remove the OnStar(R) control module and secure the cable harness:
7.1.
5D: Remove the right-hand cover from the luggage compartment floor.