
L200 L4-2.2L VIN F (2002)
2. Start at rear of vehicle and install inflator head to structure mounting studs.
3. Hand start nuts onto studs.
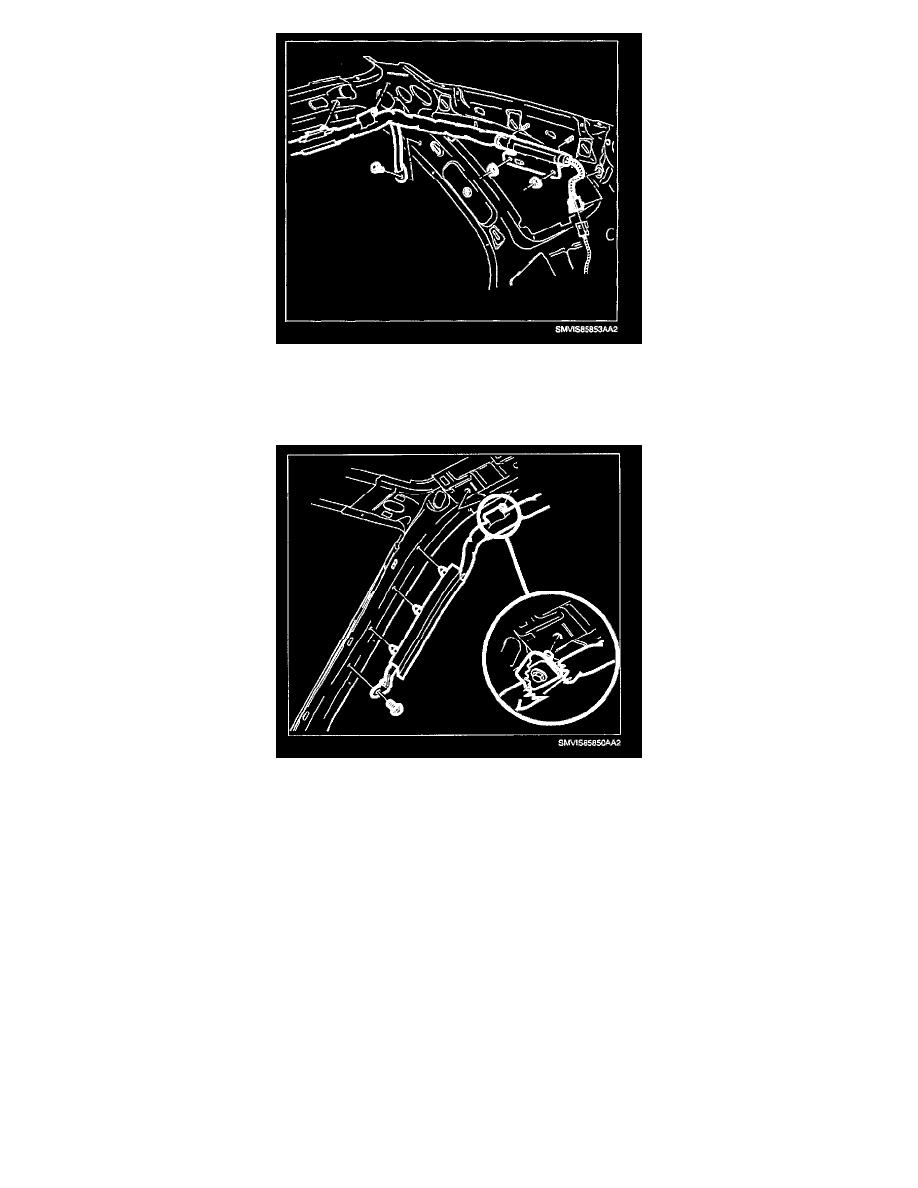
4. Working from the rear of vehicle forward, install retaining tabs to structure to hold inflator assembly to vehicle. The stripe on the inflator module
should be used as a guide to insure inflator is not twisted.
5. Install inflator fasteners and torque fasteners.
Torque:
Curtain Inflator Retaining Bolt (10 mm hex Head): 10 N.m (89 in-lbs)
Torque:
Curtain Inflator Retaining Nut (10 mm Hex Head): 10 N.m (89 in-lbs)
Torque:
Curtain Inflator Retaining Screw (7 mm Hex Head): 2.5 N.m (22 in-lbs)
6. Install headliner and garnish moldings.
7. Enable the SIR system. Refer to Air Bag(s) Arming and Disarming.
Curtain Inflator Modules (Air Bag) (If Equipped) - Wagon 1
CAUTION: SIR SYSTEM SHOULD BE DISABLED BEFORE REMOVAL OF INFLATOR. THE INFLATOR MUST BE DISPOSED OF
PROPERLY. ALL INTERIOR GARNISH MOLDING SNAP-IN CLIPS MUST BE REPLACED WHEN TRIM IS REMOVED FROM THE
VEHICLE. TWISTING OF THE INFLATOR MUST NOT BE ALLOWED.
REMOVAL