
L200 L4-2.2L VIN F (2002)
NOTICE: In order to prevent damage to axle shaft splines during vehicle operation, add grease (P/N 7847638) to axle shaft splines prior to axle shaft
installation.
10. Install a new axle retaining clip on output shaft of transaxle. Untie left axle shaft and install axle shaft into transaxle.
11. Install frame assembly.
12. Lower vehicle.
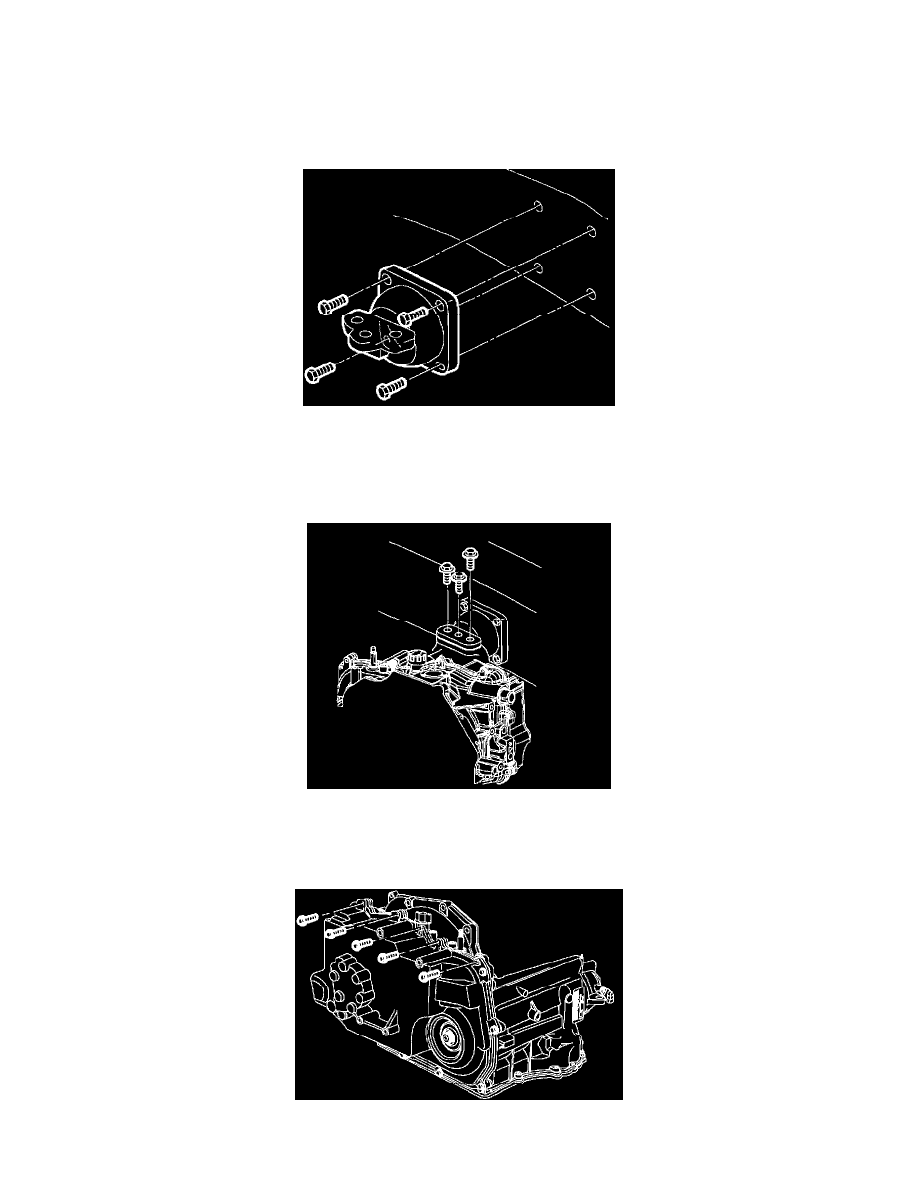
13. Install left transaxle mount to engine compartment rail.
Torque:
Transaxle Mount (Left)-to-Engine Compartment Rail Bolts: 20 Nm (15 ft. lbs.)
NOTICE: If the powertrain mount is not reinstalled in its original position, it could lead to premature mount wear.
14. Reference alignment marks made during disassembly and install left transaxle mount bolts.
Torque:
Transaxle Mount (Left)-to-Transaxle Mount Bracket Bolts: 55 Nm (41 ft. lbs.)
15. Remove engine support bar assembly.
16. Install upper transaxle side cover fasteners.
Torque: