
L300 V6-3.0L VIN R (2001)
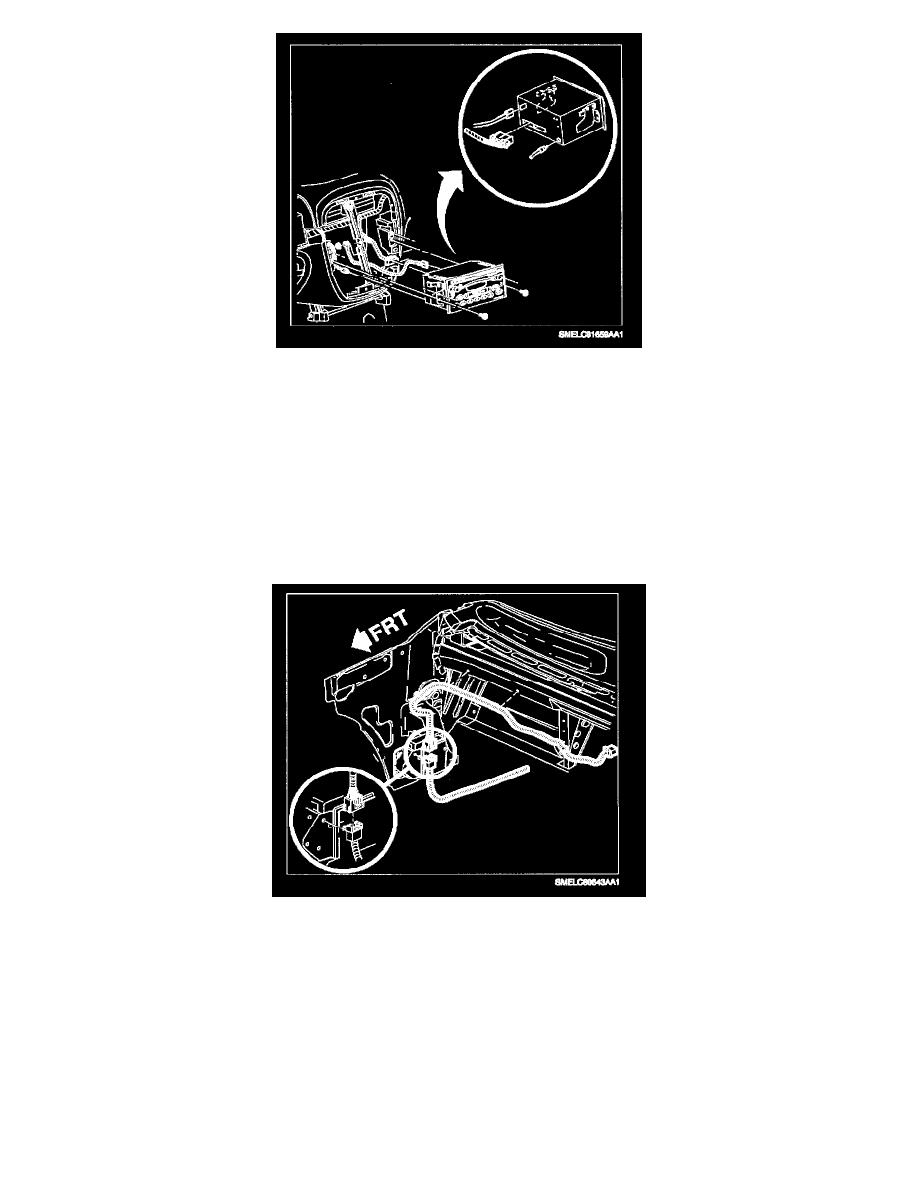
14. Gain access to rear of radio and connect CD I/P harness to radio.
IMPORTANT: I/P harness connector, antenna connector, and ground strap terminal do not need to be disconnected, unless the radio needs to be
upgraded. Ensure connection.
14.1 Remove radio.
14.2 Upgrade radio (if necessary) to AM/FM stereo cassette player with equalizer (UL0) or AM/FM stereo cassette player and CD player with
equalizer (UP0).
14.3 Connect I/P CD jumper connector to rear of radio.
IMPORTANT: Do not secure radio or trim in place until CD changer/player is installed and verified to be functioning correctly.
14.4 Set radio into radio brace.
15. Route I/P CD jumper from rear of radio to Right I/P Fuse Block.
15.1 Route I/P CD jumper behind right side of radio to right of H-Brace, along side of current routing for I/P harness.
15.2 Attach the I/P CD jumper to I/P lead that connects to radio using buddy clip on harness to hold jumper in place.
15.3 Route I/P CD jumper along I/P beam and attach fir tree clips to vertical side of beam forward in car. These clips are located just below
current routing for the UP harness in area above the glove compartment bin.
15.4 Route I/P CD jumper the rest of the way to Right I/P Fuse Block area.
Body CD Jumper Installation