
L300 V6-3.0L VIN R (2001)
Important: Shake the glass primer (Black #2) well before using.
4. With a new dauber, apply the glass primer (Black #2) around the entire perimeter over Clear #1. Allow the primer to dry 5 minutes.
The primer are minimum width (A) is 18 mm (0.71 in).
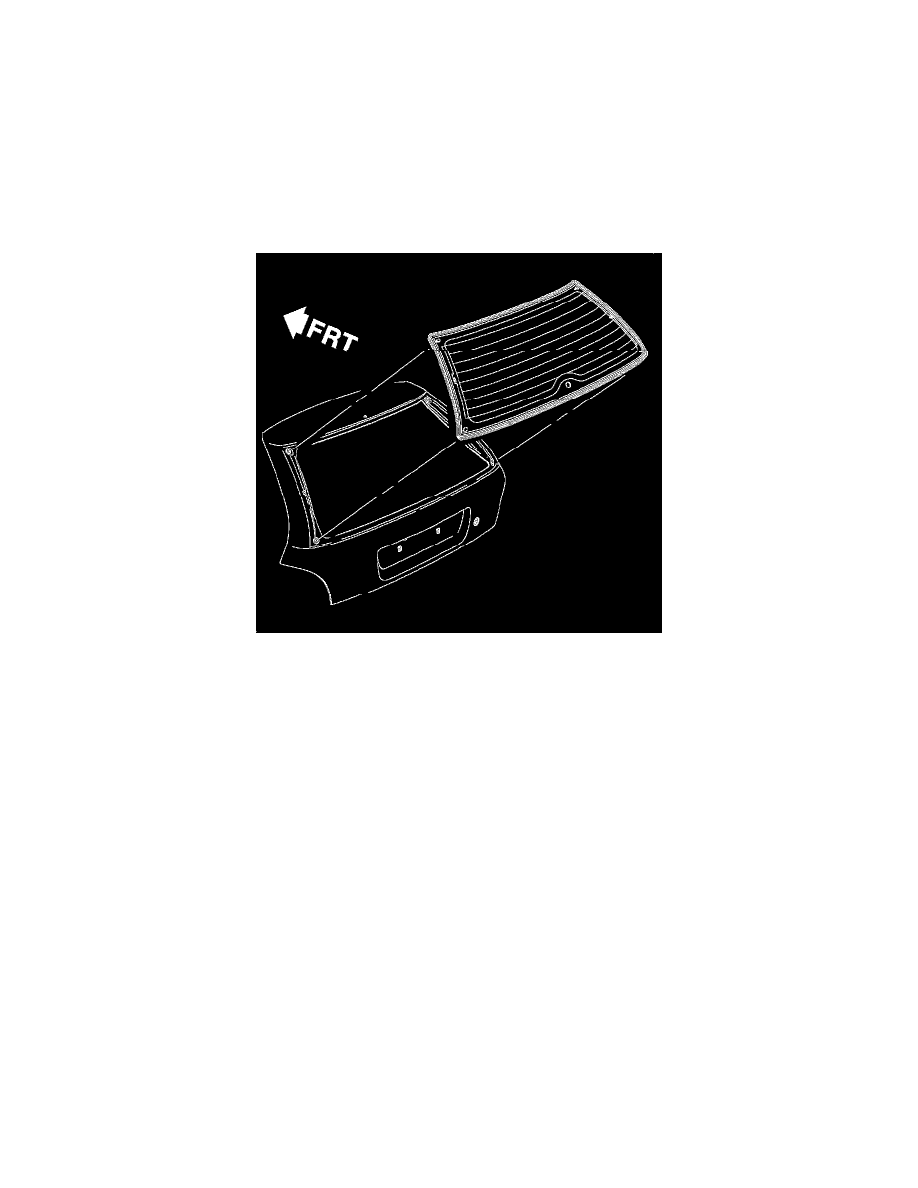
5. Apply a smooth continuous bead of urethane adhesive around the perimeter of the lift gate glass. Apply the urethane up to the edge of the
encapsulated molding.
*
The bead dimension for the minimum width (B) is 8 mm (0.32 in).
*
The bead dimension for the minimum height (C) is 14 mm (0.55 in).
6. With the aid of an assistant, align the window assembly onto the wiper module shaft. Press the glass firmly around the perimeter of the wiper
module shaft and glass to wet-out and set the adhesive. Use care to avoid excessive squeeze out which would cause an appearance problem. Use
tape from the glass to the lift gate to hold in position until the urethane adhesive is cured.
Notice: Until the new urethane has cured, air pressure from a closing door may cause the glass to move. To prevent this, lower the opposite side
door window a minimum of 76 mm (3 in) before closing the door.
7. Watertest the vehicle using a soft spray. Use warm or hot water if available. Do not direct a hard stream of water at the fresh adhesive material.
Water applied on top of the urethane adhesive, either during watertest or part of a separate operation, will speed up the cure of the urethane.
8. Inspect for leaks from inside the vehicle. Paddle in extra adhesive at the leak points using a tongue depressor or similar flat flexible tool.