
L300 V6-3.0L VIN R (2001)
11.
Using Saturn approved crimp and seal splice sleeve (found in special tools kit J44020), position stripped ends of wires in sleeve until wires hit
stop.
12.
Hand crimp splice sleeve using appropriate crimping tool. Gently tug on wires after crimping to ensure they are secure.
CAUTION:
DO NOT USE A MATCH OR OPEN FLAME TO APPLY HEAT TO SPLICE SLEEVE.
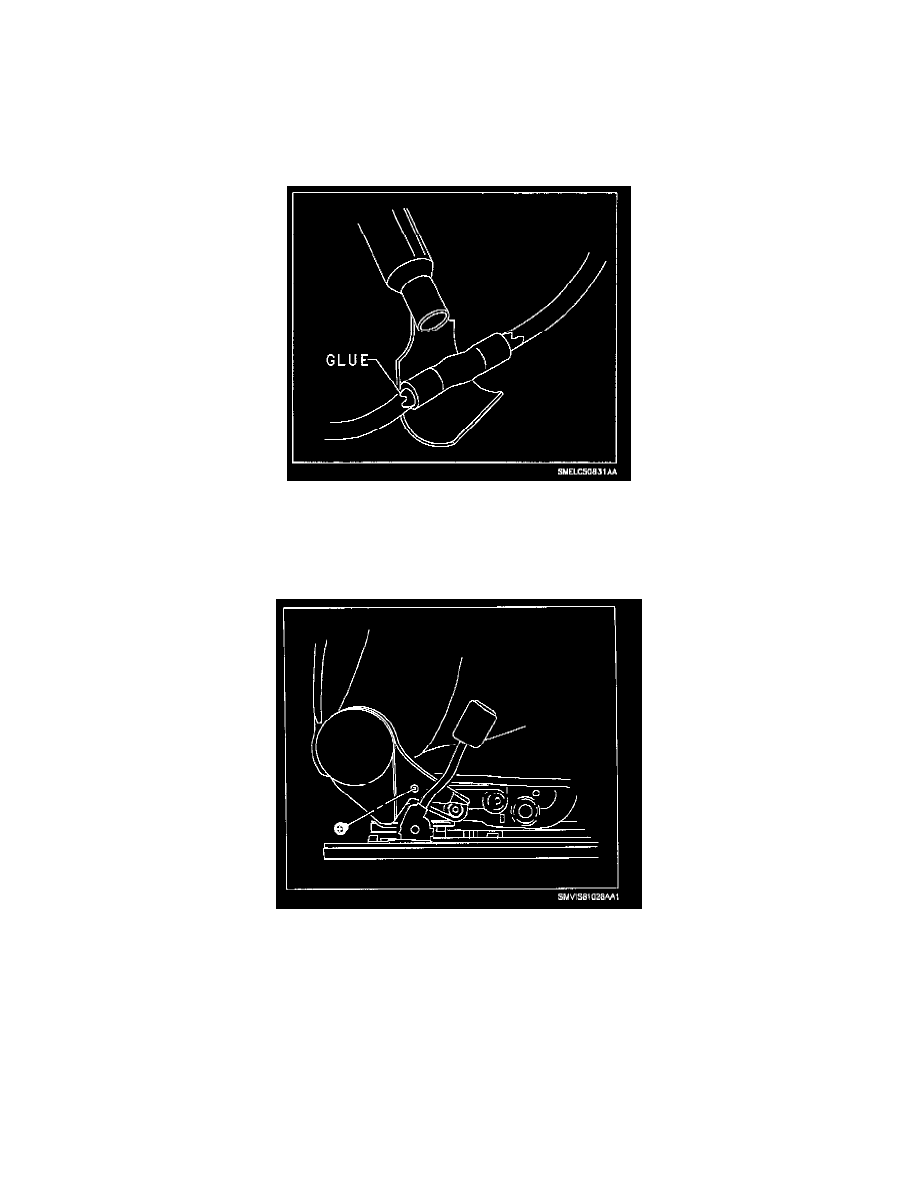
13.
Apply heat using Ultratourch(R) (or equivalent) device, heating to 175°C (347°F) until glue flows around edges of sleeve.
14.
Check repaired wire(s) continuity and verify proper repair.
15.
Tape wiring harness with electrical tape to prevent the possibility of future chafing.
16.
Install seat back cover. (Refer to "Front Seat Back Frame/Pad/Cover" installation procedure in the Seats section of the 2001 L-Series
Body/Electrical Volume II Service Manual.)
17.
Install inner recliner cover and fasteners.
Torque:
Inner Recliner Cover Screw: 2.5 Nm (22 in-lbs)
18.
Install driver's side seat. (Refer to "Front Seat" installation procedure in the Seats section of the 2001 L-Series Body/Electrical Volume II Service
Manual.)
19.
Connect negative battery cable.