
L300 V6-3.0L VIN R (2001)
Important: When drilling the two outer holes, make sure that the drill bit does not come in contact with the quarter panel.
9. Drill 2 outer holes 10 mm (13/32 in).
10. Clean the metal shavings from the vehicle.
11. Position the spoiler onto the rear compartment lid to ensure the proper fit of the studs into the holes.
12. Touch-up the paint the in the drilled holes.
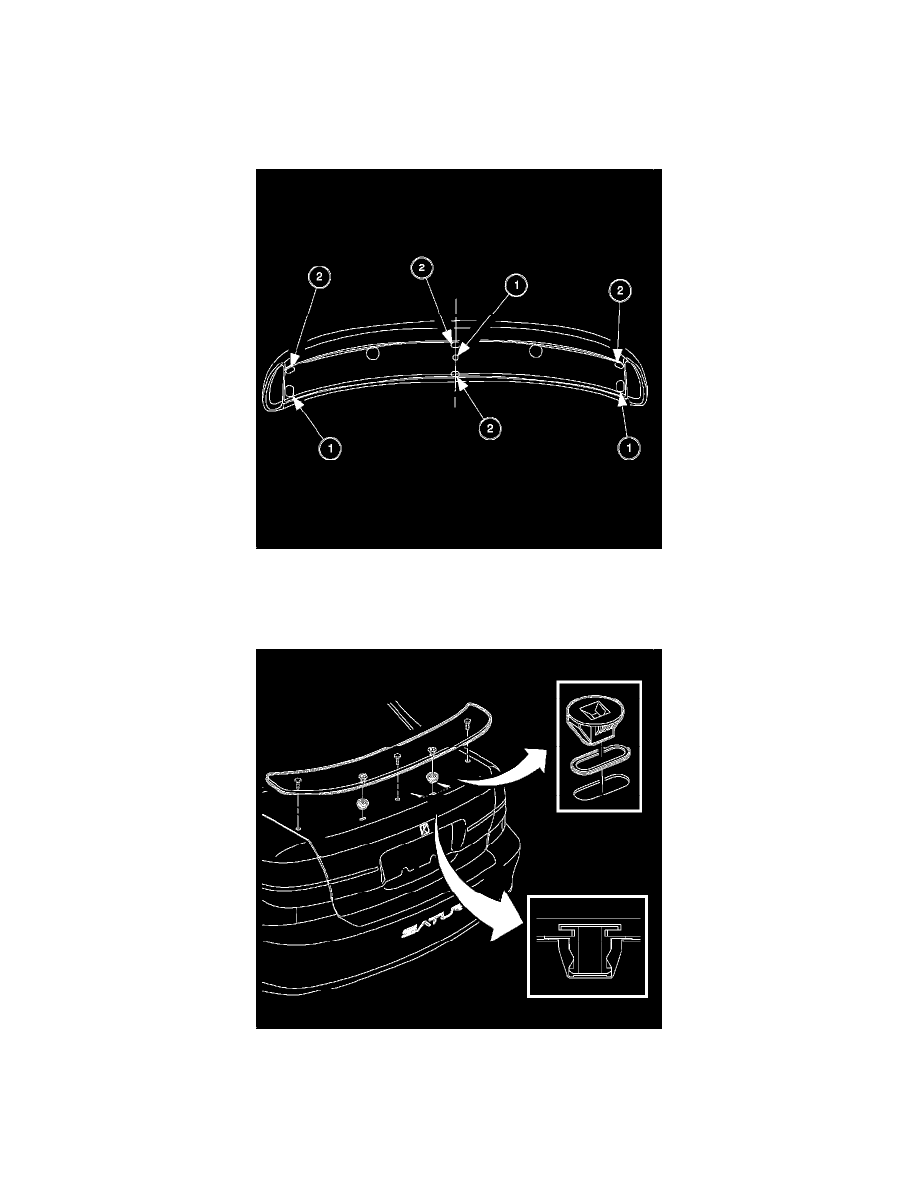
13. Install the gaskets onto the spoiler. The illustration shows the locations where the gaskets are applied after the spoiler is painted. Callout (1)
represents 3 foam gaskets which are installed around the mounting studs. Callout (2) represents the location where 4 rubber anti-rattle pads are
mounted.
14. Install the plastic retainer clips to the spoiler studs.
Important: Holes in the compartment lid must be sealed with an integral gasket and pre-sealed fasteners.
15. Install the spoiler to the rear compartment lid and push down on the spoiler directly over the area where the plastic retainer clips are located.
Ensure that the plastic retainer clips are securely locked in the hole before attempting to open the compartment.
16. Carefully open the compartment.