L300 V6-3.0L VIN R (2001)

3.
Remove rear window assembly. (Refer to "Rear Window Assembly - Sedan" removal procedure in the Stationary Glass section of the 2000 - 2001
or 2002 L-Series Body/Electrical Volume I Service Manual.)
4.
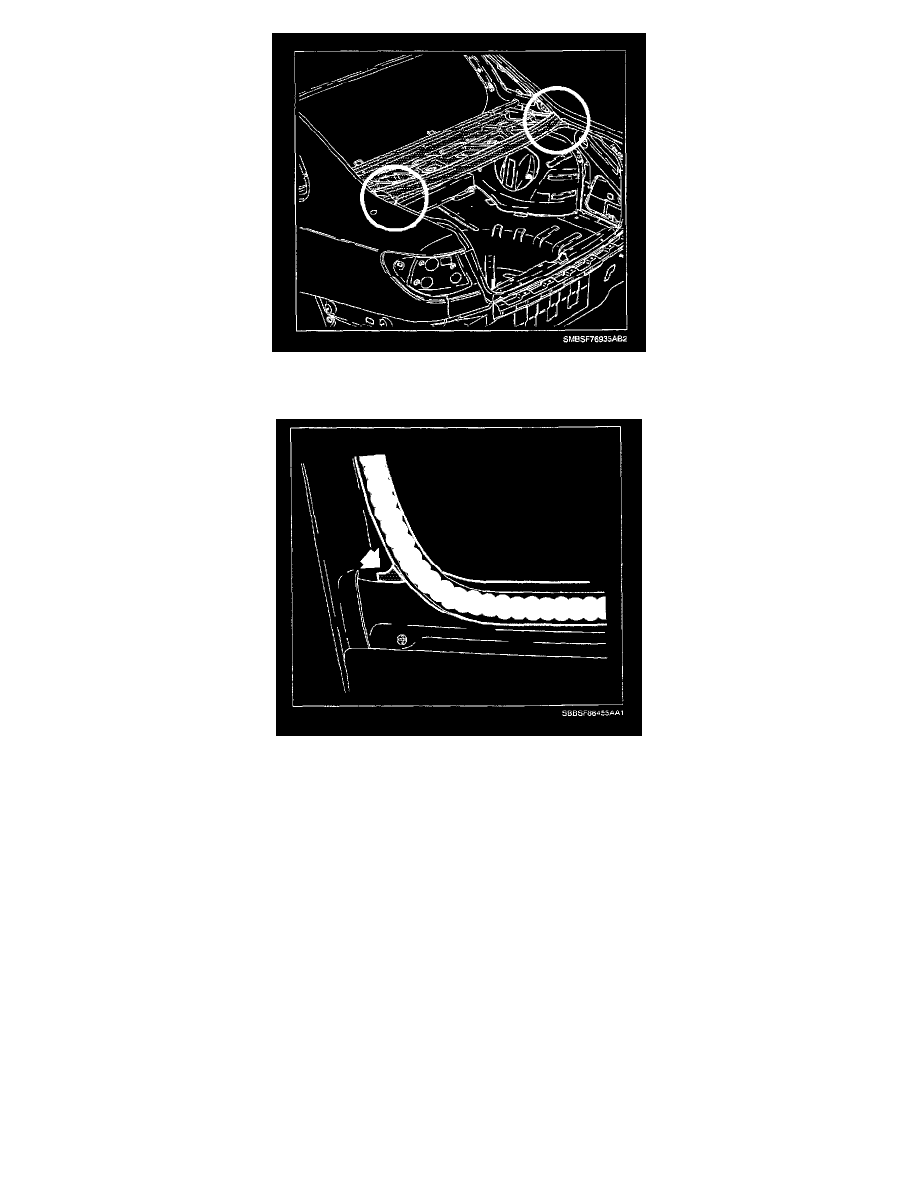
Carefully inspect the lower corners for a void in the urethane bead where the side vertical weld flange meets the lower horizontal weld flange. Also
check for a void between the vertical and horizontal flanges, outboard of the urethane bead.
IMPORTANT:
Any sealer voids detected should be resealed using urethane during glass installation.
5.
Install rear window assembly. (Refer to "Rear Window Assembly - Sedan" installation procedure in the Stationary Glass section of the 2000 -
2001 or 2002 L-Series Body/Electrical Volume I Service Manual.)
6.
Water test the area to verify the repair.
7.
Inspect for water entry from inside the rear compartment, at the rear shelf panel.
REAR COMPARTMENT -
WEATHERSTRIP MOUNTING FLANGE
SEAL (SEDAN ONLY)
1.
With the rear compartment lid open use a garden hose with an unrestricted (no nozzle) flow of water, direct water flow at the weatherstrip
mounting flange seal.
2.
Inspect for water entering the rear compartment under the weatherstrip.
3.
Remove the weatherstrip completely from the mounting flange.
