L300 V6-3.0L VIN R (2001)

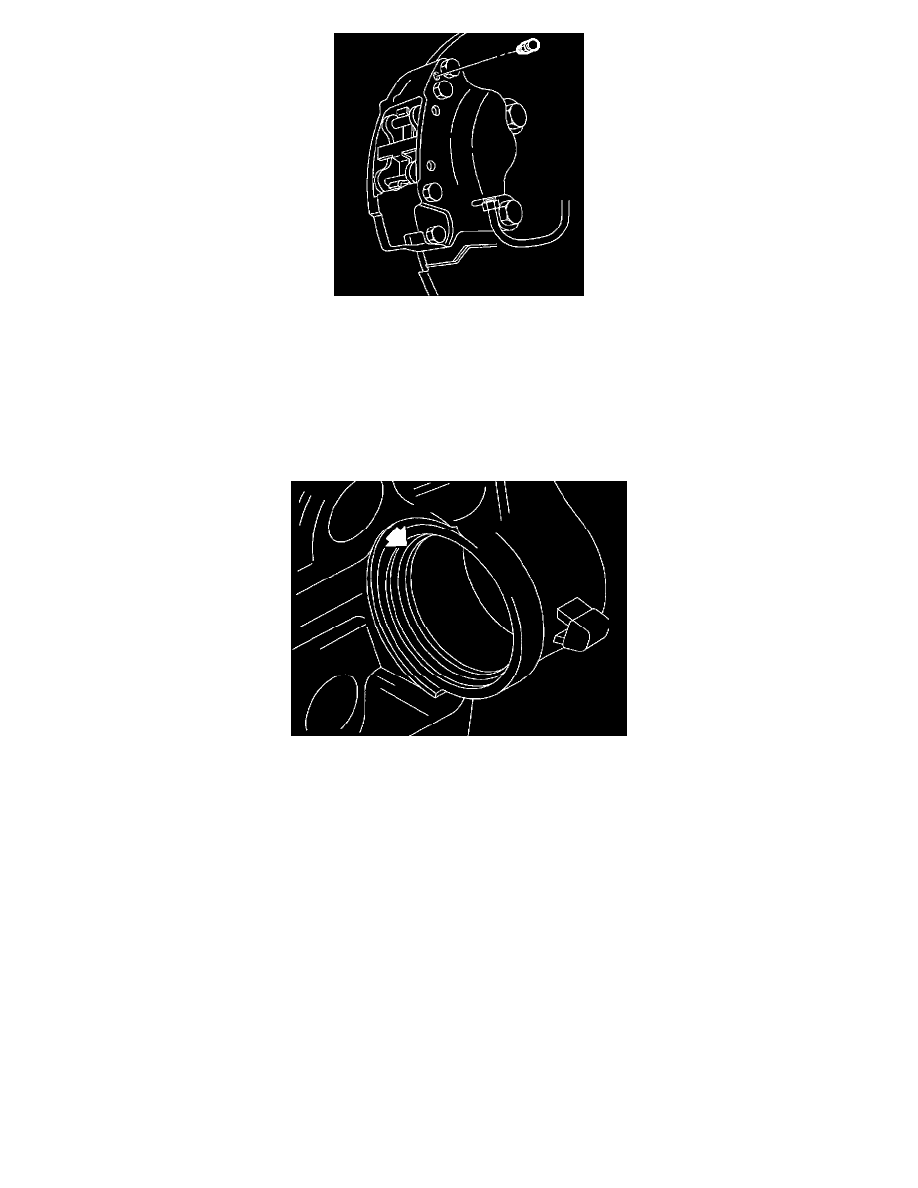
5. Remove bleeder valve and bleeder valve cap from caliper assembly.
6. Clean all parts in clean denatured alcohol. Dry with non-lubricated, low pressure, compressed air. Make sure to blow out all passages in caliper
body and bleeder valve.
7. Inspect piston for scoring, nicks, cracks, wear or corrosion. Replace piston if any damage is found.
IMPORTANT: Do not hone caliper bore.
8. Inspect caliper body piston bore for scoring, nicks, wear or corrosion. Crocus cloth can be used to remove light corrosion. If more extensive
damage is present, replace the caliper.
9. Inspect seal groove in caliper for nicks or burrs. If present, replace caliper.
ASSEMBLY
1. Install bleeder valve and cap into caliper assembly.
Torque: Rear Caliper Bleeder Valve: 6 Nm (53 inch lbs.)
NOTICE: Make sure seal is not twisted in the groove.
2. Lubricate new piston seal with clean brake fluid and install into caliper seal groove.
3. Insert piston boot into caliper groove.
IMPORTANT: Make sure that piston boot is smoothly seated in counter bore of caliper body. Piston face has a notched surface cap. Position
relief notch toward bottom side of caliper.
