
L300 V6-3.0L VIN R (2001)
3. Place new A/C compressor on a clean work bench with the high and low side ports in an upright position.
4. With A/C compressor high and low side ports in an upright position, slowly remove the high side cap retaining bolt to release the nitrogen (N2)
charge.
5. Remove high and low side caps. (Install high and low side caps on A/C compressor removed from vehicle, to prevent any oil from leaking Out
when A/C compressor is being shipped.)
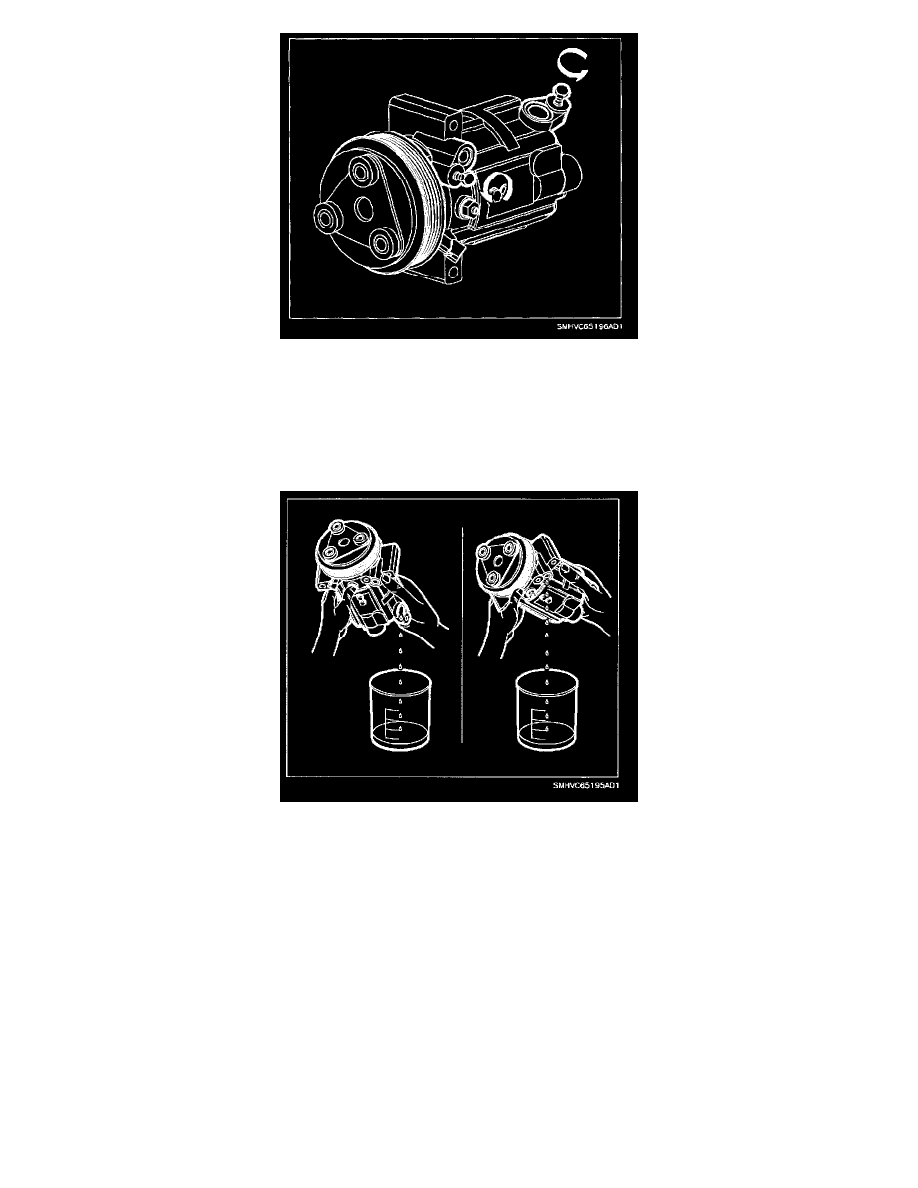
IMPORTANT: Oil drained from the new A/C compressor can be installed if drained into a clean, dry container.
6. Drain the oil from the new A/C compressor into a clean, dry container.
6.1 Position the A/C compressor to drain from the high side port first.
6.2 Move the A/C compressor to different positions to remove all the oil possible.
6.3 Turn the A/C compressor over to drain the oil from the low side port.
6.4 Rotate the A/C compressor drive plate in both directions to remove the oil from the A/C compressor chambers.
6.5 Stop oil draining when the oil coming from the low and high side ports becomes only drops.
7. Add the recorded amount of oil drained from the removed A/C compressor (measurement amount was obtained in step 2.6), and the amount of oil
lost during the recovery process to the new A/C compressor.
8. Install A/C compressor into vehicle.