
L300 V6-30L VIN R (2001) Refrigerant Component Service and Repair
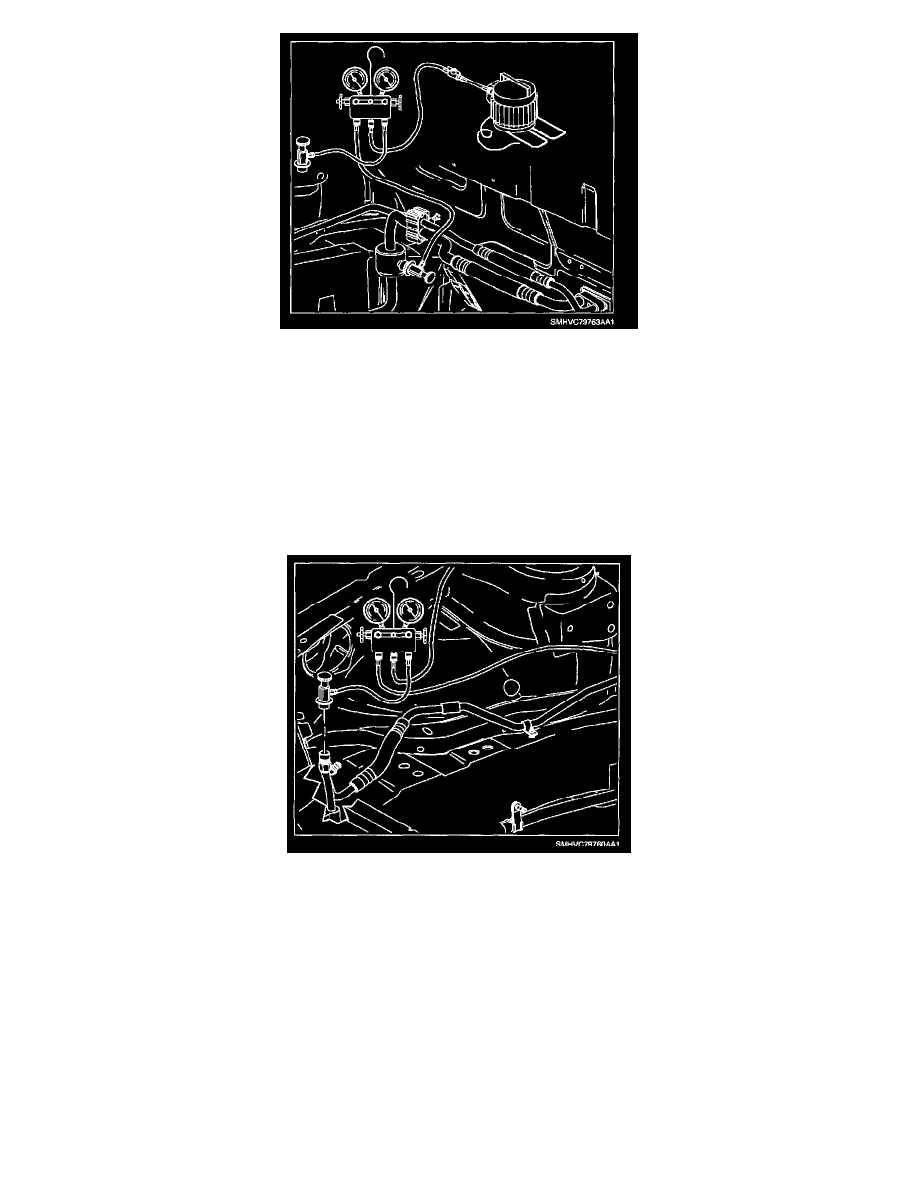
1. Connect refrigerant recovery and recycling station to high and low side service ports. Pull vacuum on system and evacuate for 20-30 minutes.
Note vacuum gauge reading.
2. Close high and low side service valves.
3. Watch low side gauge for vacuum loss (1 to 3 minutes).
^
If loss is less than 3.38 kPa (1 in. Hg) from level recorded in Step 1, proceed to charging the A/C system.
^
If vacuum loss is greater than 3.38 kPa (1 in. Hg) from level recorded in Step 1, charge with 0.23 kg (1/2 lb.) R-134a. Leak test, repair leaks,
and re-test.
IMPORTANT: Disconnect high side service valve from service port and check for vacuum loss before leak testing.
Charging the A/C System
IMPORTANT: Disconnect high side service valve from service port and check for vacuum loss before leak testing.
1. Open R-134a source valve(s) and allow 0.50 kg (1.10 lb.) of liquid R-134a to flow into system through low side service fitting.
2. As soon as 0.50 kg (1,10 lb.) has been added to system, start engine, set the mode control to vent, temperature lever to full cold, blower speed on
high, and push A/C compressor button to the On position (A/C control button light On). Slowly draw in the remainder of the refrigerant charge
0.45 kg (0.995 lb). Total system charge is 0.95 kg (2.09 lbs).
3. Run engine for 30 seconds to clear the lines and gauges.
4. With the engine running, remove the low side service valve from the suction pipe service port.
IMPORTANT: Make sure there is an O-ring seal inside of caps before installation because cap is primary seal for A/C service fittings. Failure to
tighten cap will result in refrigerant leakage.