
L300 V6-3.0L VIN R (2001)
IMPORTANT: Always install new seal washers to prevent refrigerant leaks.
2. Remove discharge line cap and install new seal washer.
3. Remove condenser block cap and install discharge line.
4. Hand start discharge line to condenser block bolt.
Torque:
Discharge Line-to-Condenser Block Bolt: 20 N.m (15 ft-lbs)
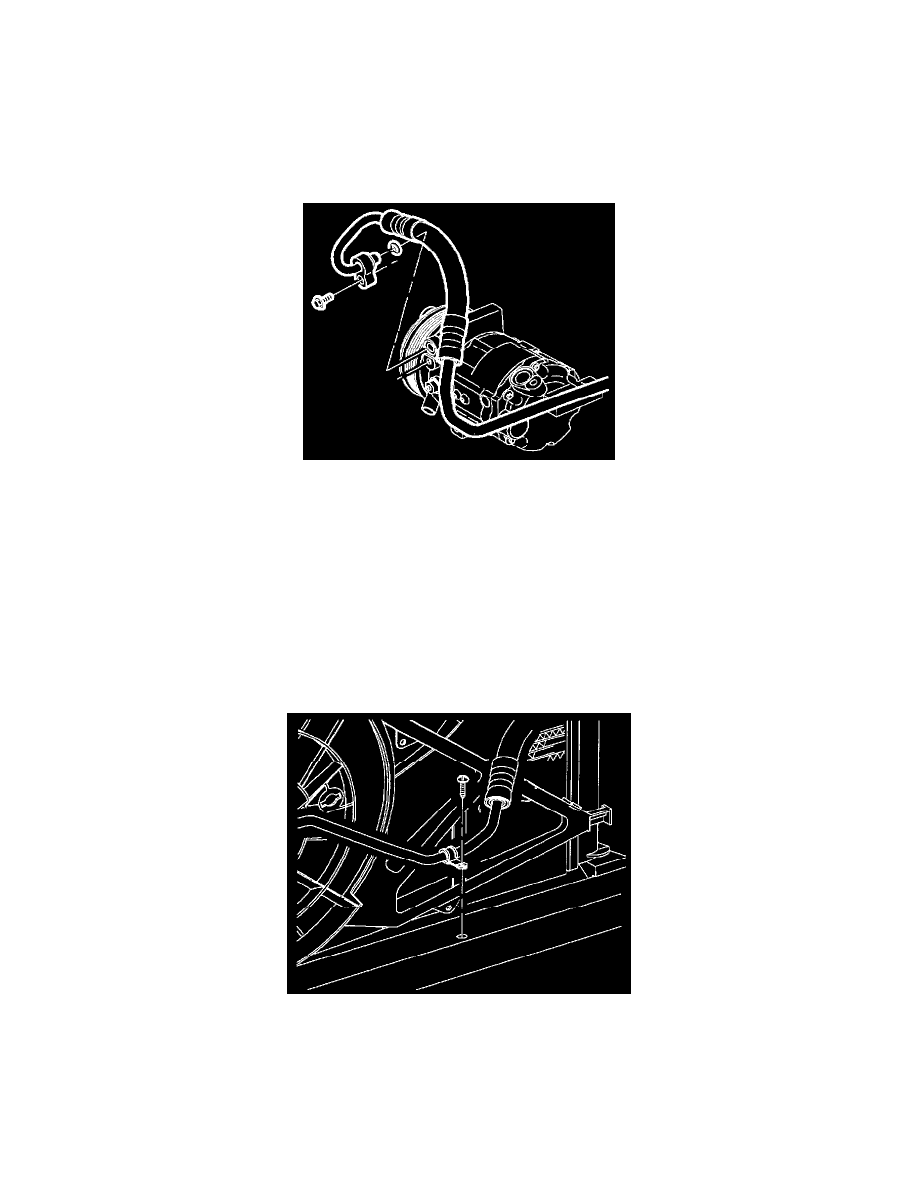
5. Remove cap from compressor discharge port.
NOTE: Do not lubricate seal washers.
IMPORTANT: Always install new seal washers to prevent refrigerant leaks.
6. Remove cap from discharge line and install new seal washer.
7. Install discharge line-to-compressor and hand start.
Torque:
Discharge Line-to-Compressor Bolt: 16 N.m (142 in-lbs)
8. Snap electrical harness clip onto discharge pipe.
9. Install discharge line clamp to cradle screw.
Torque:
Discharge Line Clamp Fastener-to-Cradle: 5 N.m (44 in-lbs)
10. Lower vehicle.