
L300 V6-3.0L VIN R (2001)
13. Remove the J 42069-30, the J 42069-1 and the J 42069-2 locking tools from the engine.
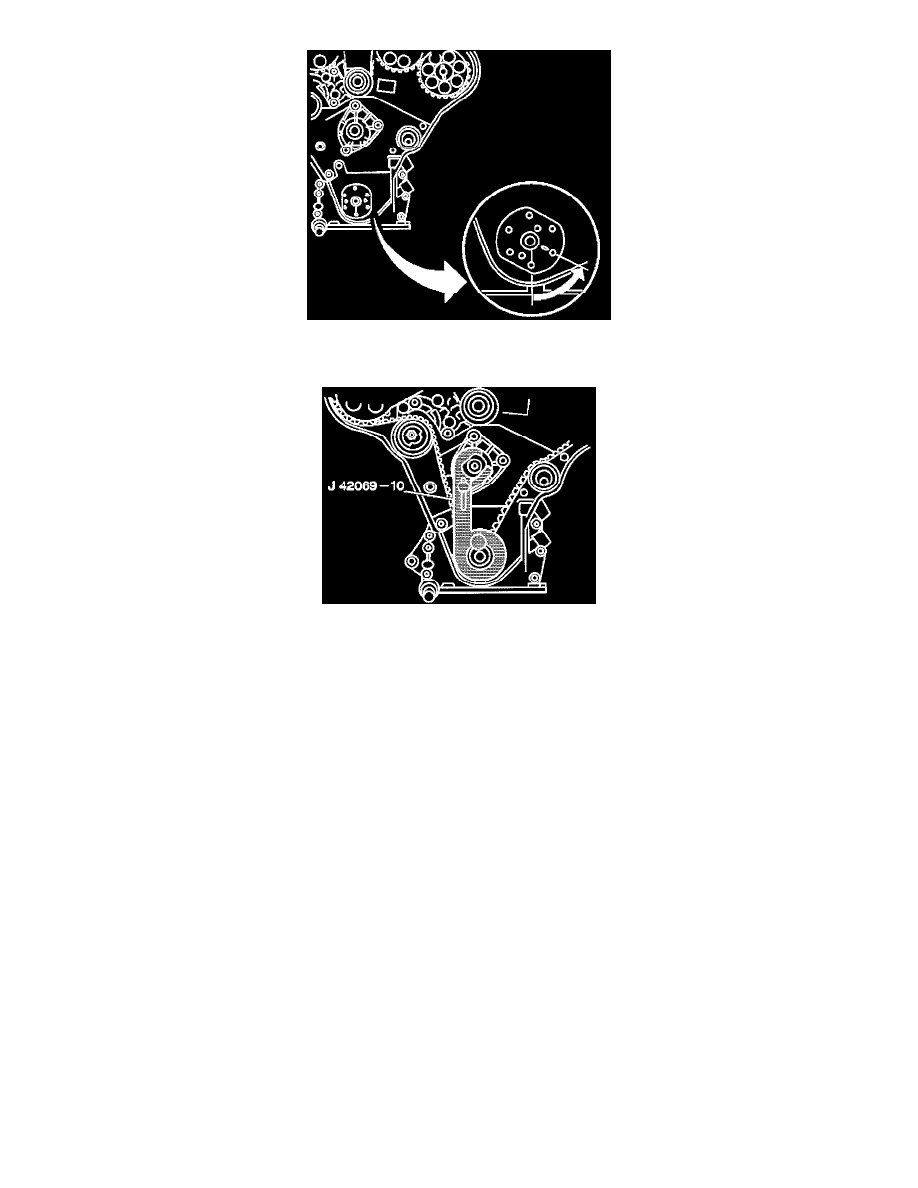
14. Rotate the crankshaft, with J 42069, in the clockwise direction two revolutions stopping at 60 degrees BTDC.
15. Install the J 42069-10 crankshaft locking tool to the crankshaft drive gear with the knurled bolt.
16. Turn the crankshaft until the lever of the J 42069-10 Crankshaft Locking Tool firmly contacts the water pump pulley flange.
17. Secure the moveable lever of the tool to the water pump pulley flange.
Important: The alignment marks on the timing belt will no longer align with the marks on the camshaft gears after one or more engine revolutions.
18. Inspect the alignment of the reference marks on the camshaft gears with the notches on the rear timing belt cover, as well as, the mark on the
crankshaft drive gear and oil pump housing.
19. Use the J 42069-20 checking gauge to inspect the alignment of camshaft gears 3 & 4
20. Use the J 42069-20 checking gauge to inspect the alignment of camshaft gears 1 & 2.
Important: The reference marks on both sets of the camshaft gears must match exactly with the marks on the J 42069-20 checking gauge. If timing belt
adjustment is necessary, always set the adjustment for camshafts 3 and 4 first.
21. If timing belt adjustment IS REQUIRED, continue further on to the Timing Belt Timing Procedure.