
L300 V6-3.0L VIN R (2001)
9.
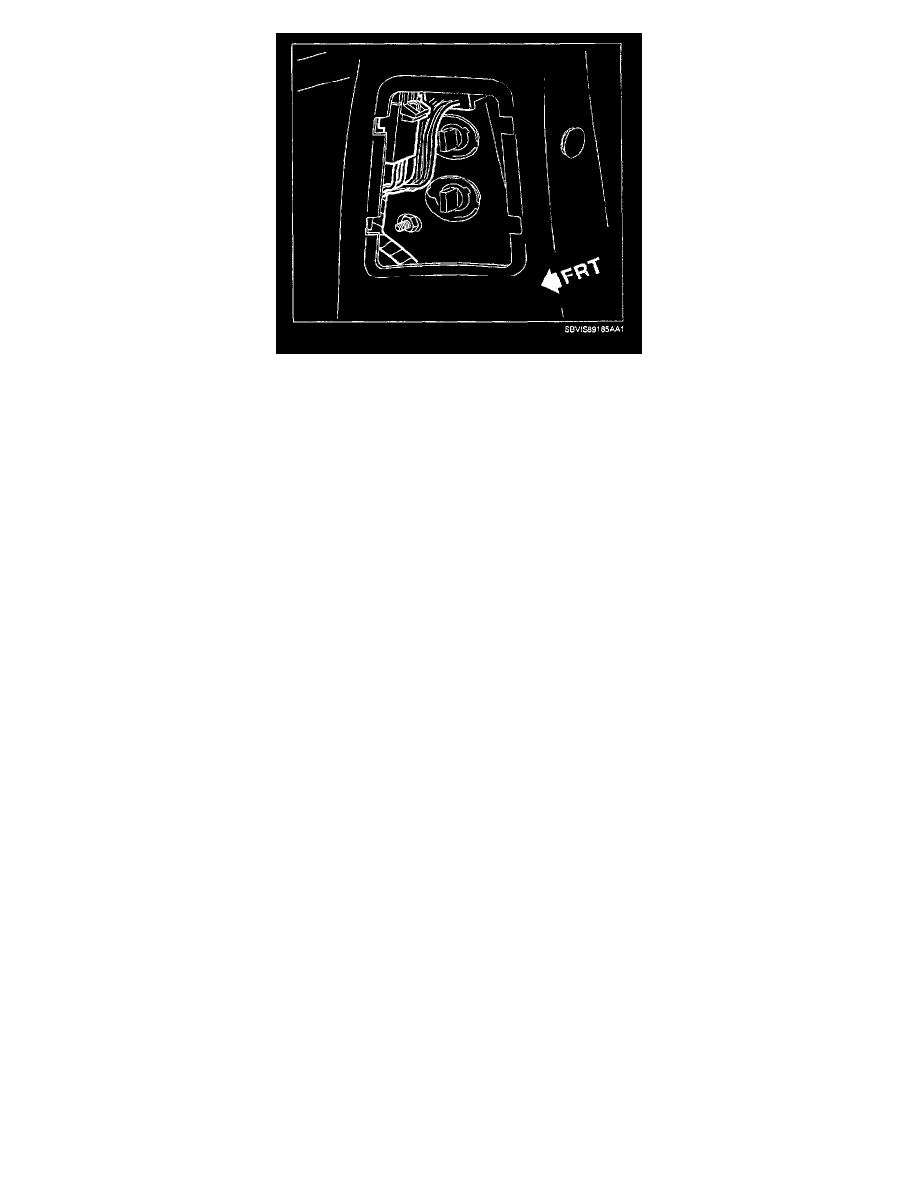
Remove tail lamp access hole cover on both sides of vehicle.
10.
Remove CPA retainers and disconnect left and right curtain inflator module (YEL 2-way) connectors.
SDM Replacement (All)
CAUTION:
BE CAREFUL WHEN YOU HANDLE A INFLATABLE RESTRAINT SENSING AND DIAGNOSTIC MODULE (SDM). DO NOT STRIKE OR
JOLT THE SDM. BEFORE APPLYING POWER TO THE SDM:
^
REMOVE ANY DIRT, GREASE, ETC. FROM THE MOUNTING SURFACE.
^
POSITION THE SDM HORIZONTALLY ON THE MOUNTING SURFACE.
^
TIGHTEN ALL OF THE SDM FASTENERS AND SDM BRACKET FASTENERS TO THE SPECIFIED TORQUE VALUE.
FAILURE TO FOLLOW THE CORRECT PROCEDURES COULD CAUSE AIR BAG DEPLOYMENT, PERSONAL INJURY, OR
UNNECESSARY SIR SYSTEM REPAIRS.
NOTICE:
If inflatable restraint sensing and diagnostic module (SDM) is dropped or shows any sign of damage, it must be replaced.
NOTICE:
Prior to removing inflatable restraint sensing and diagnostic module (SDM), ignition key must be in the OFF position.
NOTICE:
Do not open the inflatable restraint sensing and diagnostic module (SDM) case for any reason. Touching the connector pins or soldered components
may cause electrostatic discharge damage. Repair of a faulty SDM is by replacement only.
11.
Remove console rear screws.
12.
Remove console front screws.
13.
Lift rear of console.
14.
Remove connector position assurance (CPA) retainers from SDM connectors.
15.
Disconnect SDM connectors.