
L300 V6-3.0L VIN R (2001)
61.
Install remaining rear transaxle mount-to-frame bolts.
Torque:
Transaxle Mount (Rear)-to-Frame Assembly
Bolts: 60 N.m (44 ft-lbs)
62.
Install rear powertrain mount through bolt.
Torque:
Transaxle Mount (Rear) Through
Bolts: 90 N.m (66 ft-lbs)
63.
After the frame assembly has been installed it will be necessary to adjust the front wheel toe.
IMPORTANT:
When performing front wheel toe adjustment, ensure that steering wheel is locked in the straight-ahead position.
64.
Position and lock steering in the straight-ahead position.
65.
Loosen left side and right side inner tie rod-to-outer tie rod jam nuts.
NOTICE:
Make sure seals on steering gear assembly do not rotate and become twisted. If these seals rotate and become twisted, seal damage may result.
66.
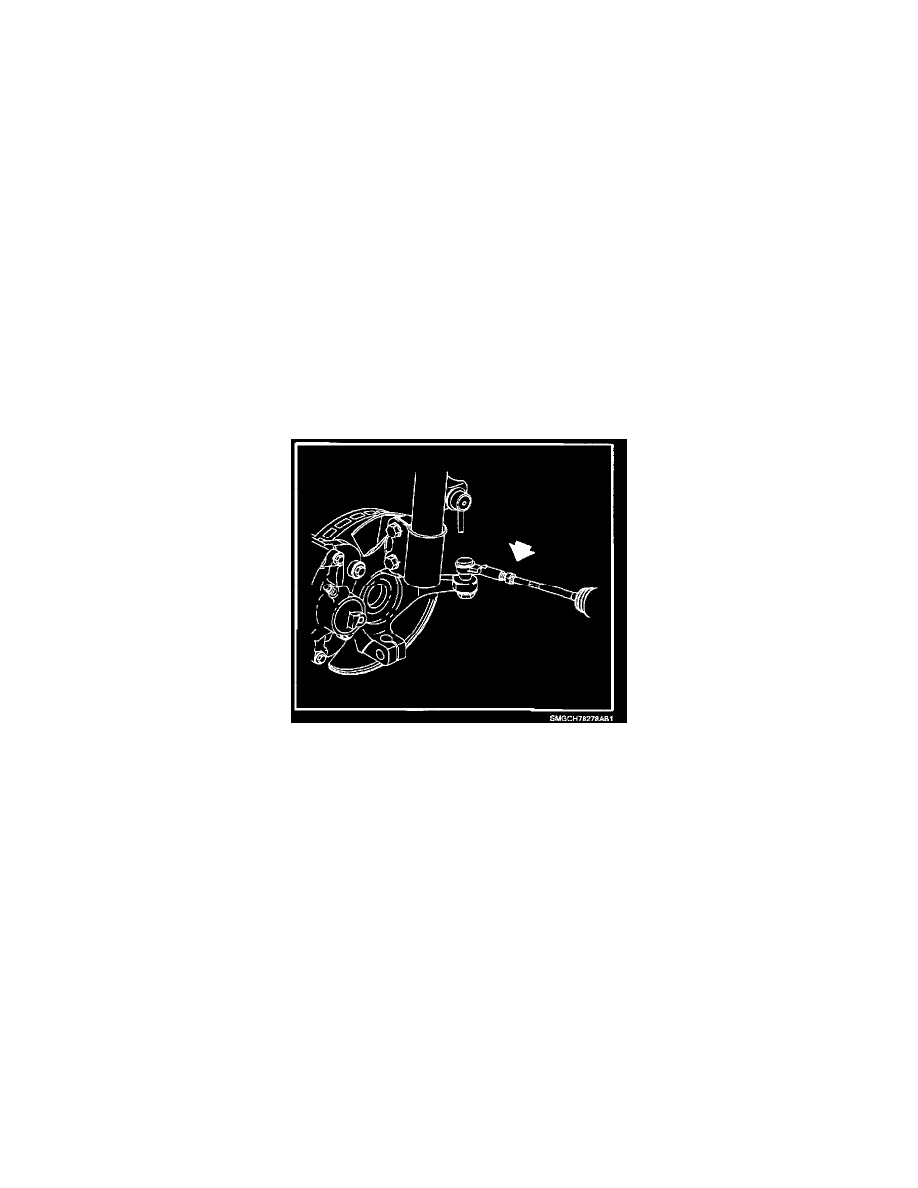
Use a wrench on inner tie rod flats to turn inner tie rods in direction of desired change.
67.
After toe adjustment is complete, tighten left side and right side inner tie rod-to-outer tie rod jam nuts.
Torque:
Inner Tie Rod-to-Outer Tie Rod Jam
Nuts: 60 N.m (44 ft-lbs)
68.
Re-check toe angles to ensure proper adjustment and re-adjust if necessary.
69.
Road test vehicle to verify proper operation.
IMPORTANT:
Do not cover any existing underhood labels when affixing Campaign Completion Label.
70.
Affix Campaign Completion Label on a clean and dry surface of radiator core support, in an area clearly visible when hood is raised. (For more
information, refer to "Campaign Completion Label" in this bulletin.)