
L300 V6-3.0L VIN R (2001)
installation.
-
To prevent damage to CV joint boots, be careful not to allow them to contact other parts during removal/installation process. Also, never pull on
the shaft assembly.
3. Install drive shaft into transaxle.
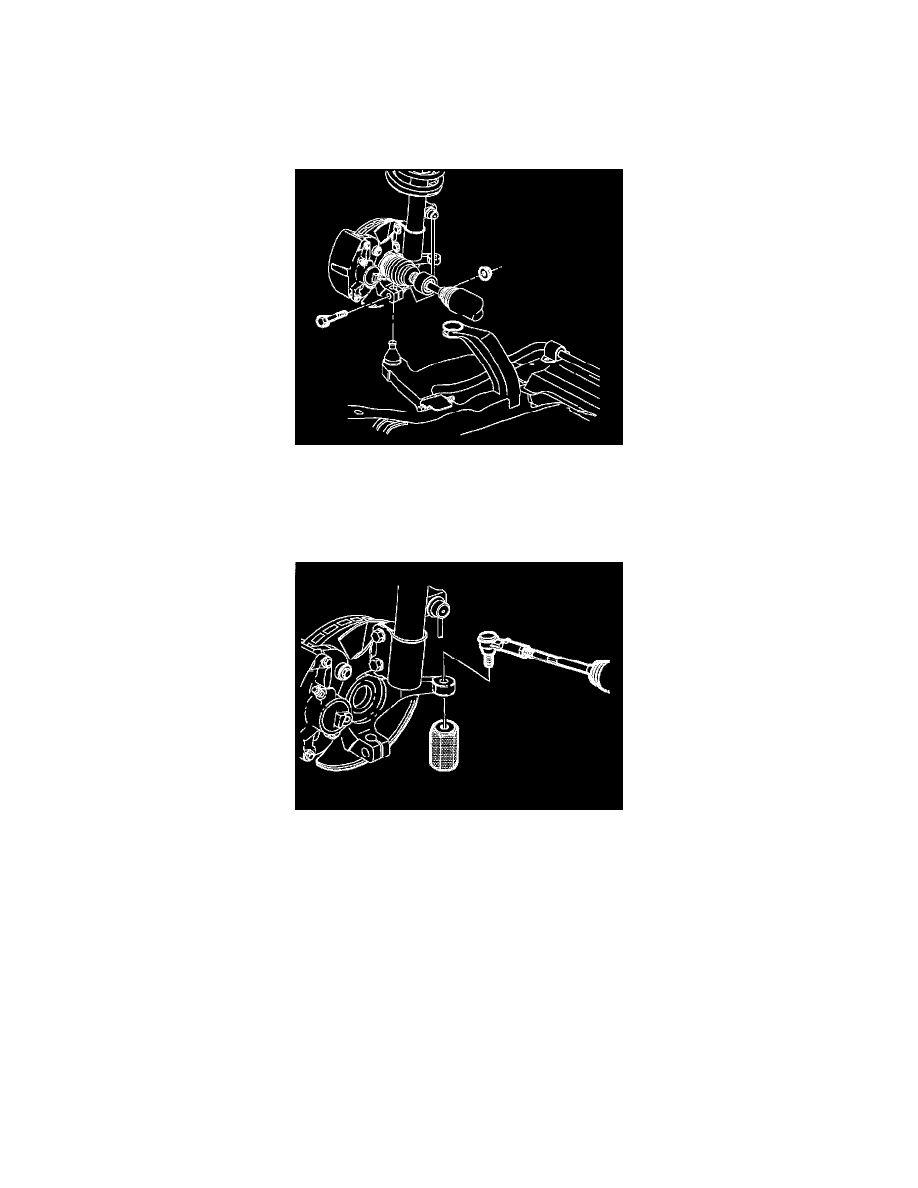
NOTICE: Be careful not to allow steering knuckle to contact ball stud seal. Contact may cause the seal to rip.
4. Install lower control arm ball stud into steering knuckle.
5. Install lower control arm to steering knuckle nut and bolt.
Torque: Lower Control Arm-to-Steering Knuckle Nut and Bolt: 100 Nm (75 ft. lbs.)
IMPORTANT: The tie rod ends must be thoroughly cleaned before installing and tightening.
6. Install tie rod end into steering knuckle.
7. Using Steering Linkage Installer J44015, seat tie rod end into knuckle.
Torque:
Steering Linkage Installer (J44015): 45 Nm (35 ft. lbs.)
NOTICE: Use a new nut. Torque retention of old nut may not be sufficient.
8. Remove linkage installer and install a new tie rod end nut.
Torque:
Tie Rod End Nut: 65 Nm (45 ft. lbs.)
NOTICE: Before installing wheels, remove rust or corrosion from wheel mounting surfaces and brake rotors. Failure to do so can cause wheel bolts
to loosen in service.