
L300 V6-3.0L VIN R (2001)
Rear Defogger: Testing and Inspection
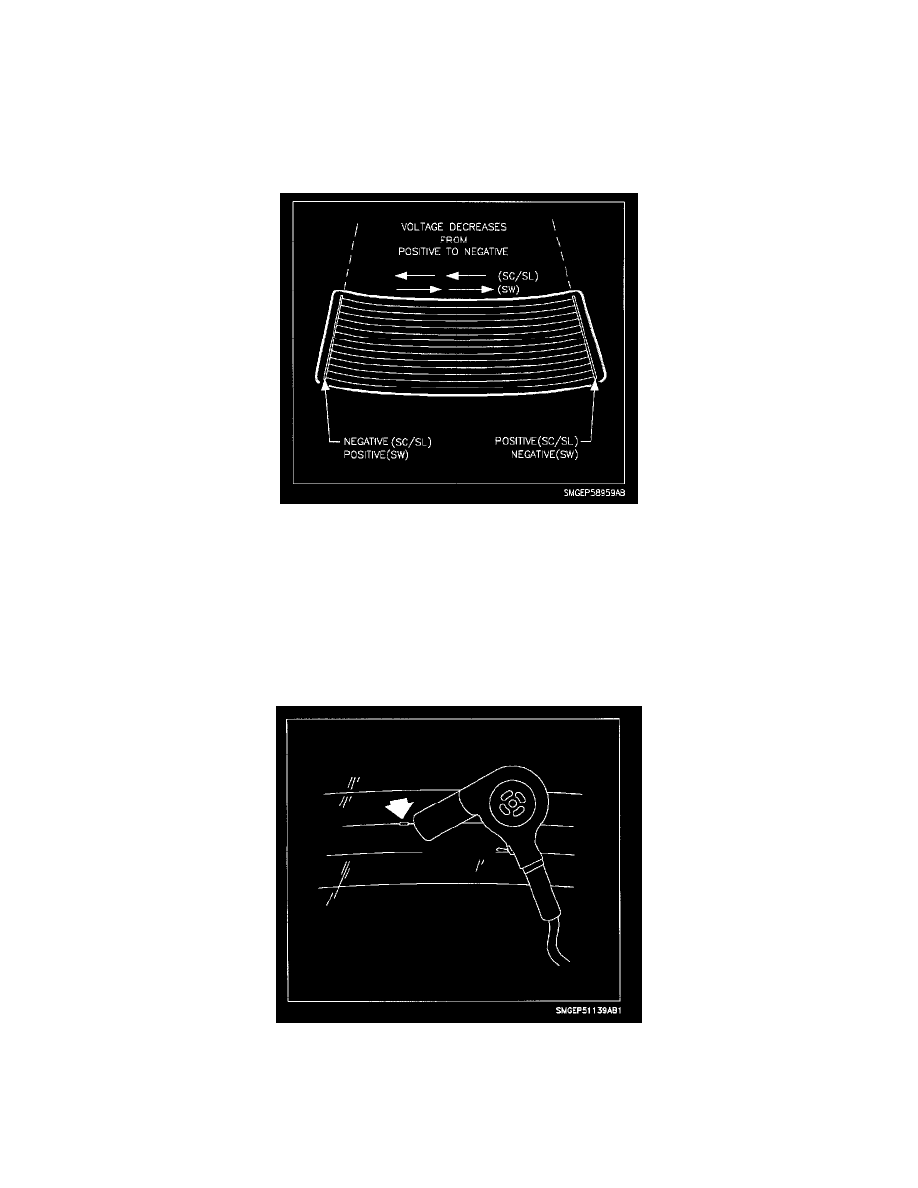
TESTING GRID LINES
To locate inoperative grid lines, turn ignition key to the On position and turn the rear window defogger switch to the On position. Attach the black lead
of the multimeter (set to the 20 volt scale) to ground. Lightly touch the red lead of each grid line.
The multimeter should display battery voltage at the positive side of each grid line. The voltmeter should gradually display less voltage as the red lead of
the multimeter is moved toward the ground side of the vehicle.
If the reading shows battery voltage as the red lead is moved across the grid lines and then makes a sudden jump down to zero volts (ground) that grid
line has an open it it.
Items Required:
-
GM or Saturn Rear Window Defogger Repair Kit PN/12345345 (or equivalent)
-
Heat Gun - capable of 260 degrees C (500 degrees F)
REPAIR PROCEDURE
1. Disconnect battery feed rear window defogger system.
2. Inspect rear window defogger grid lines and mark grid line breaks on outside of glass with a grease pencil.
3. Clean grid line area to be repaired. Buff with steel wool and wipe clean using cloth dampened with alcohol. Buff and clean about 6 mm (1/4 in.)
beyond each side of break in guide line.
IMPORTANT: Repair decal or tape must be used to control width of repair area. If decal is used, be sure the die-cut metering slot is the same
width as the grid line.