
LS2 V6-3.0L VIN R (2000)
Rear Door Panel: Service and Repair
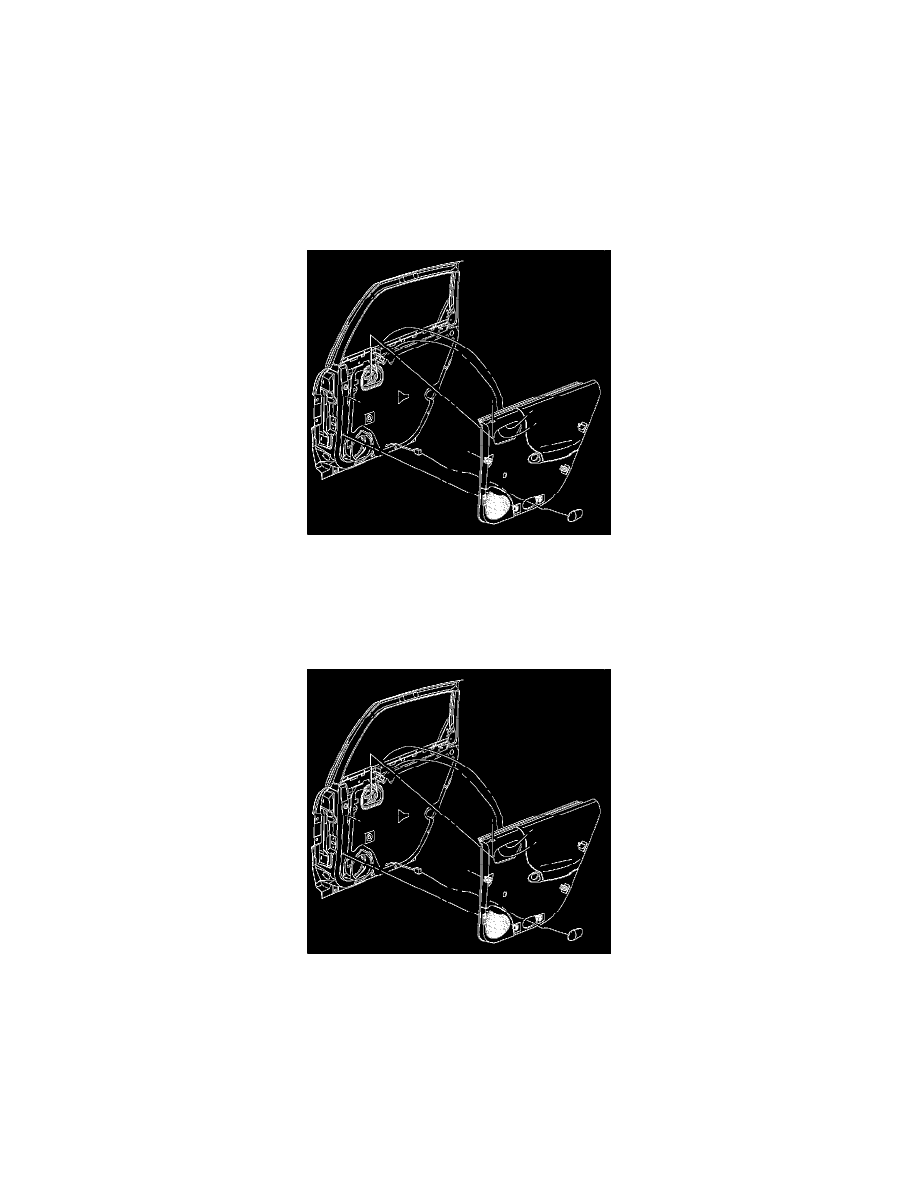
Panel Replacement
Rear Side Door Trim Panel Replacement
Removal Procedure
1. Remove the pull door handle. Refer to Rear Side Door Pull Handle Replacement (See: Rear Side Door Pull Handle Replacement) .
2. Remove the upper trim panel extension. Refer to Upper Extension Trim Panel Replacement (Front) (See: Front Door/Front Door Panel/Service
and Repair/Panel Replacement/Upper Extension Trim Panel Replacement (Front))Upper Extension Trim Panel Replacement (Rear) (See: Upper
Extension Trim Panel Replacement (Rear)) .
3. Using a door trim panel tool, disengage the door trim panel fasteners.
4. Pull up on the door trim panel to loosen the panel from the door structure.
5. On vehicles equipped with illuminated door trim panels, disconnect the door trim panel lamp harness.
6. Remove the rear door trim panel.
Installation Procedure
1. If the door trim panel is being replaced with a new panel, transfer the door panel lamp assembly to the new panel.
2. While holding the door trim panel, connect the door lamp illumination harness.
3. Locate the door trim panel over the top of the door structure and push down to secure the door trim panel to the door structure.
4. Push on the door trim panel to secure the door trim panel retainers.
5. Install the upper trim panel extension. Refer to Upper Extension Trim Panel Replacement (Front) (See: Front Door/Front Door Panel/Service and
Repair/Panel Replacement/Upper Extension Trim Panel Replacement (Front))Upper Extension Trim Panel Replacement (Rear) (See: Upper
Extension Trim Panel Replacement (Rear)) .
6. Install the pull door handle. Refer to Rear Side Door Pull Handle Replacement (See: Rear Side Door Pull Handle Replacement) .