
LS2 V6-3.0L VIN R (2000)
8.
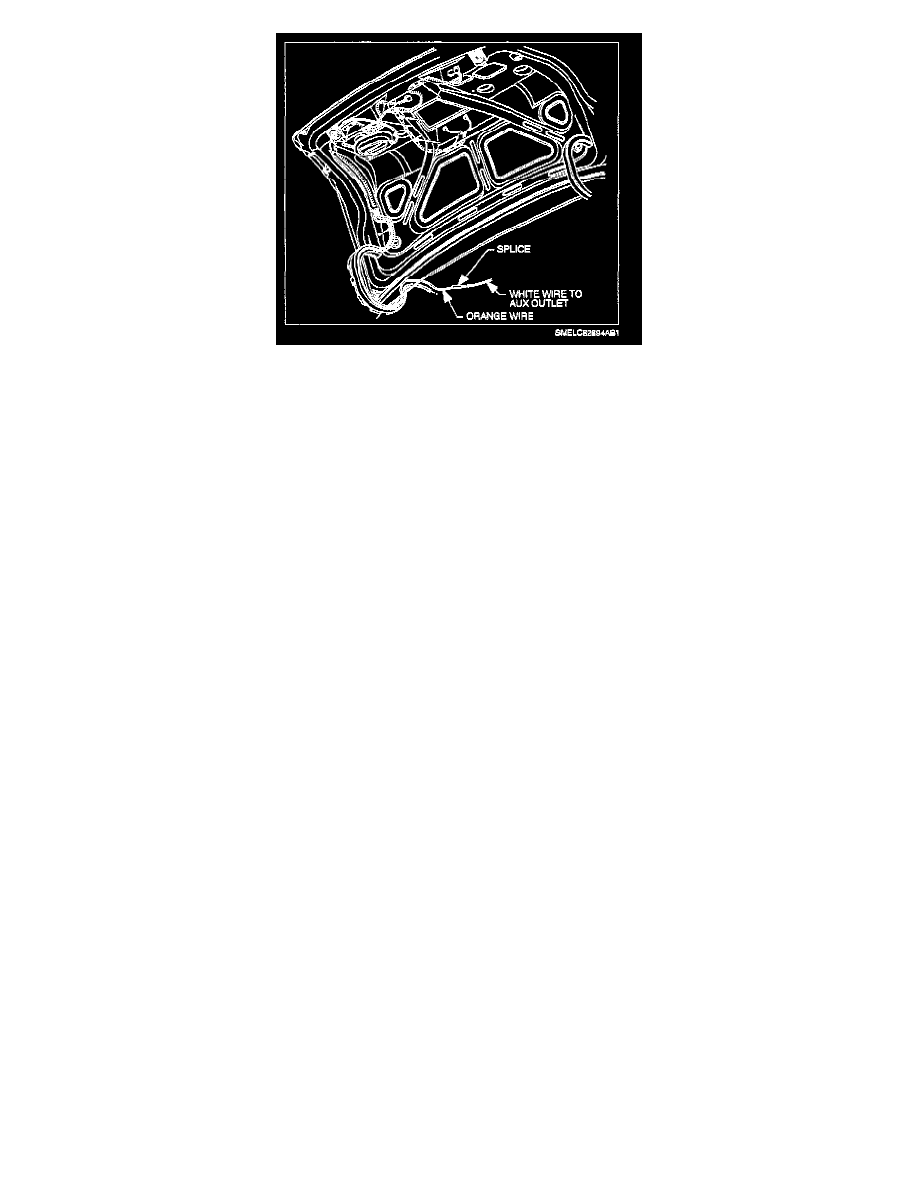
Route handle ORN wire through decklid along existing vehicle harness and out of hole in decklid.
9.
Splice blunt cut end of WHT extension wire supplied in kit to handle ORN wire using a crimp and seal splice sleeve. (This acts as an extension
wire of the handle ORN wire so it can route up to the console area.)
10.
Remove decklid wiring harness retainer from left decklid hinge.
11.
Insert handle ORN wire (with WHT extension wire attached) into decklid wiring harness retainer and install retainer back onto decklid hinge.
12.
Route WHT extension wire toward front of vehicle through routing hole in rear compartment and tape to existing vehicle harness.
13.
Continue routing WHT extension wire along left side of vehicle and existing body harness under driver seat and up to console area.
14.
Splice 5A fuse holder to WHT extension wire using crimp and seal sleeves. This fuse is to protect the new circuit feeding the interior trunk release
handle.
15.
Using a crimp and seal splice sleeve, splice WHT extension wire to ORN auxiliary power outlet wire (ckt 1740).
16.
Neatly bundle and tape wiring and fuse holder at console area to prevent wire chafes and rattles.
17.
Install ashtray and auxiliary power outlet.
18.
Install storage compartment in console.
CAUTION:
MAKE SURE THAT REAR SEAT SHOULDER BELT IS NOT CAUGHT BEHIND BOLSTER WHEN INSTALLING.
IMPORTANT:
If leather rear seat cushion was moved, reposition or install seat cushion after installing rear seat bolster.