
LS2 V6-3.0L VIN R (2000)
10.2 Adjust latch downward or side-to-side as necessary.
Torque:
Rear Compartment Latch Bolts: 10 N.m (89 in-lbs)
11. Check rear compartment striker alignment.
11.1 Using a china marker, trace around striker retaining bolts to mark original location.
11.2 Adjust striker upward or side-to-side as necessary.
Torque:
Rear Compartment Striker Bolts: 10 N.m (89 in-lbs)
12.
Repeat steps 10 and 11 until satisfactory closing efforts have been achieved.
13.
Install rear compartment sill plate. Snap finish panel into place and install retainers.
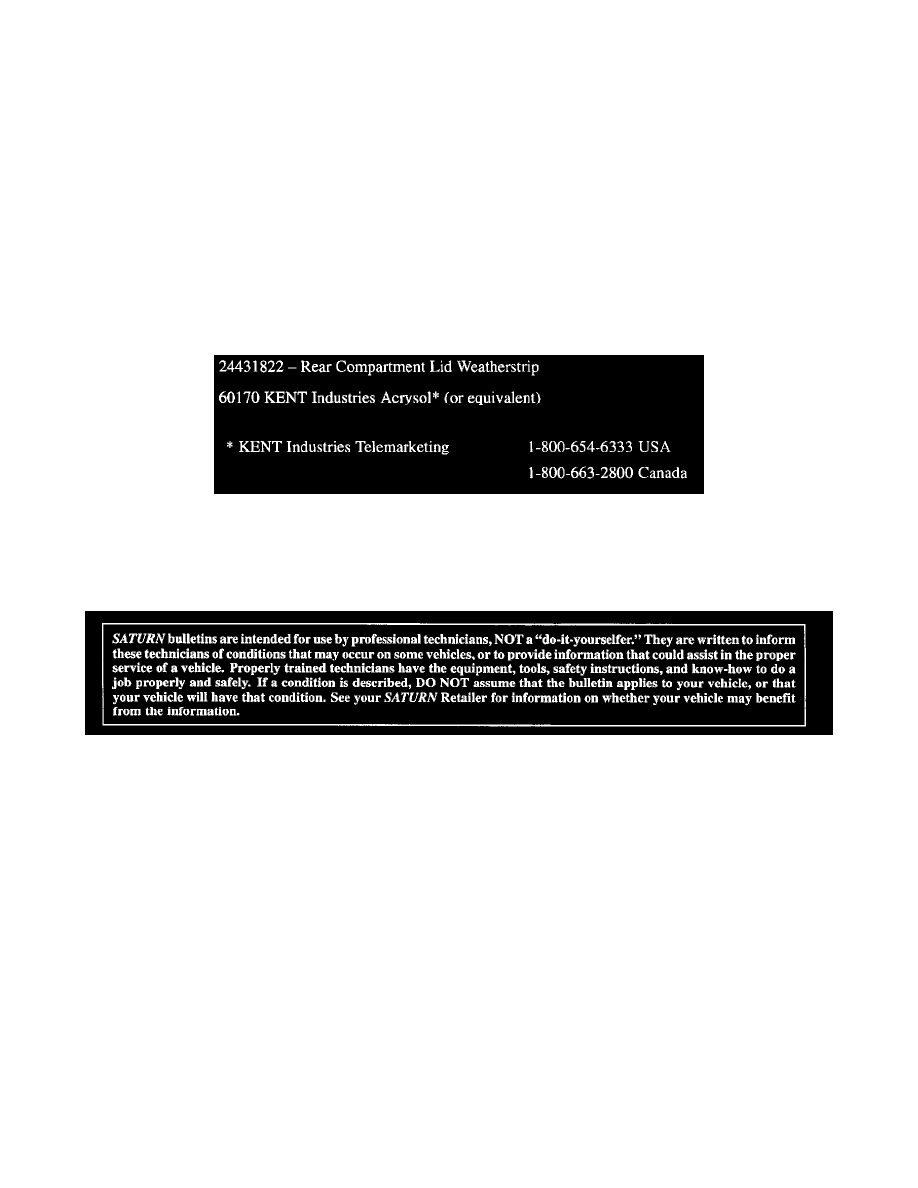
PARTS REQUIREMENTS:
CLAIM INFORMATION:
To receive credit for this repair during the warranty coverage period, submit a claim through the Saturn Dealer System using the appropriate Electronic
Labor Time Guide and Labor Operation Code C 1270 (Weatherstrip, Rear Compartment Lid-Replace), and/or B5400 (Lid, Rear Compartment-Align)
Disclaimer To Customer
Disclaimer