
LS2 V6-3.0L VIN R (2000)
1. Primer Area
1. Wash the entire panel and surrounding areas with water and a mild detergent soap, rinse thoroughly and wipe dry.
2. Clean the entire panel with PPG D837 Acryli-Clean (or equivalent).
3. Prepare all damaged and bare metal areas.
4. Sand the repair area. Wet sand with 400 grade (or finer) sandpaper or dry sand with 320 grade (or finer) sandpaper.
5. Thoroughly sand the entire panel area with 1200 grade (or finer) sandpaper.
6. Clean the entire panel with PPG D846 Multi-Prep Cleaner (or equivalent), to remove the sanding residue.
7. Use an air blow gun to remove all dirt from the cracks and surfaces of the panel.
8. Tack entire panel with a clean tack rag.
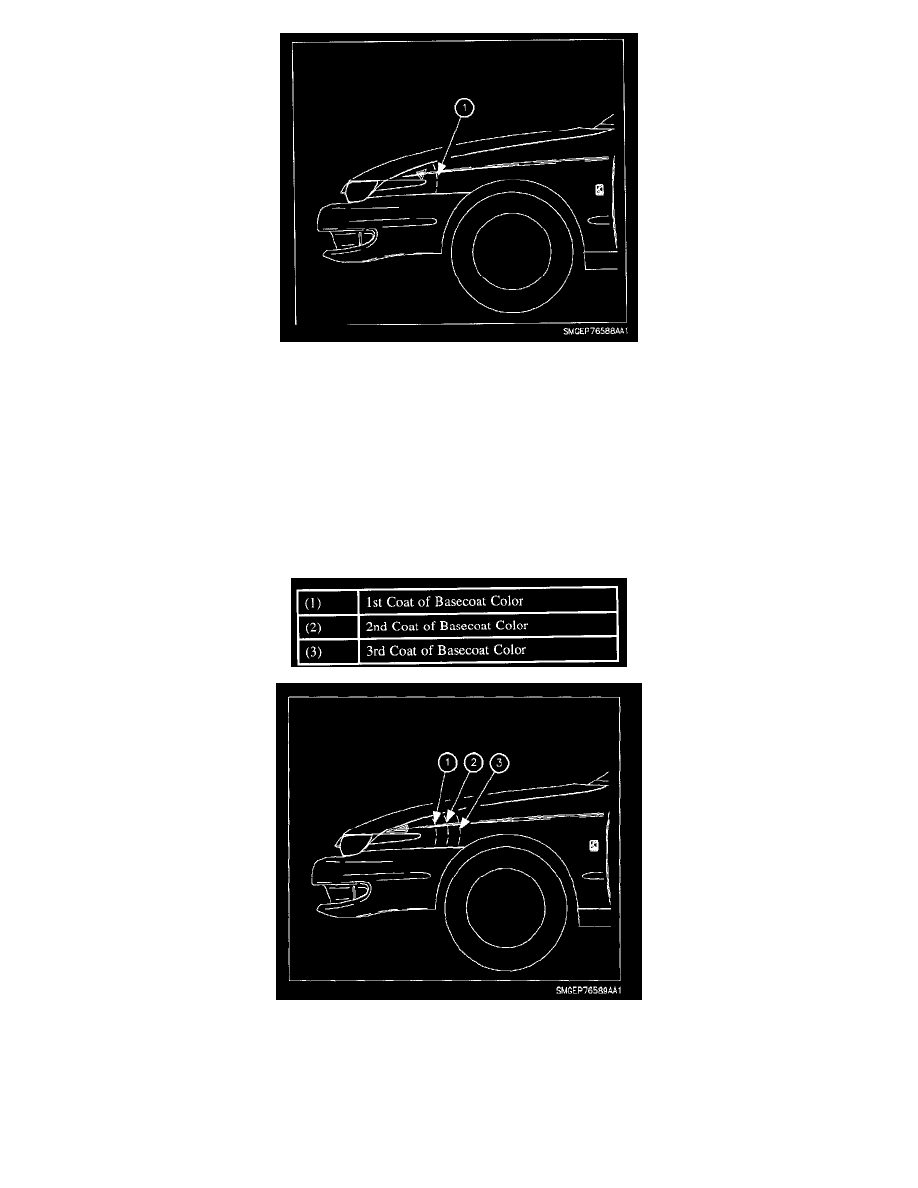
9. Mix base coat color. Refer to product label instructions.
10. Apply the first coat of basecoat color over the repaired area only. Use 207 - 275 kPa (30 - 40 psi) of air pressure at the gun. Allow five to 10
minutes flash time between each coat of basecoat color.
11. Apply the second coat of basecoat color over the same area as the first and about four to six inches beyond where the first coat ended.
12. Apply the third coat, if needed, over the same area as the second coat and about four to six inches beyond where the second coat ended.
Normally two or three coats are required to obtain hiding. Do not melt in the dry edge of the basecoat color after finishing the blend; the
clearcoat will take care of this.
13. Allow the final coat of basecoat color to flash for at least 15 minutes, but no longer than 12 hours, before applying the clearcoat.
14. Mix two component clearcoat. Refer to product label instructions.
15. Apply two or three medium wet coats of clear over the entire panel. Use 276 - 344 kPa (40-50 psi) of air pressure at the gun. Allow five to 10