
LS2 V6-3.0L VIN R (2000)
8. Remove J-42069-1 Camshaft Locking Tool.
9. Remove camshaft gear bolt.
10. Remove camshaft gear.
IMPORTANT: Ensure that camshaft is not under load from lifter(s) and that camshaft comes out of bearing seats evenly.
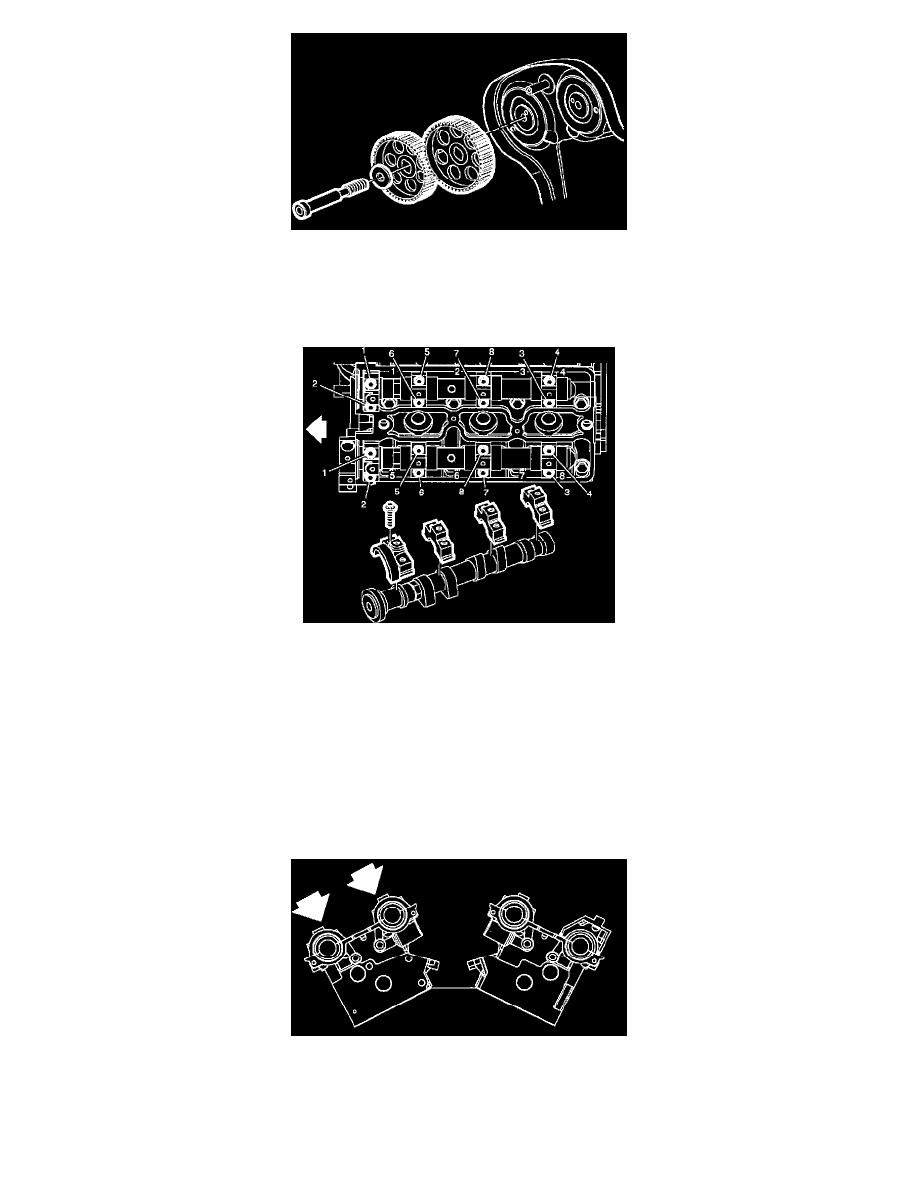
11. Loosen camshaft bearing cap bolts sequentially starting from center and moving outwards in a spiral direction in stages of 1/2 to 1 turn.
12. Remove camshaft bearing cap bolts.
13. Remove camshaft bearing caps. Note the code marks on the bearing caps.
IMPORTANT: The bearing caps for the rear side (CYL 1, 3, 5) cylinder head are marked with and "e' followed by a number.
14. Remove camshaft with seal attached.
15. Remove camshaft seal.
16. Clean all bearing surfaces.
17. Clean all sealing surfaces
INSTALLATION
1. Lubricate camshaft bearing surfaces with clean engine oil.
2. Install camshaft to cylinder head.
IMPORTANT: Ensure pin on exhaust camshaft is approximately in the 1 o'clock position and/or that the pin on intake camshaft is approximately in
the 11 o'clock position to allow for minimal load on camshaft when installing bearing caps.