
LS2 V6-3.0L VIN R (2000)
12.
Mark upper and lower idler pulleys. Use a felt pen to mark the face of the idler pulleys. The mark should line up with the point furthest away from
the Torx(R) head mounting bolt.
13.
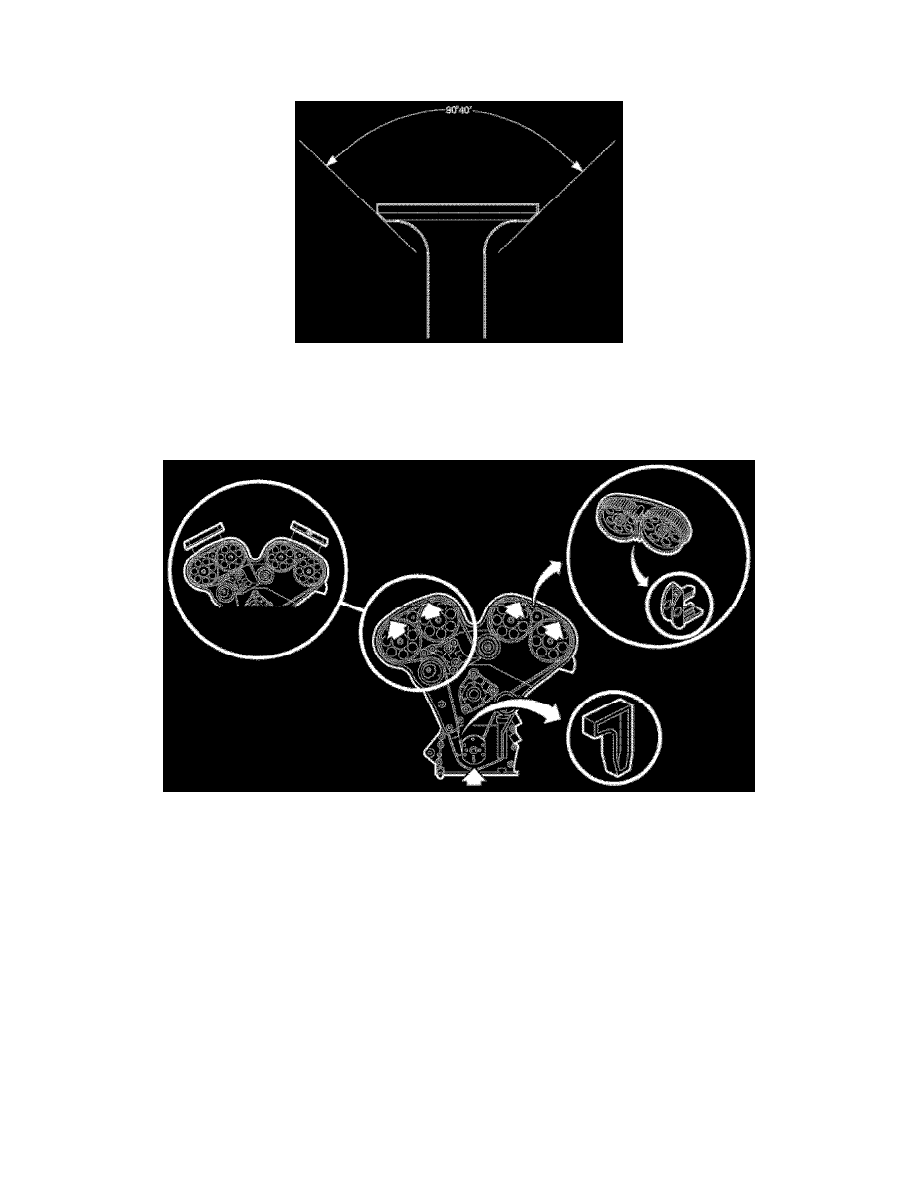
Align timing marks on each cam shaft sprocket with notch in rear timing belt cover.
14.
Reinstall crankshaft locking tool J 42069-40 and rotate crankshaft to TDC.
15.
Remove crankshaft locking tool J 42069-40 to ease installation of timing belt.
NOTICE:
The upper idler pulley (cam 1 and 2) and lower idler puller (cams 3 and 4) use different bolts and spacers of different thickness. The upper
idler pulley uses a narrow 5 mm (0.20 in) thick spacer and a black bolt. The lower idler pulley uses an 11 mm (0.40 in.) thick spacer and a
silver bolt.
Important:
The idler pulleys provide adjustment by rotating on an eccentric circle around the attachment bolt.
16.
Install lower idler pulley. Tighten just enough to allow the pulley to rotate with slight resistance using idler pulley wrench J42069-40.
17.
With upper idler pulley removed, install timing belt.
17.1. Align marks on timing belt with corresponding marks on # 3 and # 4 camshaft sprockets.
17.2. Install timing belt around lower idler pulley
17.3. Install timing belt around crankshaft sprocket. Ensure that mark on timing belt is aligned with mark on crankshaft sprocket face.
17.4. Lock timing belt onto crankshaft sprocket using plastic wedge J 42069-30.