LS2 V6-3.0L VIN R (2000)

5.
Using a small flat blade screwdriver in retaining tab slots on backside of trim plate, release retaining tabs while sliding hazard warning switch out
of trim plate.
6.
Obtain service replacement hazard warning switch (P/N 90584072).
7.
Slide hazard warning switch into I/P center trim plate opening and pull from backside to fully seat retaining tabs.
8.
Position I/P center trim plate to vehicle.
9.
Rotate I/P center trim plate sideways and connect all electrical connectors on switches or blanks mounted in trim plate.
10.
Place I/P center trim plate into I/P opening.
11.
Carefully route I/P center trim plate switch harnesses into I/P opening so they are routed under center HVAC duct.
12.
Push firmly on I/P center trim plate at attachment locations to seat attaching clips.
13.
Connect negative battery cable.
Tighten
Tighten the negative battery cable to 17 Nm (13 lb ft).
14.
Function and observe the following lamps to ensure proper operation:
^
Hazard Warning Lamps
^
Turn Signal Lamps
^
Back-Up Lamps
Installation Procedure
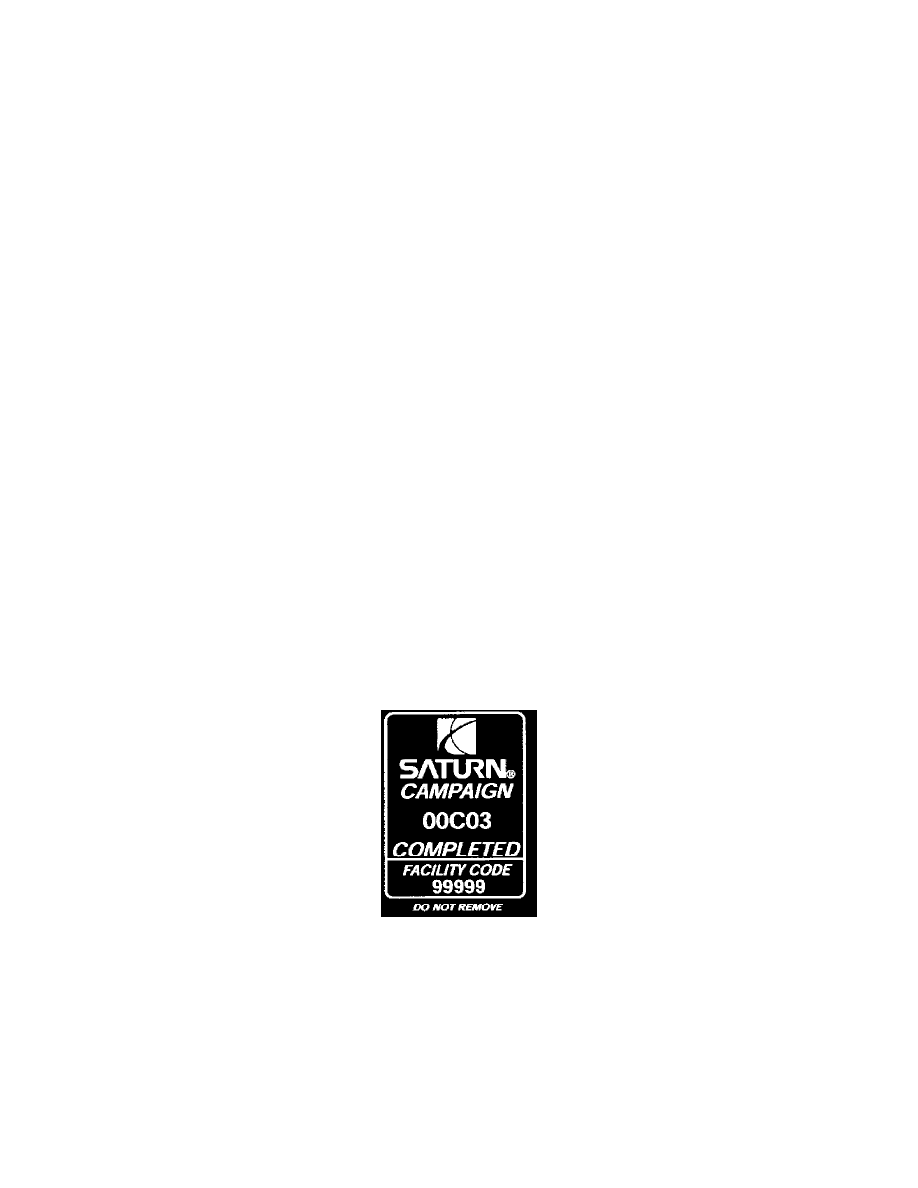
CAMPAIGN COMPLETION LABEL
Upon completion of the campaign, a Campaign Identification Label and a Clear Protective Cover should be affixed on a clean, dry surface of the radiator
core support in an area clearly visible when the hood is raised. Each label provides a space to print in ink (or type) the campaign number (00C03) and the
five (5) digit facility code of the Retailer performing the campaign service.
As a reminder, additional labels may be ordered from Saturn publications.
Credit
