
LS2 V6-3.0L VIN R (2000)
Stabilizer Link: Service and Repair
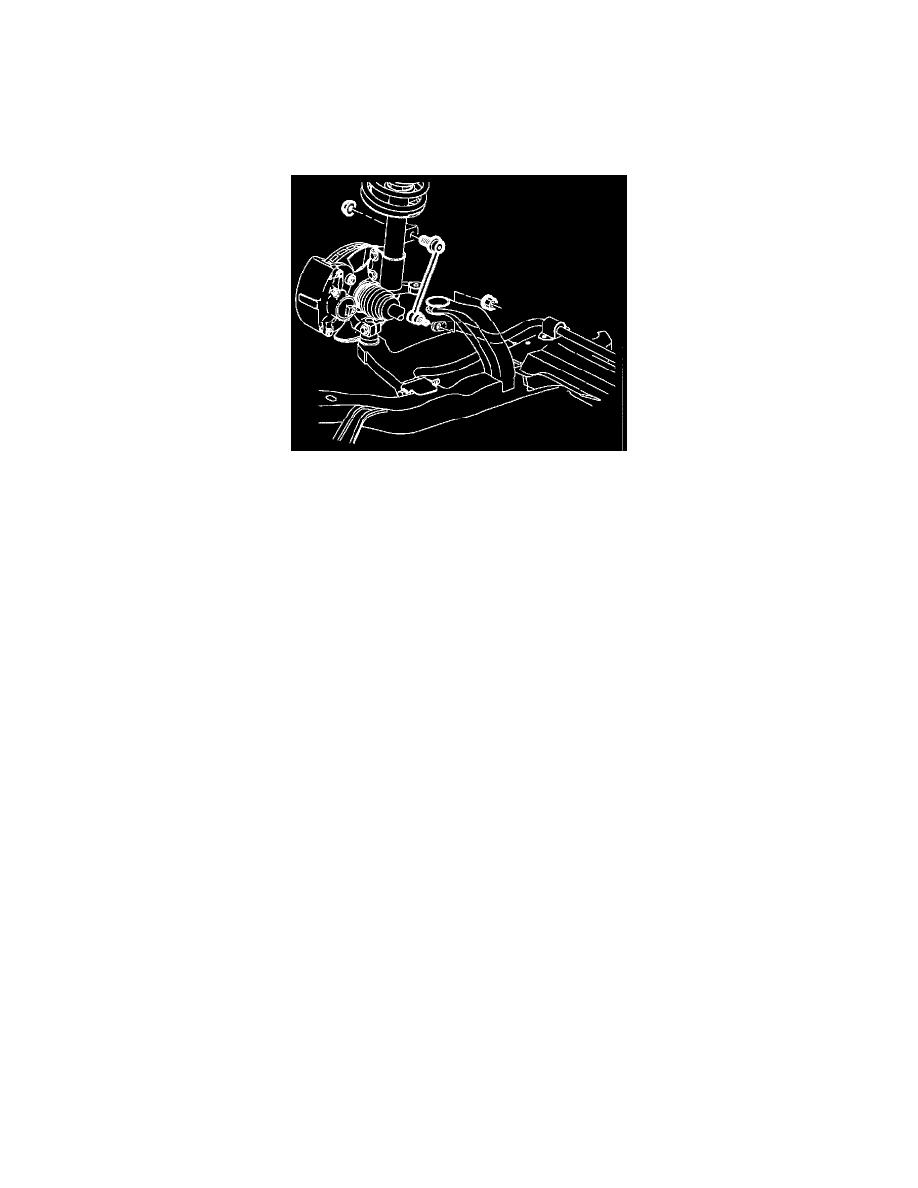
REMOVAL
CAUTION: MAKE SURE VEHICLE IS PROPERLY SUPPORTED AND SQUARELY POSITIONED ON HOIST. TO HELP AVOID
PERSONAL INJURY, PROVIDE ADDITIONAL SUPPORT TO THE OPPOSITE END OF THE VEHICLE THAT COMPONENTS WILL
BE REMOVE FROM.
1. Raise vehicle on hoist.
2. Remove wheel and tire assembly.
3. Remove stabilizer bar link to strut assembly bolt.
4. Remove stabilizer bar link to stabilizer bar bolt.
INSTALLATION
1. Install stabilizer link into vehicle.
2. Install stabilizer link to stabilizer bolt.
Torque: 65 Nm (48 ft. lbs.)
3. Tighten stabilizer to strut assembly bolt.
Torque: 65 Nm (48 ft. lbs.)
NOTICE: Before installing wheels, remove rust or corrosion from wheel mounting surfaces and brake rotors. Failure to do so can cause wheel bolts
to loosen in service.
4. Position wheel onto hub.
5. Install wheel bolts and tighten in a crisscross pattern. Repeat tightening pattern to make sure torque is correct.
Torque: 125 Nm (92 ft. lbs.)
6. Lower vehicle from hoist.