
LS2 V6-3.0L VIN R (2000)
Fuel Gauge Sender: Service and Repair
TOOLS REQUIRED
^
J 43827 Lock Ring Remover
REMOVAL
CAUTION: Do not allow smoking or the use of open flames in the area where work on the fuel system is taking place.
1. Remove fuel tank.
NOTE: To prevent retaining ring damage, do not attempt to remove retaining ring with a 12 in. or shorter ratchet/breaker bar.
2. Remove fuel lines and electrical connector from fuel pump cover.
3. Use lock ring service tool (J43827) and remove fuel pump module retaining ring. A 1/2 in. breaker bar (approximately 18 inches long) will easily
loosen and remove the lock ring.
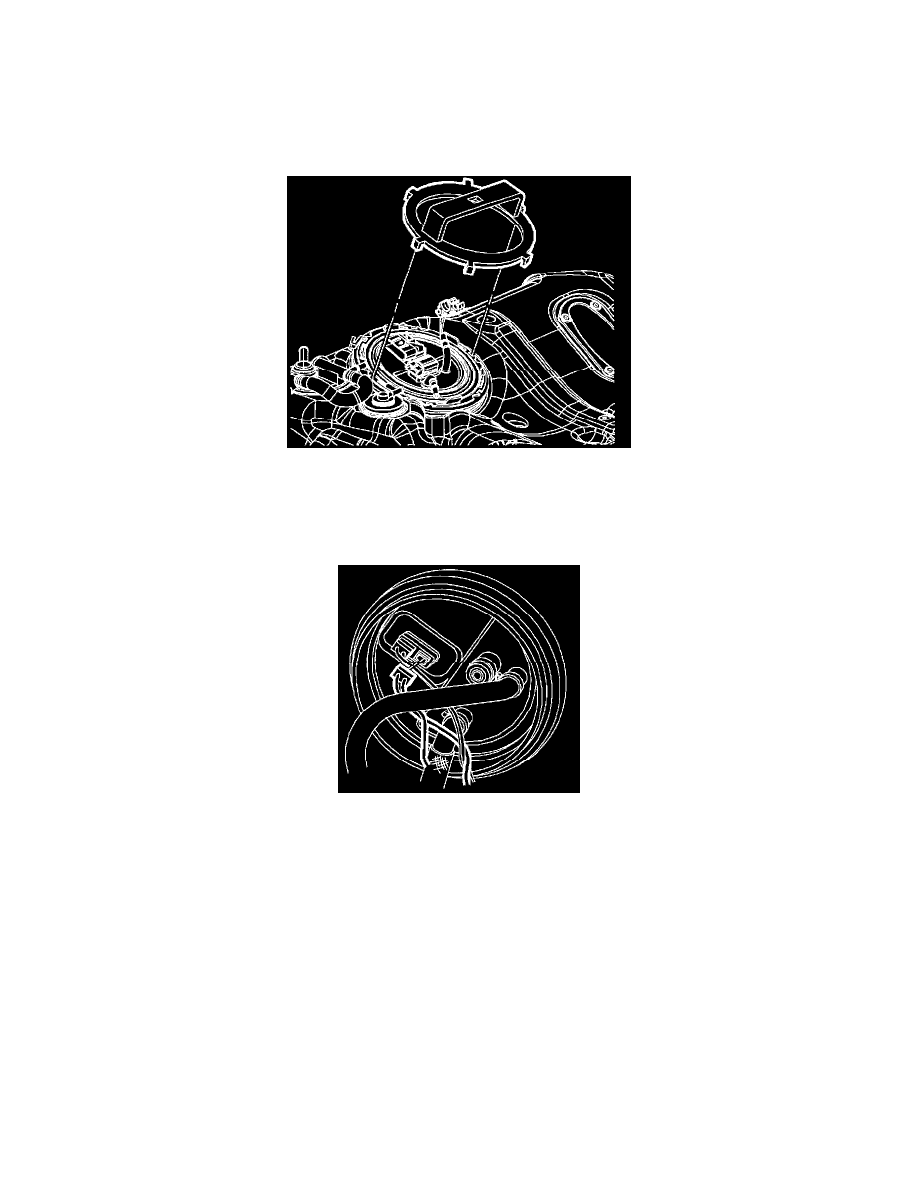
4. Pull up fuel pump module cover and disconnect the sending unit electrical connector on the bottom side of the fuel pump module cover (be sure to
release retaining clip).
5. Remove the sender by depressing locking tab and pulling up. The locking tab is square not round.
IMPORTANT: The fuel pump assembly is only serviced as a module without the sender unit. The inlet filter can be cleaned with mineral spirits;
however, it cannot be replaced.
INSTALLATION
1. Slide new sender unit into place until click is heard. (Pulling up lightly to ensure sender unit is locked into place.)
IMPORTANT: Verify that float arm on sender unit maintains correct relationship to pump module by standing module on a flat, horizontal surface.
The float should lay on the surface.
To verify function and calibration of sending unit, refer to "Fuel Tank Unit Calibration and Electrical Circuit" procedures.