
LS2 V6-3.0L VIN R (2000)
Fluid Pan: Service and Repair
REMOVAL
CAUTION: MAKE SURE VEHICLE IS PROPERLY SUPPORTED AND SQUARELY POSITIONED ON THE HOIST.
1. Position vehicle on a hoist and raise vehicle.
2. Place a drain pan under transaxle oil pan.
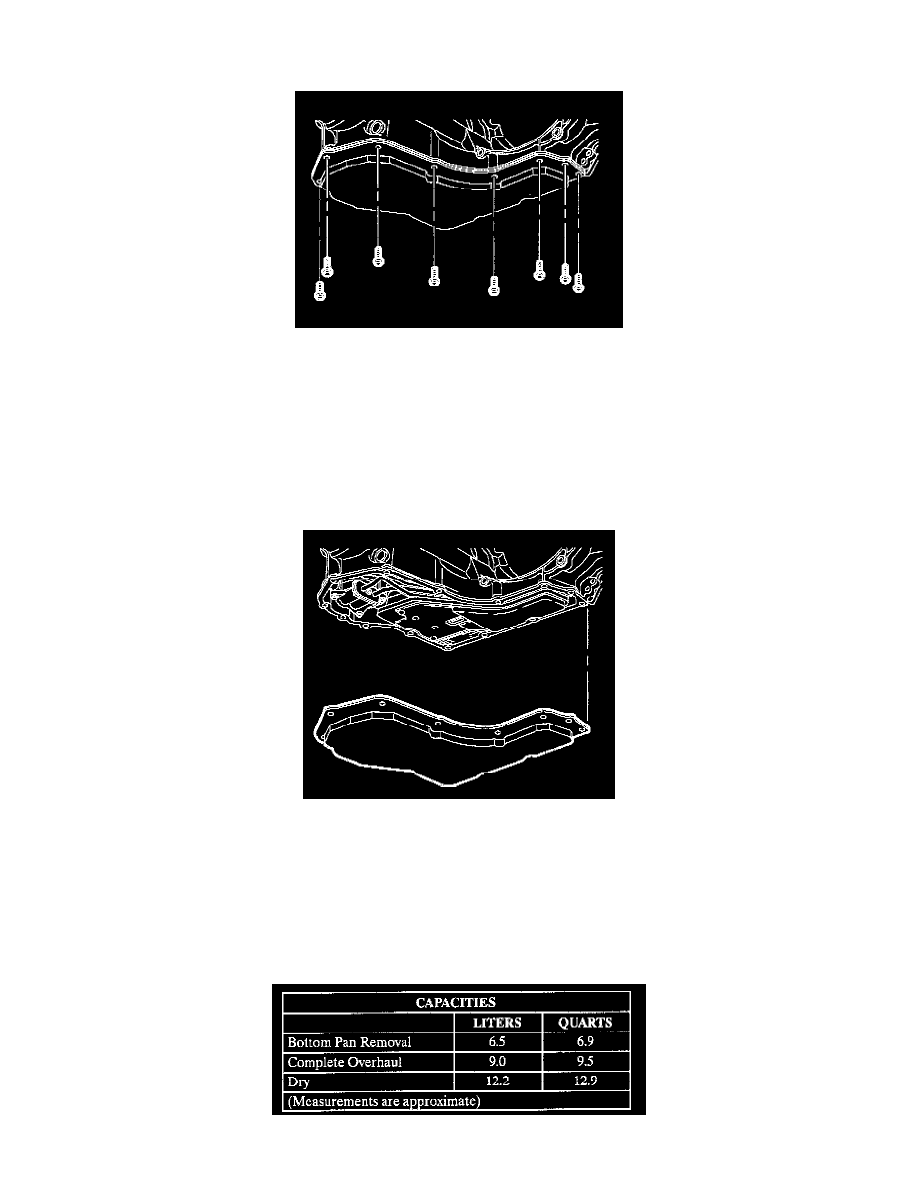
3. Remove oil pan bolts from front and sides only.
4. Loosen rear oil pan bolts approximately four turns.
NOTICE: Pry oil pan carefully in order to prevent damage to transaxle case or oil pan sealing surfaces.
5. Lightly tap oil pan with a rubber mallet or carefully pry in order to allow the oil to drain.
6. Remove remaining oil pan bolts and oil pan.
7. Remove oil pan gasket.
8. Remove all traces of old gasket material. Clean transaxle case and oil pan gasket surfaces with solvent, and allow to air dry.
INSTALLATION
1. Install oil pan gasket, oil pan, and hand start oil pan bolts.
Torque: 12 Nm (9 ft. lbs.)
2. Lower vehicle
3. Refill transaxle using DEXRON(R) III (P/N 21019228) transaxle fluid or equivalent to specified refill capacity.