
LS2 V6-3.0L VIN R (2000)
12. Align the glass to the upper reveal molding using the adjusters at the base of the windshield and the center glass side-to-side.
Notice: Until the new urethane has cured, air pressure from a closing door may cause the glass to move. To prevent this, lower the opposite side
door window a minimum of 76 mm (3 in) before closing the door.
13. Watertest the vehicle using a soft spray. Use warm or hot water if available. Do not direct a hard stream of water on fresh adhesive material. Water
applied on top of the urethane adhesive, either during a watertest or part of a separate operation, will speed up the cure of the urethane.
14. Inspect for leaks from inside of the vehicle. Paddle in extra adhesive at the leak points using a tongue depressor or a similar flat flexible tool.
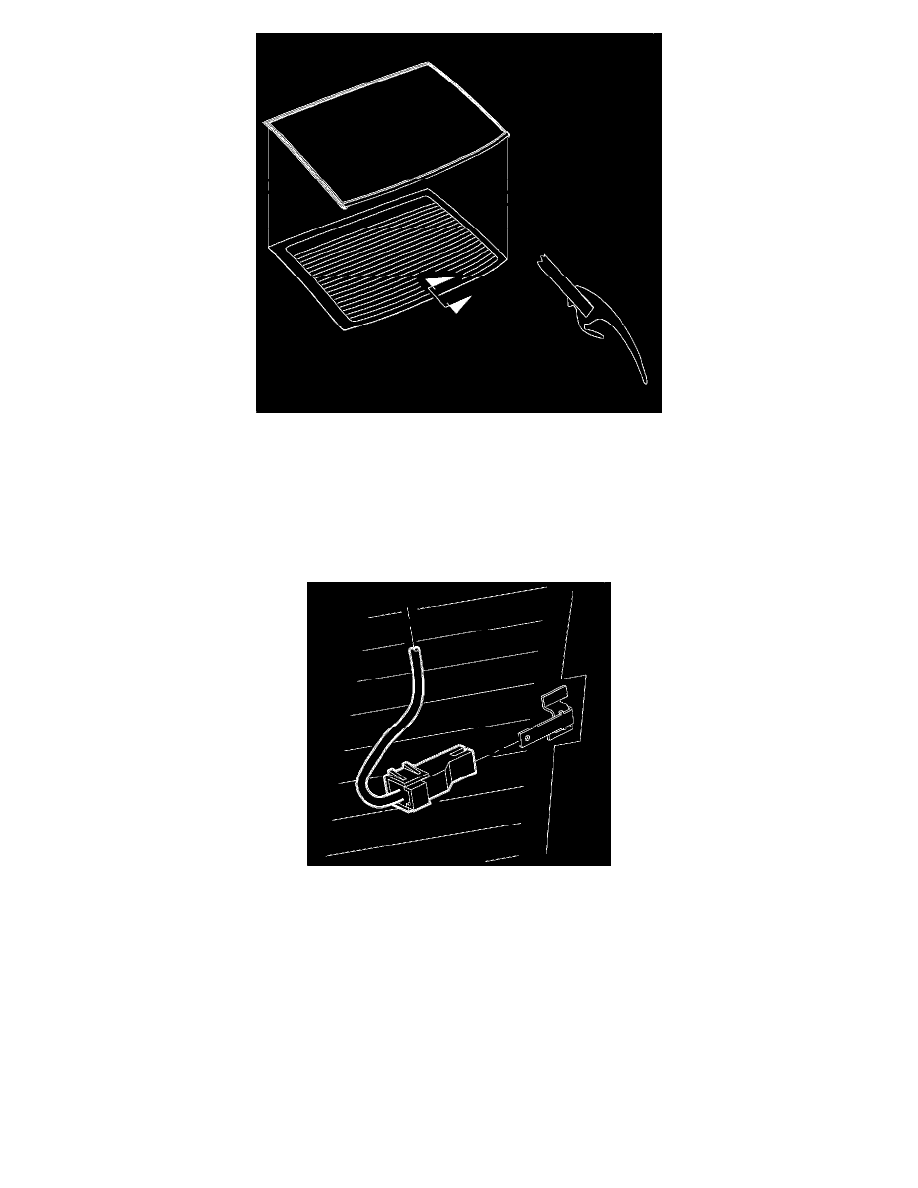
15. Connect the rear window defogger electrical connectors to the bus bars.
16. Remove the previously installed blocks from underneath the headliner.