
LS2 V6-3.0L VIN R (2000)
Important: Loose urethane and/or a rough surface on the remaining urethane may cause sealing problems during installation.
1. Clean the old sealer from the body pinch weld area using a razor or knife. Leave a thin film, approximately 1-2 mm (0.04-0.08 in), around the
perimeter of the window opening and the windshield, if being reused.
2. Clean the entire window opening and the glass bonding surfaces with a clean, lint-free, alcohol dampened cloth.
Notice: To prevent corrosion, paint damage around the window opening by the power glass removal tool must be covered with pinchweld primer.
Do not prime over existing urethane. Follow manufacturers recommendations for drying time.
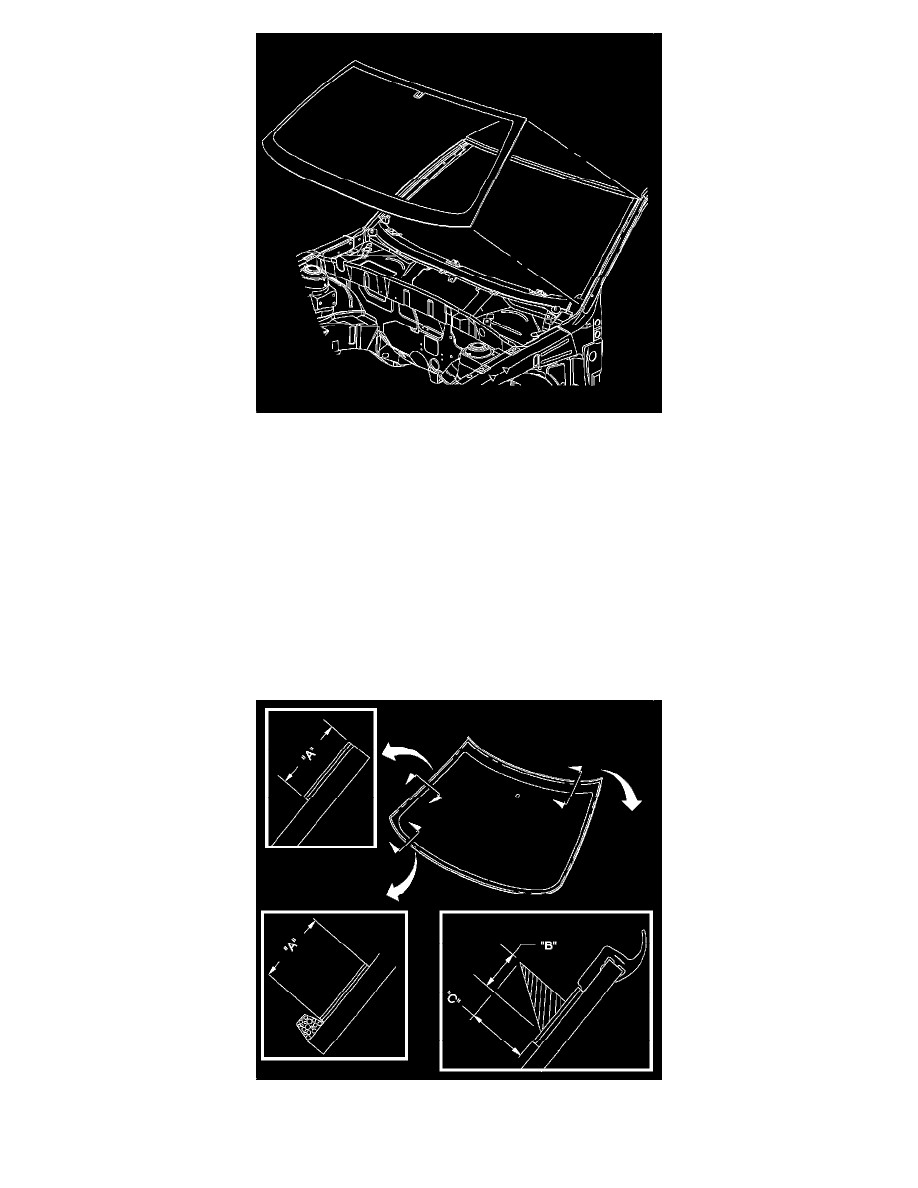
Important: Shake glass prep primer, Clear #1, well before applying.
3. On a new windshield only, apply the glass prep primer, Clear #1, around the entire perimeter of the glass using a dauber. Wipe dry with a clean,
lint-free cloth.
The primer area minimum width for A is 18 mm (0.71 in).
Important: Shake the glass primer, Black #2, well before applying.
4. With a new dauber, apply the glass prep primer, Black #2, around the entire perimeter over Clear #1. Allow the primer to dry 5 minutes before