
LW100 L4-2.2L VIN F (2002)
Passenger Compartment Cross Beam: Service and Repair
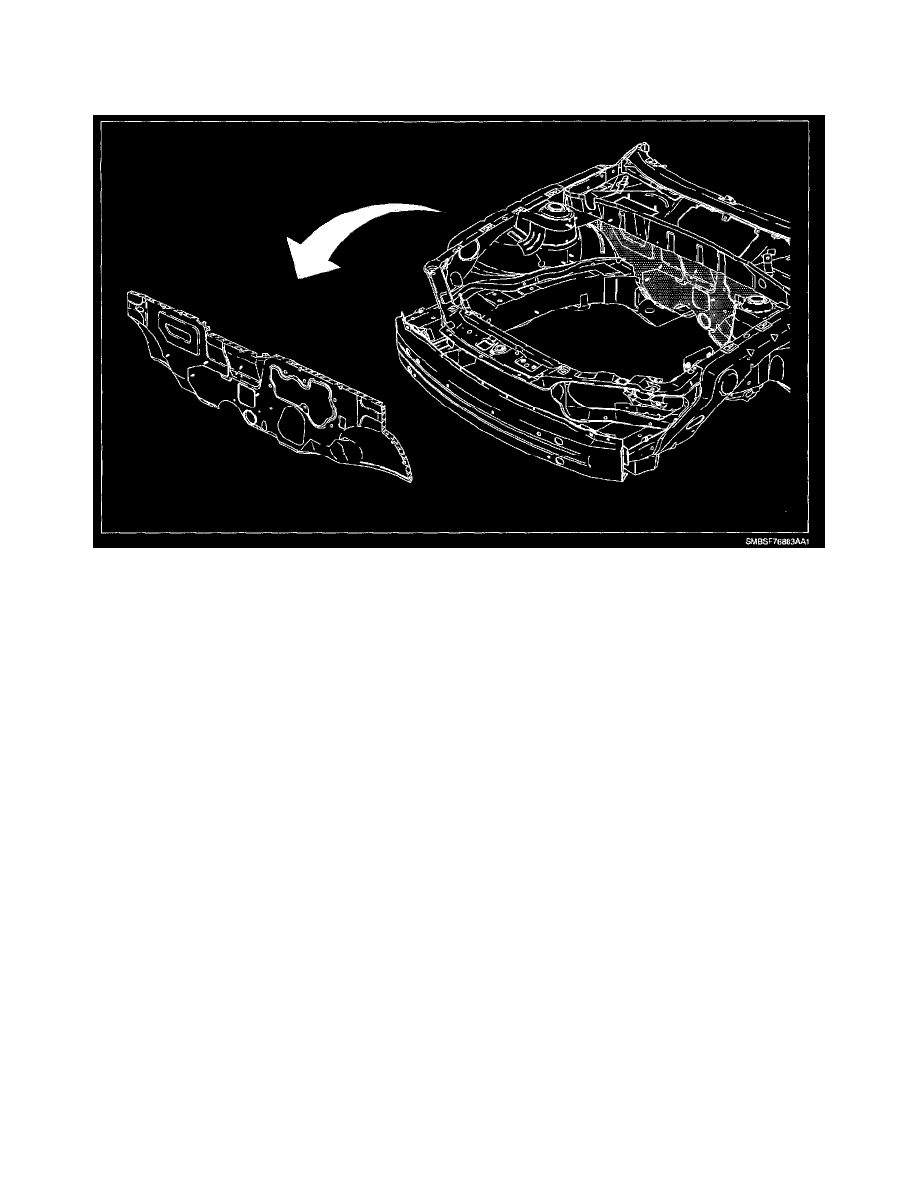
Lower Dash Panel
LOWER DASH PANEL
NOTE:
-
Some parts have structural weld-thru adhesive in the joint areas. It is necessary to replace this with additional spot welds at the attachment points.
This can be accomplished by adding an additional weld between each factory weld in all areas.
-
The dash area has structural weld-through adhesive in the joint areas. It is necessary to replace this with additional spot welds at the attachment
points. This can be accomplished by adding an additional weld between each factory weld in all areas.
1. Remove powertrain.
2. Note amount and location of spot welds. Remove sealer and drill spot welds from:
a. Lower dash panel assembly
b. Front body hinge pillar inner
c. Wheelhousings
d. Upper engine compartment rails
NOTE: Clean all weld seams with a wire brush, prime and seal all repair areas. Apply permanent underbody sealant. It is important that proper
corrosion protection processes are used on all repair areas. Prime with two-part catalyzed primer. Apply sealers and corrosion protection materials
according to information in the Body Paint section of this service manual or paint manufacturer's recommendations.
3. Clean surface for welding and grind primer off new part at connecting points. Apply 3M(R) Weld-Thru Coating P/N 05913 (or equivalent) to all
areas to be welded.
4. Measure and align. Clamp in place.
5. Use MIG to plug weld.