
LW2 V6-3.0L VIN R (2000)
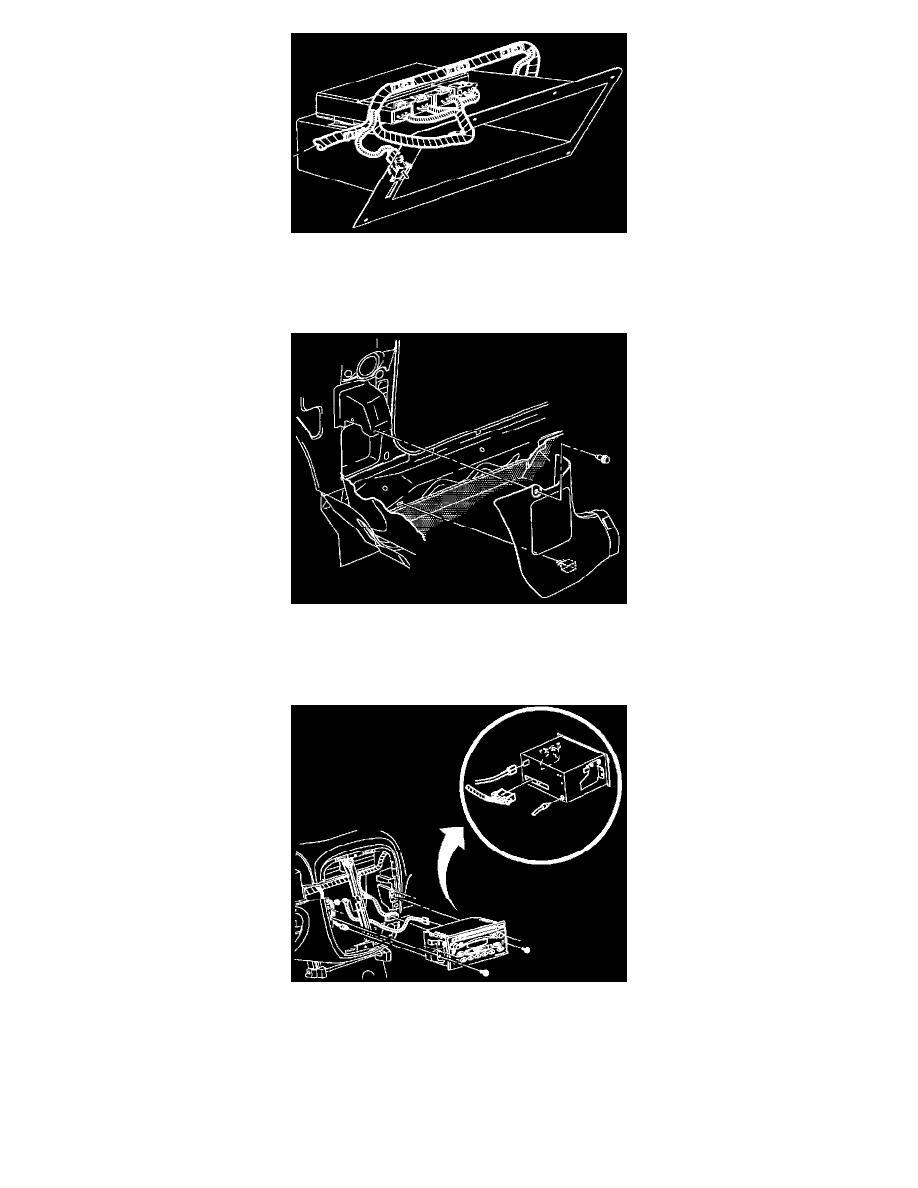
9. Slowly remove glove compartment bin and tilt bin downward to expose BCM residing on top of glove compartment.
10. Remove BCM from glove compartment by sliding module out of attaching slots.
11. Remove glove compartment bin.
12. Let BCM hang on wiring harness.
13. Remove right hinge pillar molding (kick panel).
a. Remove the upper push pin fastener using a trim panel tool.
b. Remove fuse box door and pull on hinge pillar molding at clip location to disengage molding.
c. Slide hinge pillar molding out from under carpet retainer and remove hinge pillar molding.
14. Gain access to rear of radio and connect CD I/P harness to radio.
IMPORTANT: I/P harness connector, antenna connector, and ground strap terminal do not need to be disconnected, unless the radio needs to be
upgraded. Ensure connection.
a. Remove radio.
b. Upgrade radio (if necessary) to AM/FM stereo cassette player with equalizer (UL0) or AM/FM stereo cassette player and CD player with
equalizer (UP0).
c. Connect I/P CD jumper connector to rear of radio.