LW2 V6-3.0L VIN R (2000)

3.
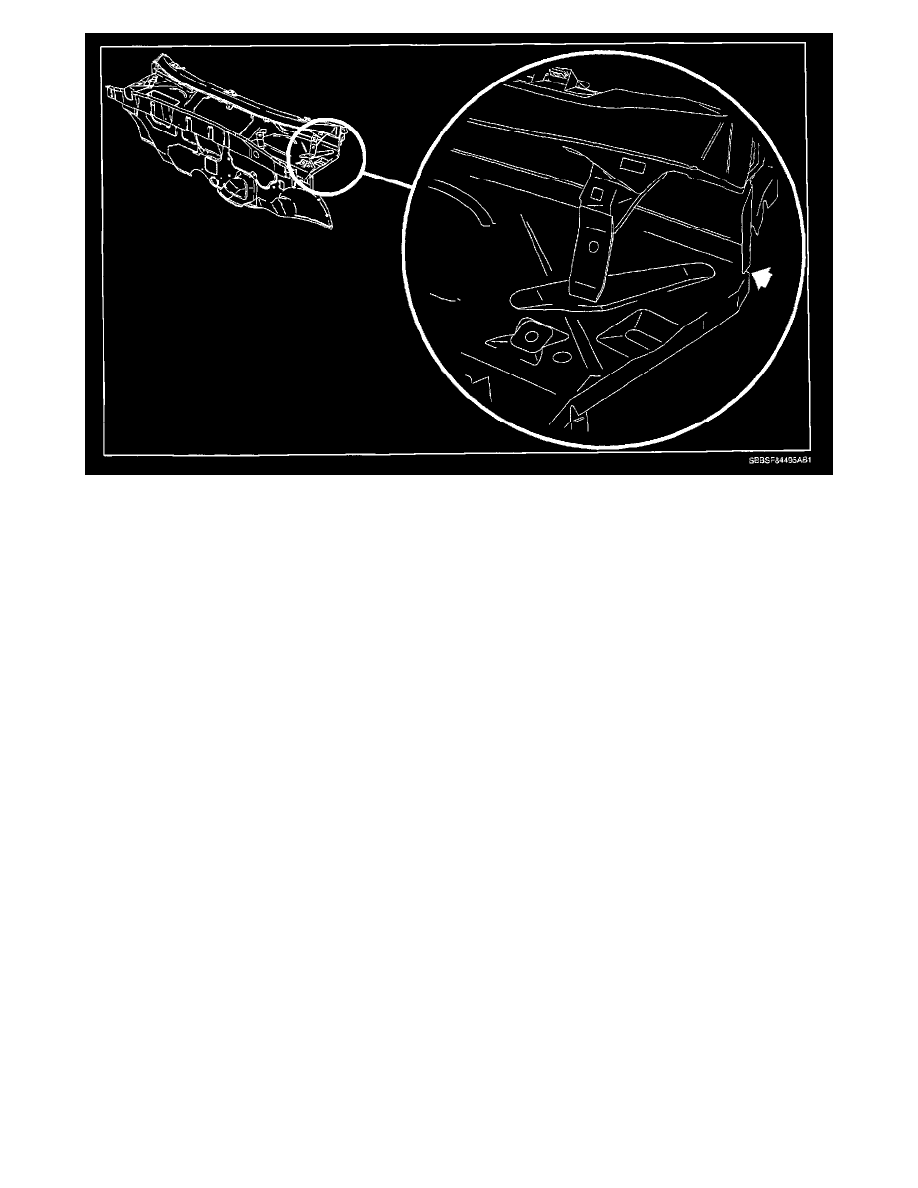
Locate the cowl die notch seam at the rear most outer corner of the cowl area on the affected side of the vehicle.
4.
With an assistant, apply an unrestricted (no nozzle) flow of water from the engine compartment side to the suspected area.
5.
Inspect for water entering the vehicle at the inner hinge pillar behind the instrument panel.
6.
Using KENT Industries High Tech Seam Sealer (P/N 10070) or equivalent, apply a bead of sealer to the die notch seam accessed through the
plenum opening.
7.
Using a brush work the sealer into the seam, allow time to cure.
8.
Water test the area to verify repair.
9.
Install air inlet grill panel and fasteners.
10.
Install carpet. (Refer to "Front Floor Carpet" installation procedure in the Interior Trim section of the 2000 - 2001 or 2002 L-Series
Body/Electrical Volume II Service Manual.)
PASSENGER COMPARTMENT - ENGINE
COMPARTMENT SIDE RAIL-TO-FRONT
OF DASH SEAM (SEDAN AND WAGON)
1.
Remove carpet. (Refer to "Front Floor Carpet" removal procedure in the Interior Trim section of the 2000-2001 L-Series Body/Electrical Volume
II Service Manual.)
2.
With an assistant, apply an unrestricted (no nozzle) flow of water to the engine Compartment side rail-to-front of dash seam. This seam is located
behind the strut tower, and below the strut tower brace to front of dash.
