LW2 V6-3.0L VIN R (2000)

7. Move the height adjuster to the lowest position.
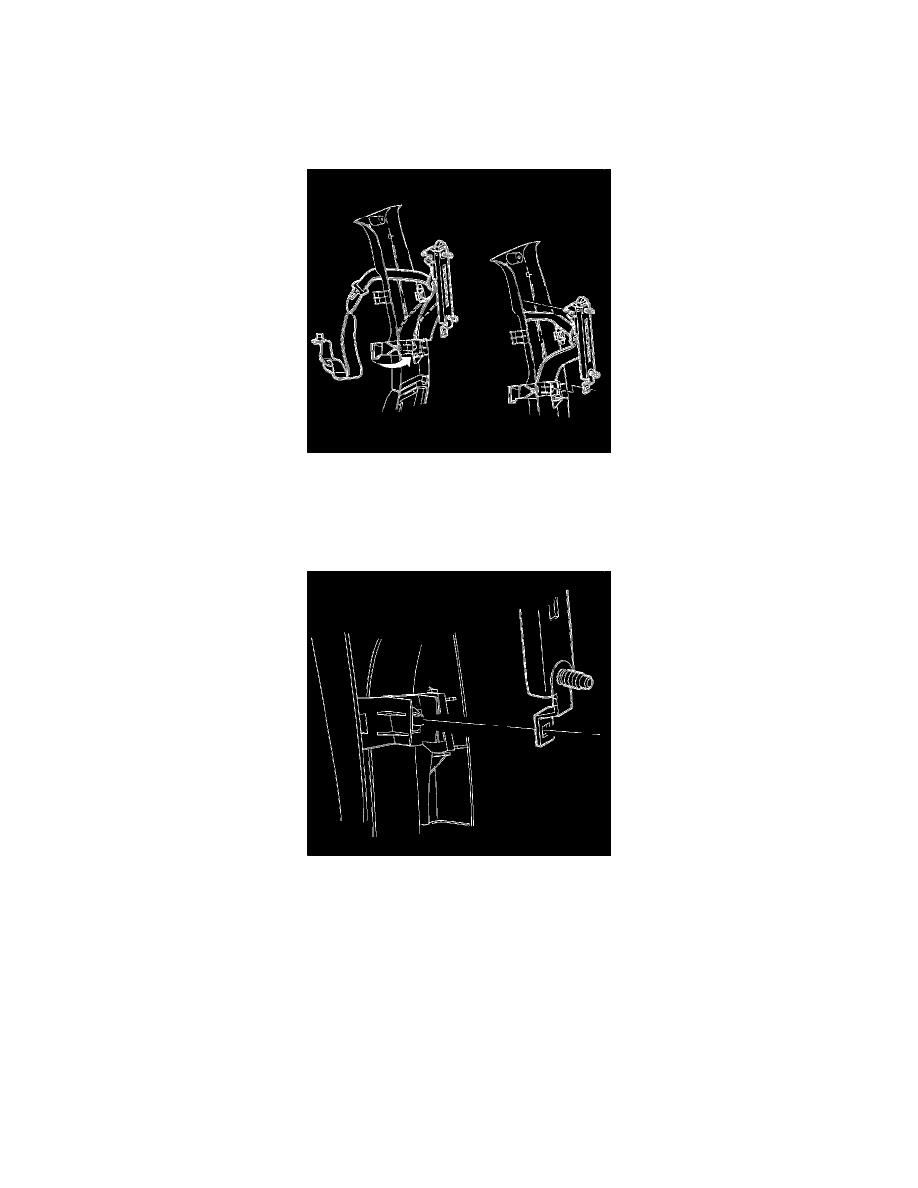
8. While holding the center pillar upper molding, pull on the shoulder belt adjuster to disengage the attaching clip and slider tab.
9. Using a small flat-blade tool, unsnap the center pillar hinge.
10. Route the shoulder belt through the center pillar upper molding opening.
11. Remove the center pillar upper molding.
Installation Procedure
Caution: Apply Loctite 242(R) Threadlocker US P/N 12345382 (Canadian P/N 10953489), or equivalent, on all restraint bolts/nuts before
installation. Failure to use such threadlocker correctly may result in personal injury.
1. Position the shoulder belt into the center pillar upper molding and snap the hinge closed.
2. Route the shoulder belt through the center pillar upper molding opening until the latch plate has been routed through the opening.
3. Snap the shoulder belt adjuster into the center pillar hinge clip.
