
LW2 V6-3.0L VIN R (2000)
2.
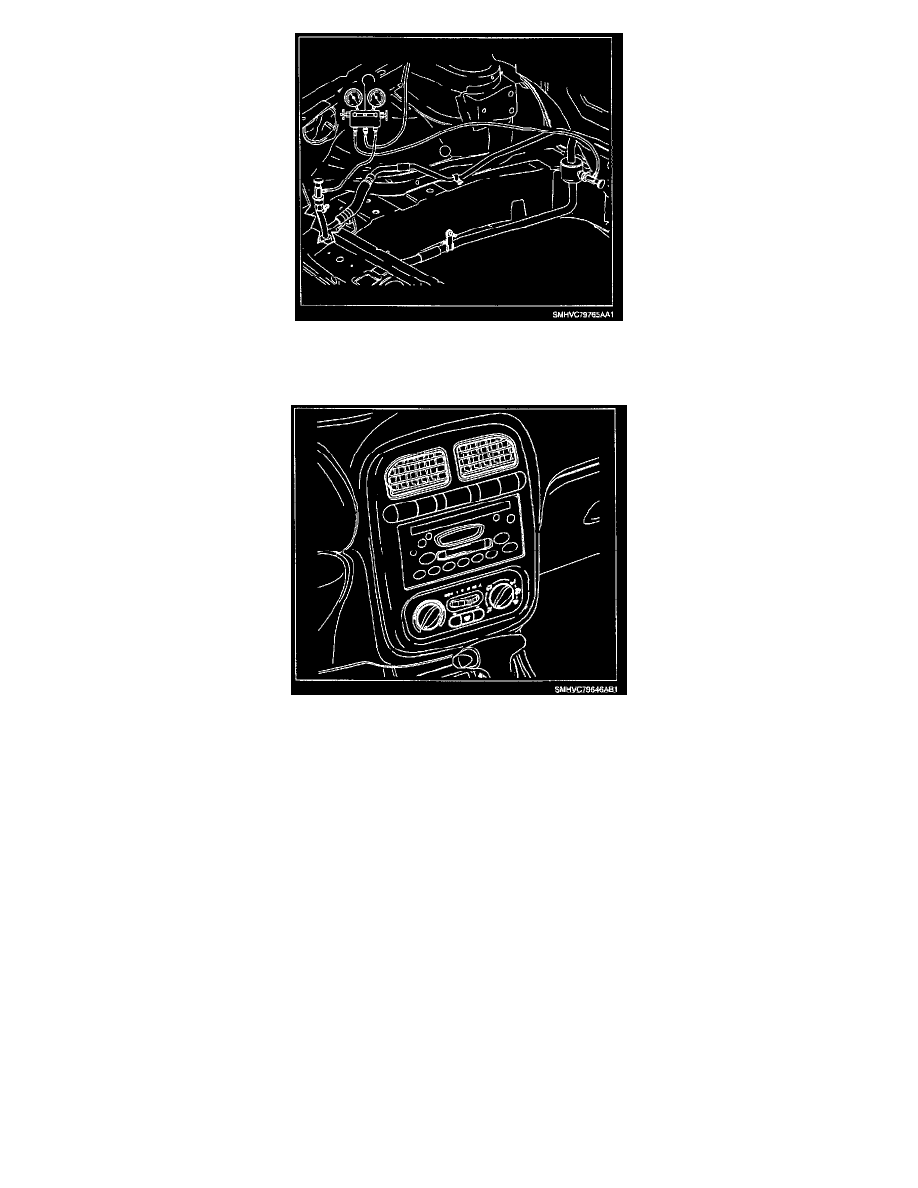
Install a manifold gauge set to high and low side service ports making sure gauge set is visible from inside the vehicle.
3.
Start engine.
4.
Turn A/C Off- A/C button indicator light Off.
5.
Depress re-circulation button so that indicator light is lit.
6.
Install thermometer into right center outlet.
7.
Set mode knob to I/P outlet position - full counter-clockwise.
8.
Set temperature knob to full cold position - full counter-clockwise.
9.
Set blower to third speed - M2.
10.
Open both front doors and windows to stabilize interior air temperature with outside ambient temperature.
IMPORTANT:
A Tech 2 with version 19.005 or higher software is required to perform this test.
11.
Connect Tech 2 to data link connector (DLC).
12.
Using the Tech 2, verify engine is operating at thermostat control temperature - ECT is 188°F (87°C) or greater.
13.
Use the appropriate Tech 2 special function to set engine cooling fan speed to medium.
^
For L81 engines: