
LW2 V6-3.0L VIN R (2000)
NOTICE:
Do not lubricate seal washers.
8.
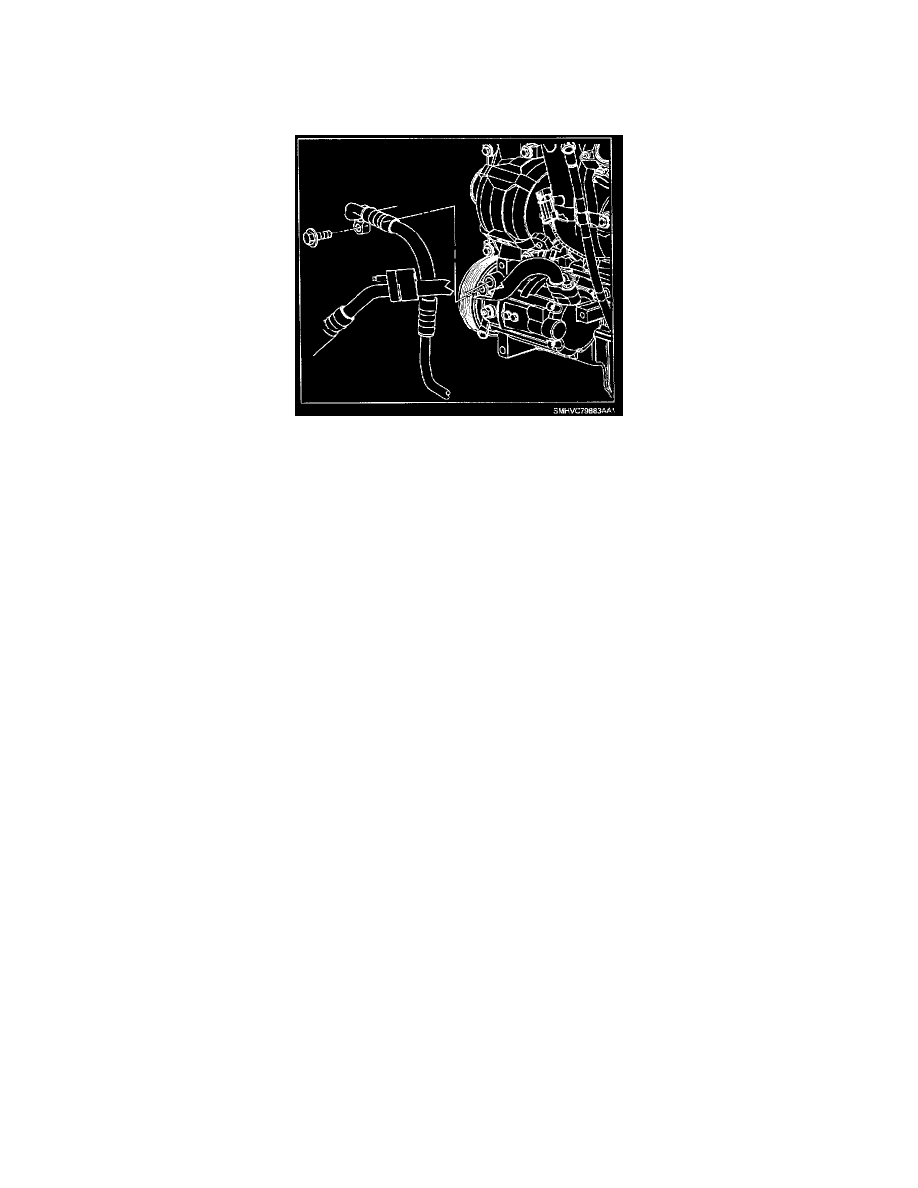
Install new seal washer and new bolt on discharge line.
9.
Install discharge line-to-compressor and hand start bolt.
Torque:
Discharge Line-to-Compressor
Bolt: 19 Nm (14 ft-lbs)
10.
Connect negative battery cable.
Torque:
Battery Terminal Bolt: 17 Nm (13 ft-lbs)
11.
Evacuate, recharge, and leak check the A/C system.
IMPORTANT:
Do not cover any existing underhood labels when affixing Campaign Completion Label.
12.
Affix Campaign Completion Label on a clean and dry surface of radiator core support, in an area clearly visible when hood is raised. (For more
information, refer to "Campaign Completion Label" in this bulletin.)
L81
1.
Disconnect negative battery cable.
IMPORTANT:
Verifying the purity of the refrigerant with a purity identifier before recovery is recommended.
2.
Recover refrigerant using an approved refrigerant recovery system. Measure the amount of oil removed during recovery and record.
CAUTION:
DO NOT REMOVE HOSES OR LINES BEFORE SYSTEM IS FULLY DISCHARGED.
3.
Remove battery heat shield.
4.
Disconnect front upper oxygen sensor connector and remove wire harness from retaining clips.
CAUTION:
MAKE SURE VEHICLE IS PROPERLY SUPPORTED AND SQUARELY POSITIONED ON THE HOIST. TO HELP AVOID PERSONAL
INJURY WHEN A VEHICLE IS ON A HOIST, PROVIDE ADDITIONAL SUPPORT FOR THE VEHICLE ON THE OPPOSITE END FROM
WHICH COMPONENTS ARE BEING REMOVED.