
LW2 V6-3.0L VIN R (2000)
B.
Remove the upper two nuts from the tail lamp assembly.
C.
Remove and discard the upper gray socket and bulb assembly (brake/tail lamp bulb).
Important:
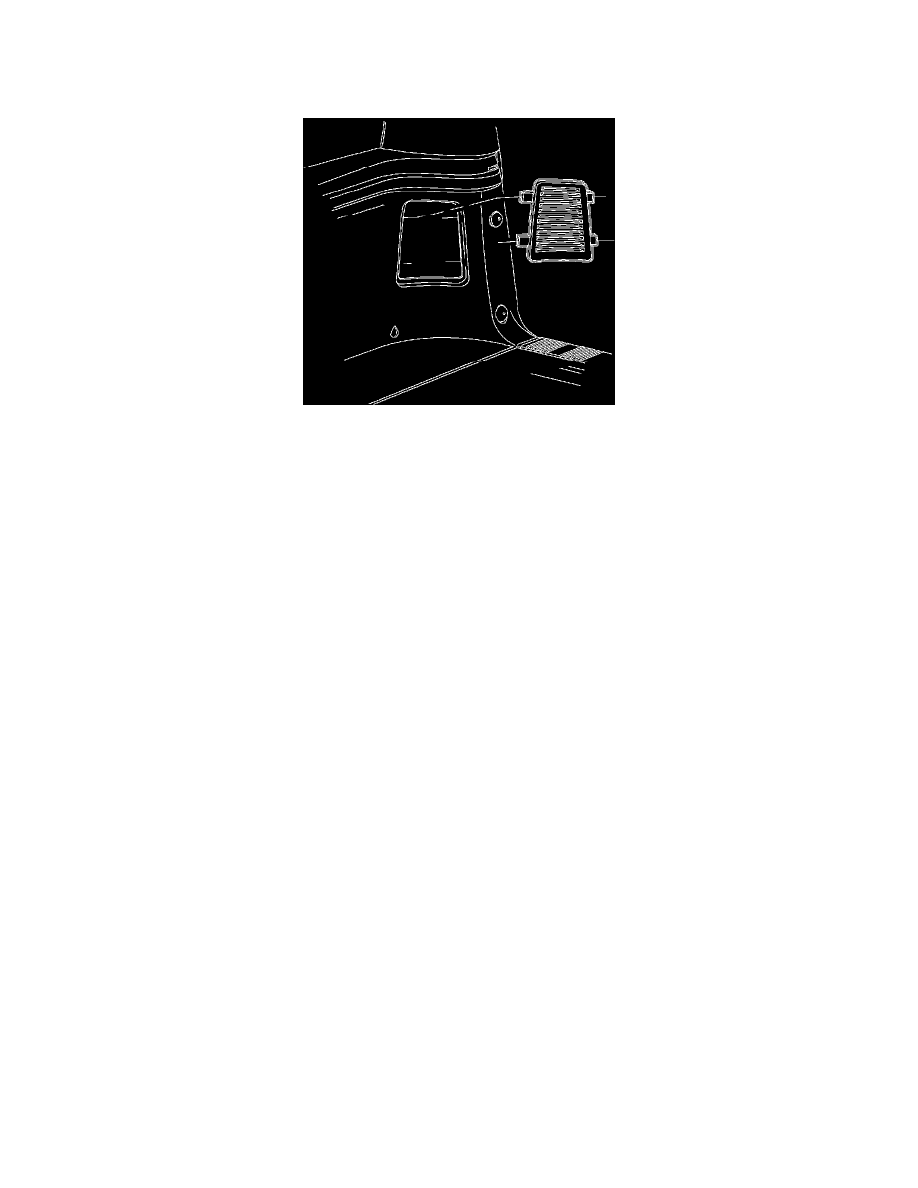
There is a bracket assembly for the left and the right tail lamp assembly. Each bracket assembly has a side indicator (1) on the face of the
bracket assembly. Refer to the illustration to view the bracket assembly and location of the side indicator.
3.
Assemble and install the new bracket assembly.
^
Install the bulb, P/N 12450108, into the socket in the bracket assembly.
A.
Position the bulb into the lamp assembly opening and slide the bracket over the two lamp studs.
B.
Install the upper two nuts onto the tail lamp assembly, securing the bracket assembly.
Notice:
Refer to the Fastener Notice in Cautions and Notices, SI document number 9788.
Tighten
Tighten the nuts to 3.5 Nm (31 lb-in).
C.
Attach the loose connector from the bracket assembly to the connector on the tail lamp assembly.
D.
Attach the body harness connector to the fixed connector on the bracket assembly.
4.
Perform the repair procedure on the other tail lamp. Perform Steps 1 - 3.5 and then proceed to Step 5.
5.
Verify the function of all tail lamp bulbs.