
LW2 V6-3.0L VIN R (2000)
CAUTION: Make sure vehicle is properly supported and squarely positioned. To help avoid personal injury when a vehicle is on a hoist,
provide additional support for the vehicle on the opposite end from which components are being removed.
7. Raise vehicle to a comfortable working height.
CAUTION: Never drain or store fuel in any open container due to the possibility of fire or explosion.
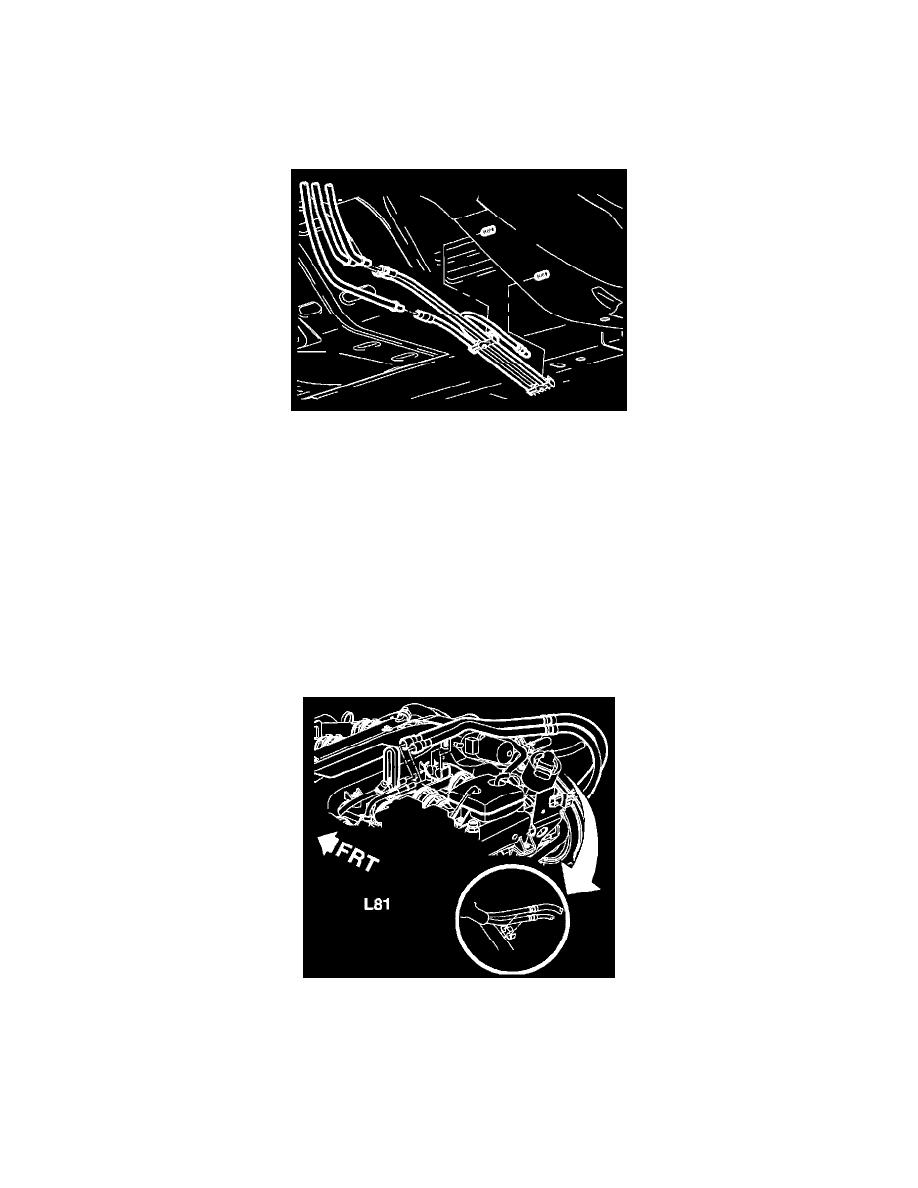
8. Disconnect front fuel feed, return and front EVAP canister purge lines from the chassis fuel feed, return and EVAP cannister purger lines located
near passenger front wheel well.
9. Release underbody retaining clip.
10. Remove necessary lines.
INSTALLATION
CAUTION: If fuel lines were disconnected at connectors, lubricate steel line male ends with clean engine oil holding steel line firmly press on
female coupler until click is heard. Then pullback to confirm engagement. Pinched, kinked or damaged fuel and vapor lines must be replaced.
NOTE:
^
Plastic retainers must be replaced when fuel lines are disassembled. Install new retainer into female cavity. Care must be taken to ensure
that locking tab is centered in window of female cavity. Firmly press female connection onto male end until a click is heard, then pull
back to confirm engagement.
^
Fuel lines cannot be spliced. If damaged, they must be replaced with the same type of line.
1. Make sure lines are not kinked, bent, or damaged.
2. Install fuel and vapor lines. Make sure the lines are properly routed. Attach the fuel line connectors at both ends. Connect the vapor line at both
ends.
NOTE: All nuts that are corroded or damaged must be replaced to ensure fuel line retainers do not come loose from the vehicle's body.