
LW2 V6-3.0L VIN R (2000)
1. Raise vehicle on hoist.
2. Remove wheel and tire assemblies.
3. Remove the two strut to knuckle bolts and discard.
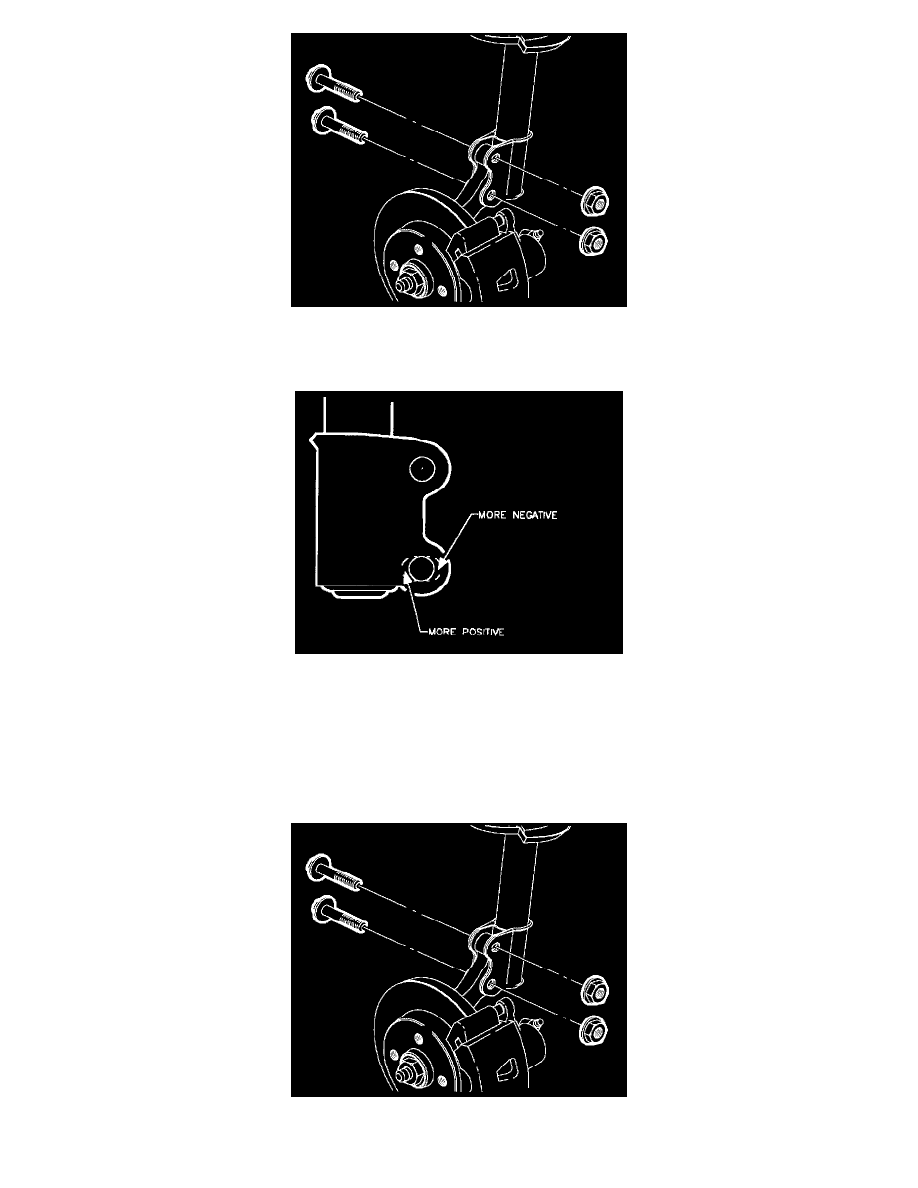
4. The strut mounting bracket consists of two layers of metal, an inner layer and an outer layer. The inner layer has a rough 14.4 - 14.8 mm (0.57 -
0.58 inch) hole through it at the mounting locations, while the outer layer has a 18.4 - 18.8 mm (0.72 - 0.74 inch) slot through it.
5. Using a round file or grinder, remove material from the inner layer of the strut bracket lower hole. The round hole may be increased to the size and
shape of the slot in the outer layer. Do this on both sides of the strut bracket.
-
To increase negative camber, remove material from the outside of the lower strut hole.
-
To decrease negative camber, remove material from the inside of the lower strut hole.
IMPORTANT: If the strut was filed or ground, paint exposed metal with primer.
6. Position knuckle back into strut and install new bolts. Tighten strut to knuckle fasteners.
Torque: 50 Nm (37 ft. lbs.) then