
LW2 V6-3.0L VIN R (2000)
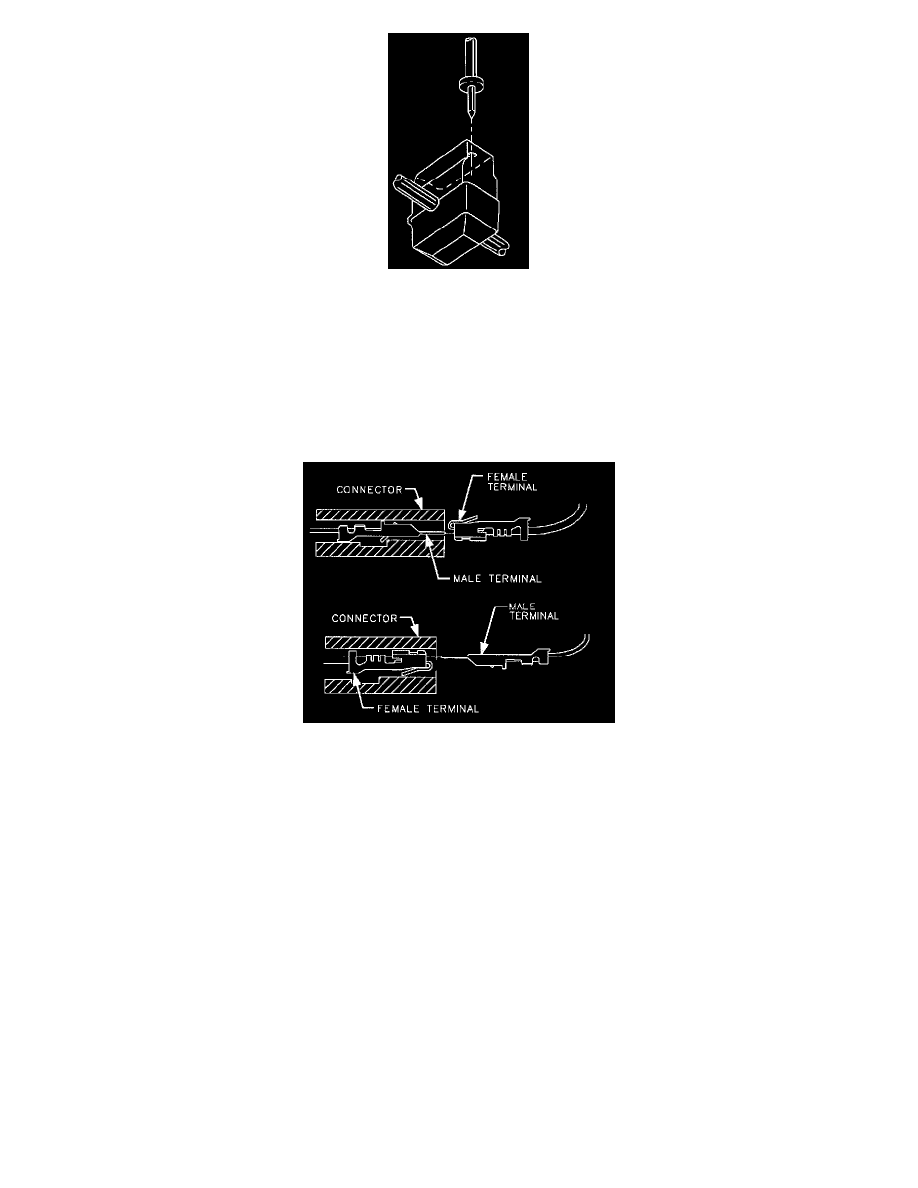
4. To probe the wire, insert the multimeter probe into the housing through the gel to contact the terminal. The housing has a thin wall of material to
pierce with the multimeter probe. In some locations the multimeter probe should be used to pierce the probe opening, before the probe is installed
on the wire.
IMPORTANT: Once the probe is installed, it should not be removed. The diagnostic service probe is designed to stay on the wire permanently. The
gel material inside the probe will seal the wire and allow the wire to be probed several times.
Connector Jumper Usage
NOTE: Do not push multimeter probes into the connector terminals.
These devices are made of a short length of wire, a terminal, and a diagnostic service probe or an alligator clip. The terminals may be obtained from
the service parts cut lead kits or from a scrap wiring harness.
These jumpers are color coded. Check the connector face view to verify which jumper is used with the connector that is being probed.
They have a dual purpose. The first being to aid in measuring voltage, resistance, or current at a connector. Since diagnostic service probes are limited
to use on .35, .50, and .80 mm, (22, 20, and 18 gage) thin wall wire, many of the wires cannot be probed without disconnecting the connector. But,
probing the terminal could spread the contacts and damage them. Once a contact is damaged it is very difficult to make good contact with a male
terminal. By constructing a jumper, the probe can make excellent contact with the circuit through the diagnostic service probe or the alligator clip, and
the terminal won't be damaged.