LW2 V6-3.0L VIN R (2000)

may also be in a circuit that is switched, such as a circuit beyond a relay contact.
2. Before checking the integrity of a circuit by means of a voltmeter or ohmmeter, check to see if other components or systems fed or grounded by
the circuit are operating properly.
3. Verify that connector pin terminals are not spread apart, broken, worn, or corroded due to salt water, antifreeze, etc.
4. Verify that terminals and pins are in their correct cavities.
5. Opens normally occur at connectors, terminals, and splices.
6. Use diagnostic service probe and a multimeter to diagnose circuits that contain .35, .50, and .80 mm square (22, 20, and 18 gage) wires. The
diagnostic service probe causes a minimum of disturbance to the circuit wiring and connections.
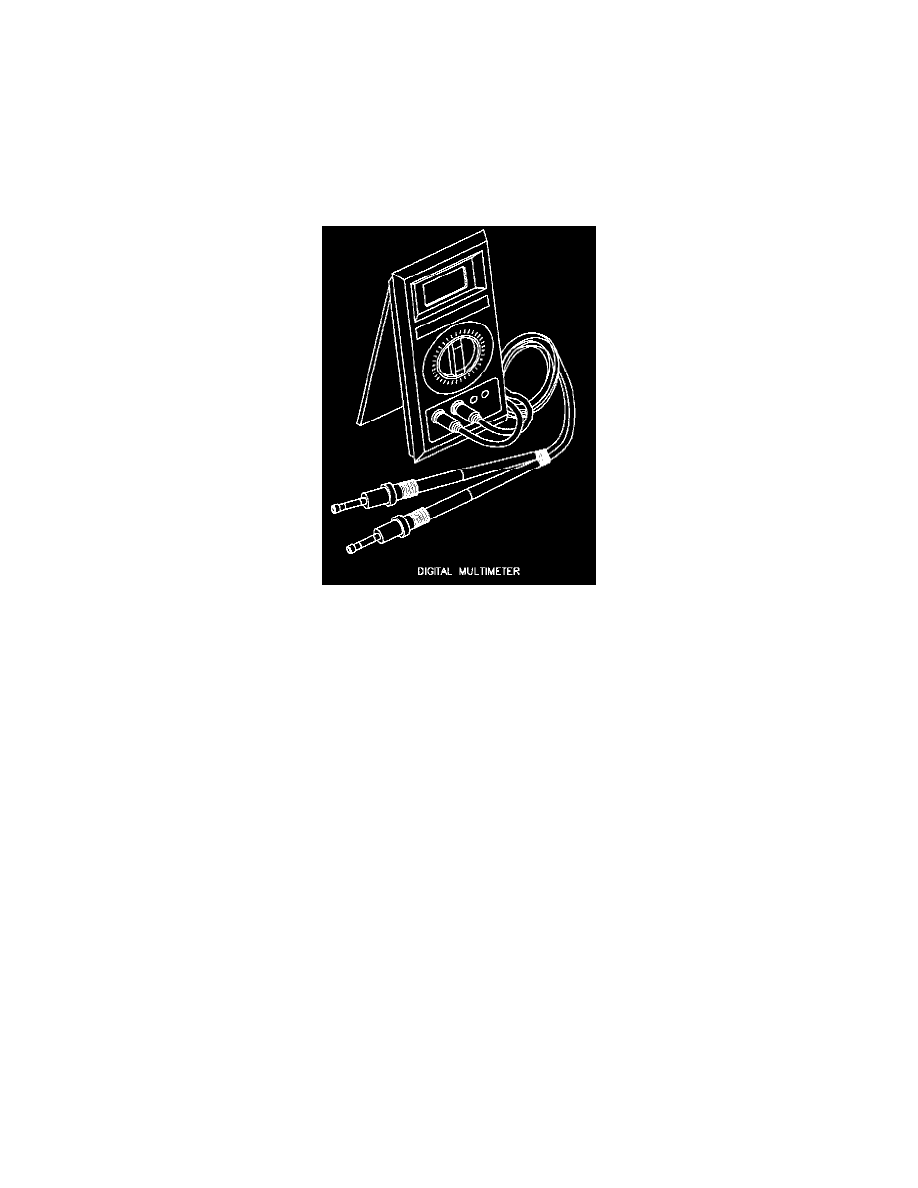
Digital Multimeter
Digital multimeters approved for use on Saturn vehicles must have an input impedance of ten megohms (10,000,000 Ohms). Input impedance is listed
in the multimeter's owner guide.
IMPORTANT: The input impedance of a multimeter stands for the resistance between the red and black leads, only when you are measuring voltage.
When measuring resistance, the only resistance other than in the circuit being measured is in the actual leads being used.
IMPORTANT: Always follow the manufacturers recommendation when checking for current. All multimeters have a maximum current rating, do not
exceed this rating. Not all multimeters contain a fuse that protects the multimeter from damage if a larger current draw is experienced. So be careful
when checking for current draw.
A digital multimeter performs all the tests that a test light can perform, with a greater degree of accuracy. In addition, a multimeter can be used to test for
current flow in a circuit.
Voltage
Voltage is the electrical pressure in the circuit and is the most commonly used electrical test setting on the multimeter. Most digital multimeters have a
number of different voltage scales. To determine what scale to use, always use the lowest scale on the multimeter that can be used to test the circuit. For
example, if the multimeter has a 200 millivolt scale, a 20 Volt scale and a 200 Volt scale, and you are testing for battery voltage (approximately 12-14
Volts), set the multimeter to the 20 Volt scale. If you should select a scale that is too low, the meter indicates this by displaying a 1 or an OL on the
display. This will not harm the multimeter, and you can always select a higher scale until a good reading is obtained. The same goes for selecting too
high of a scale. If you select the 200 Volt scale and you are testing for battery voltage (12.8 Volts), most multimeters will display 12 Volts. By selecting
the next smallest scale, 20 Volts, the multimeter's display will change to 12.8 volts.
Amperage (Current)
Since a multimeter has a very low resistance when measuring current, caution must be used to prevent damage to the multimeter. Always check the
recommendations, listed in the multimeter's owner guide for the maximum current to be tested for. As previously mentioned, most multimeters are
protected by a fuse when checking for current. However, not all multimeters are protected, and excessive current will damage a multimeter.
The most common use for measuring current in automotive applications is checking for parasitic current drain. This is the amount of current being drawn
by the vehicle with all electrical loads off. The normal parasitic current drain for a Saturn vehicle is less than 10 milliamps (although it can go as high as
14.1 milliamps if the vehicle has the Saturn approved anti-theft system installed). This current drain comes from components that require voltage to
sustain a memory circuit such as the clock, radio, powertrain control module, etc. However, when checking for parasitic current drain, always check to
