
LW2 V6-3.0L VIN R (2000)
12.
On non-power window equipped vehicles, remove window crank handle.
13.
Disengage door trim panel side retainers by grasping door panel along bottom and gently pulling out.
14.
Lift upward on door trim panel to disengage panel from door structure at top of panel.
15.
On vehicles equipped with illuminated front door trim panels, hold door trim panel away from door structure and disconnect wiring harness
connector.
16.
Remove door trim panel and place in a clean protected area.
17.
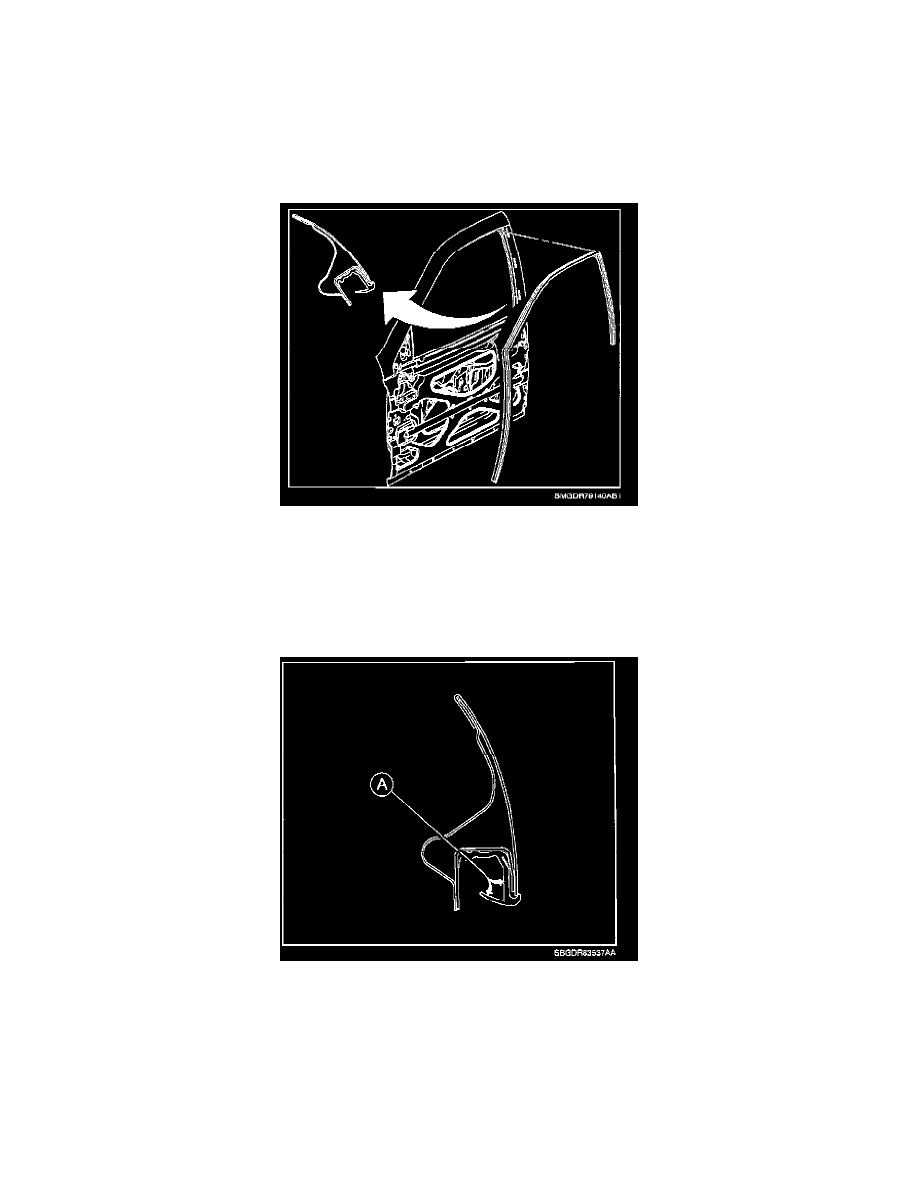
Remove inner window run channel weatherstrip along rear edge (B-pillar area) of front door.
18.
Use a flat blade tool along rear edge (B-pillar area) of front door to expose inside edges of weatherstrip.
19.
Obtain Dupont KRYTOX(R) Lubricant (P/N GPL - 105), or equivalent.
20.
Apply a 1 mm (0.04 in.) bead of lubricant along entire vertical length of weather strip (at location [A] as shown) between belt line and top of door.
21.
Smooth out lubricant on weatherstrip using a small brush or cotton swab.
IMPORTANT:
If it is determined that the weatherstrip requires replacement, make sure to lubricate the new weatherstrip by following the above steps.
22.
position and install inner window run channel weatherstrip.