
LW200 L4-2.2L VIN F (2003)
Fuel Supply Line: Service and Repair
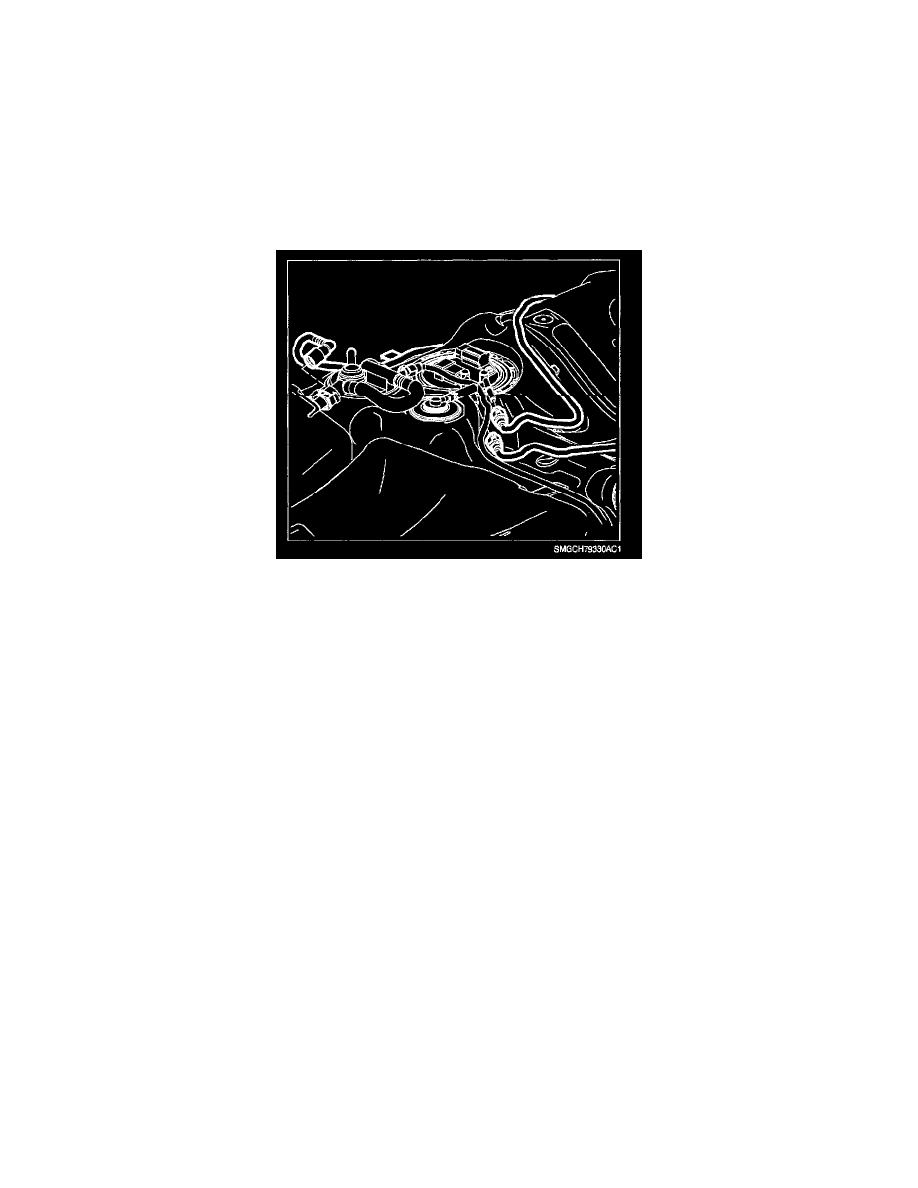
Rear Fuel Feed, Return and Purge Line
REMOVAL
CAUTION:
^
DO NOT ALLOW SMOKING OR THE USE OF OPEN FLAMES IN THE AREA WHERE WORK ON THE FUEL SYSTEM IS
TAKING PLACE.
^
ANY TIME THE FUEL SYSTEM IS BEING WORKED ON, DISCONNECT THE NEGATIVE BATTERY CABLE, EXCEPT FOR
THOSE TESTS WHERE BATTERY VOLTAGE IS REQUIRED.
NOTE: Fuel/Vapor lines cannot be spliced or repaired. The line must be replaced (if damaged) with the same type of line.
1. Remove fuel tank.
2. Once fuel tank has been removed, disconnect damaged fuel lines.
INSTALLATION
NOTE: Plastic retainers must be replaced when fuel lines are disassembled. Install new retainer into female cavity. Care must be taken to assure that
the locking tab is centered in the window of the female cavity. Firmly press the female connection onto the male end until a click is heard, then pull
back to confirm engagement.
NOTE: Fuel lines cannot be spliced. If damaged, they must be replaced with the same type of line.
1. Make sure lines are not kinked, bent, or damaged.
2. Install new fuel feed, return and EVAP canister purge lines.
3. Clip fuel and vapor hoses in place.
4. Install fuel tank.
5. Lower vehicle.
6. Connect negative battery terminal.
Torque:
Battery Terminal Bolts: 17 N.m (13 ft-lbs)
7. Prime fuel system.
7.1 Cycle ignition On for 5 seconds and then Off for 10 seconds.
7.2 Repeat step 7.1 twice.
7.3 Crank engine until it starts (maximum starter motor cranking time is 20 seconds.
7.4 If engine does not start, repeat steps 7.1-7.3.