
RELAY AWD V6-3.5L VIN 8 (2005)
DELPHI CONNECTORS (PUSH TO SEAT CONNECTORS)
TERMINAL REMOVAL PROCEDURE
Follow the steps below in order to repair push to seat connectors.
1. Remove the terminal position assurance (TPA) device, the connector position assurance (CPA) device, and/or the secondary lock.
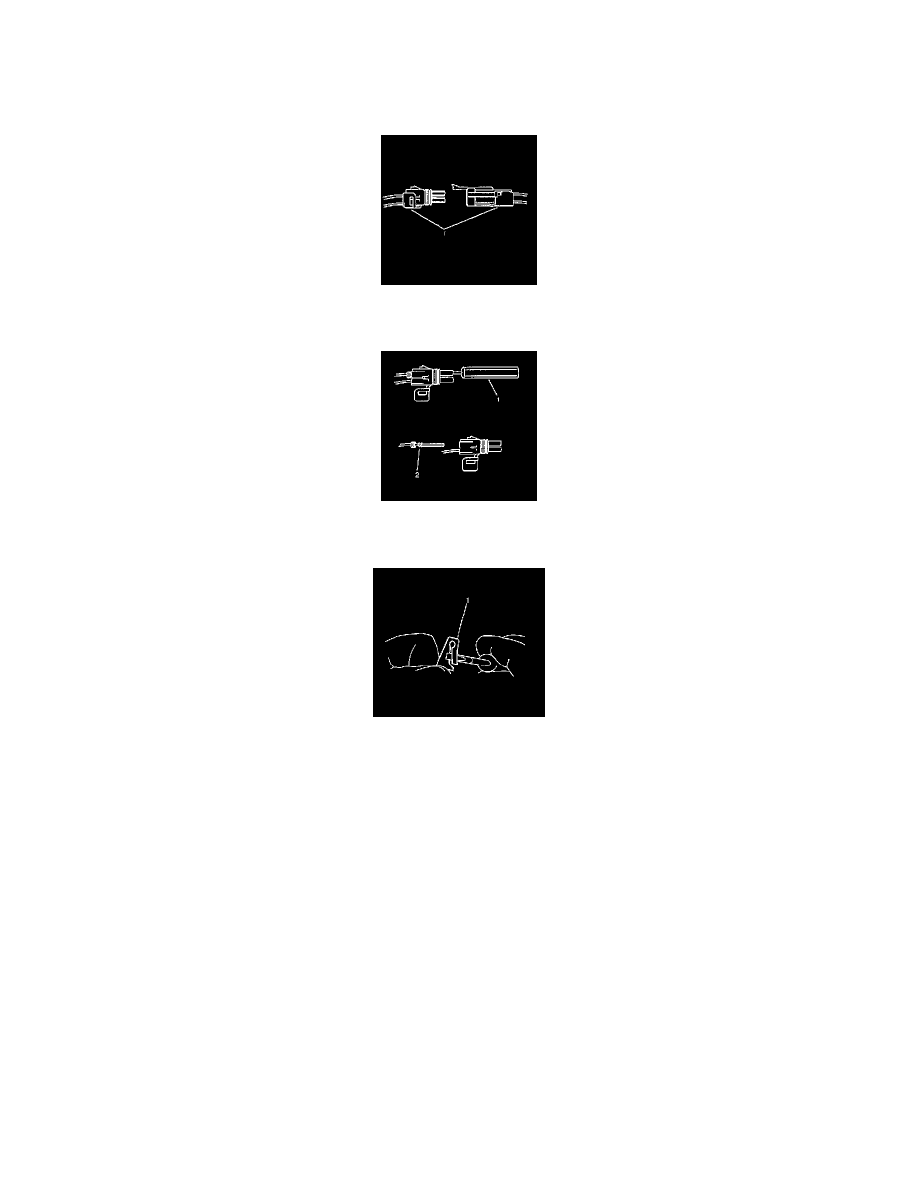
2. Separate the connector halves (1).
3. Use the proper pick or removal tool (1) in order to release the terminal.
4. Gently pull the cable and the terminal (2) out of the back of the connector.
5. Re-form the locking device if you are going to reuse the terminal (1).
6. To repair the terminal, refer to Terminal Repair.
TERMINAL INSTALLATION PROCEDURE
1. In order to reuse a terminal or lead assembly. Refer to Wiring Repairs.
2. Ensure that the cable seal is kept on the terminal side of the splice.
3. Insert the lead from the back until it catches.
4. Install the TPA, CPA and/or the secondary locks.
Delphi Connectors (Micro .64 Connectors)
DELPHI CONNECTORS (MICRO.64 CONNECTORS)
TOOLS REQUIRED
J-38125 Terminal Repair Kit
IMPORTANT: When probing female 0.64 terminals, it is important to use the correct adapter. There have been some revisions to the test adapter for
0.64 terminals. The proper adapter for 0.64 terminals is the J 35616-64B which has a tin terminal and a blue wire between the base and tip. Failure to
use the proper test adapter may result in damage to the terminal being tested and improper diagnosis.
TERMINAL REMOVAL PROCEDURE