
RELAY AWD V6-3.5L VIN L (2006)
Front Door Weatherstrip: Service and Repair
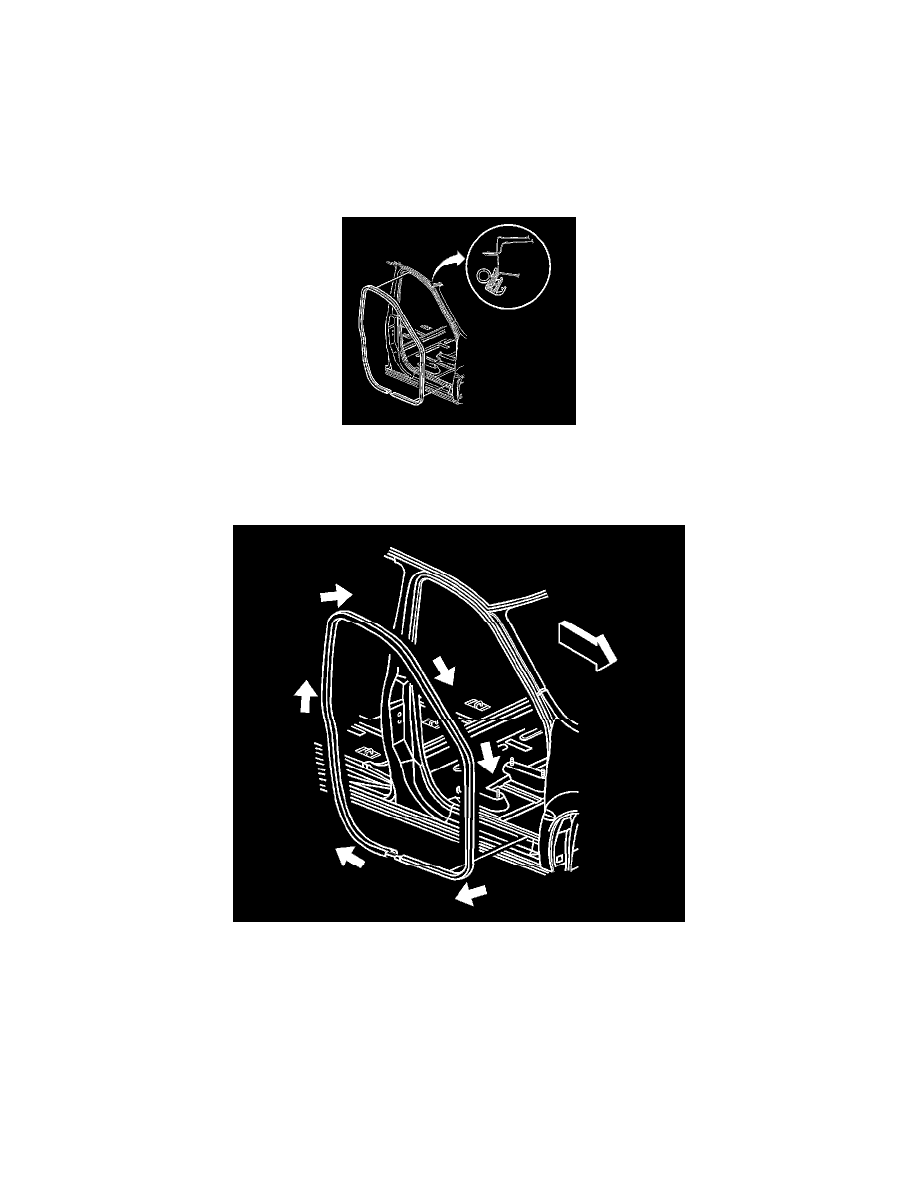
Weatherstrip Replacement - Front Door Opening
Weatherstrip Replacement - Front Door Opening
Removal Procedure
1. Remove the front door opening sill plates. Refer to Door Sill Plate Replacement (Door) (See: Interior Moulding / Trim/Scuff Plate/Service and
Repair)Door Sill Plate Replacement (Sliding Door) (See: Interior Moulding / Trim/Scuff Plate/Service and Repair) .
2. Pull the front door opening weatherstrip from the front door pinch-weld flange.
3. Clean all adhesive from the pinch-weld flange.
Installation Procedure
Important: A mastic/sealer/glue is inside the new front door opening weatherstrip. If you are using a new front door opening
weatherstrip, DO NOT use any weatherstrip adhesive.
1. Install the front door opening weatherstrip to the front door pinch-weld flange with the joint at the bottom.
2. Align the appropriate dot to the starting point of the front door opening weatherstrip at the lower center of the front door pinch-weld flange.
*
Use the weatherstrip with a green dot for the right side.
*
Use the weatherstrip with a red dot for the left side.
3. Roll the remainder of the of the front door opening weatherstrip onto the flange as indicated by the arrows.
*
Fully seat the weatherstrip into the corners of the front door opening.