
RELAY AWD V6-3.5L VIN L (2006)
Evaporative Emissions Hose: Service and Repair
Evaporative Emission (EVAP) Hoses/Pipes Replacement - Chassis/Canister
EVAPORATIVE EMISSION HOSES/PIPES REPLACEMENT - CHASSIS/CANISTER
REMOVAL PROCEDURE
CAUTION: In order to Reduce the Risk of Fire and Personal Injury:
-
If nylon fuel pipes are nicked, scratched or damaged during installation, Do Not attempt to repair the sections of the nylon fuel pipes.
Replace them.
-
When installing new fuel pipes, Do Not hammer directly on the fuel harness body clips as it may damage the nylon pipes resulting in a
possible fuel leak.
-
Always cover nylon vapor pipes with a wet towel before using a torch near them. Also, never expose the vehicle to temperatures higher
than 115°C (239°F) for more than one hour, or more than 90°C (194°F) for any extended period.
-
Before connecting fuel pipe fittings, always apply a few drops of clean engine oil to the male pipe ends. This will ensure proper
reconnection and prevent a possible fuel leak. (During normal operation, the O-rings located in the female connector will swell and may
prevent proper reconnection if not lubricated.)
NOTE:
-
Refer to Nylon Fuel Lines Notice in Service Precautions.
-
Cap the fittings and plug the holes when servicing the fuel system in order to prevent dirt and other contaminants from entering the open pipes and
passages.
1. Remove the engine and transmission as an assembly.
2. Perform the following procedures if equipped with auxiliary rear air and heat.
1. Disconnect the rear heater and A/C pipes from the rear heating, ventilation, and air conditioning (HVAC) module.
2. Move the rear heater and A/C pipes in order to remove the fuel pipes.
3. Disconnect the fuel feed and evaporative emission (EVAP) pipes from the fuel tank.
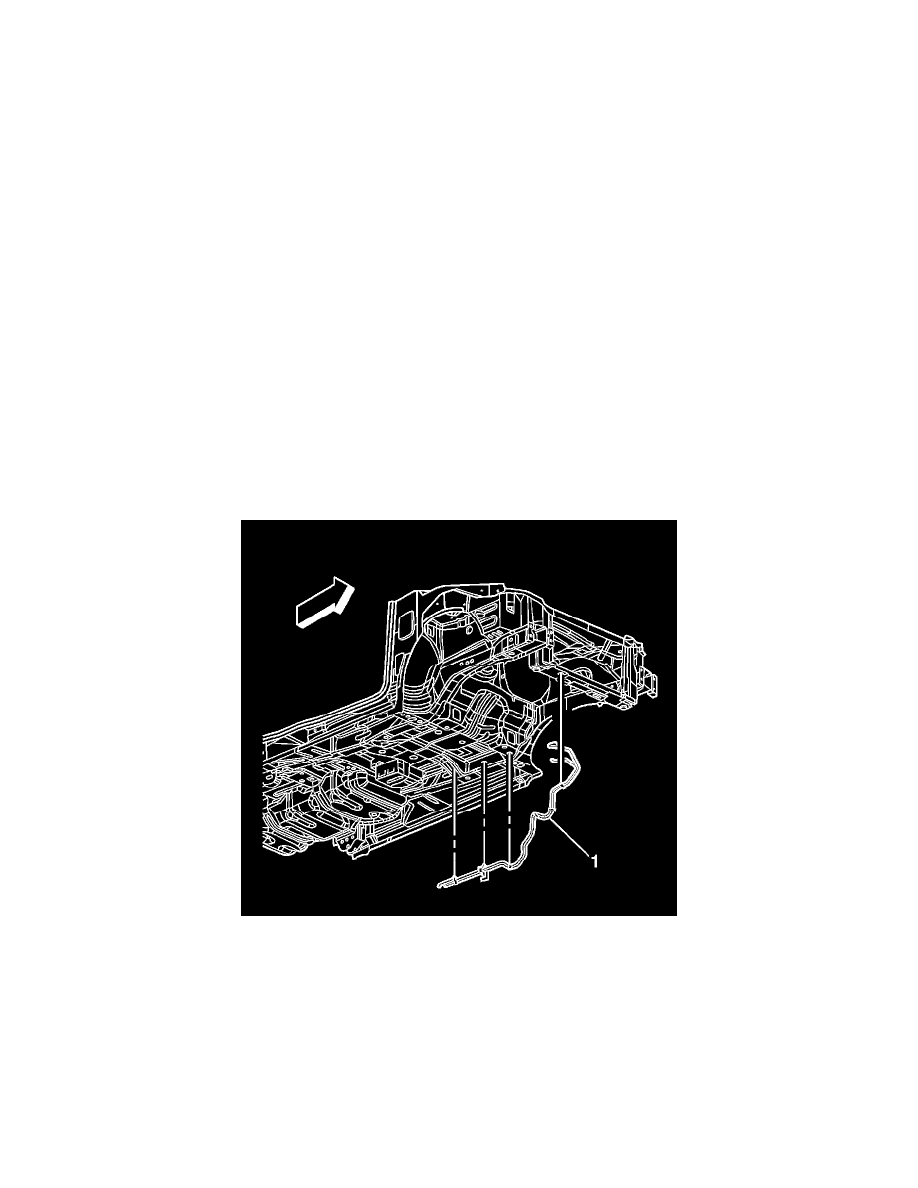
4. Note the position of the fuel and EVAP pipes and the attaching hardware for installation.
5. Remove the fuel and EVAP pipes (1).
6. Inspect the pipes for bends, kinks, and cracks.
7. Replace the pipe or pipes as required.
INSTALLATION PROCEDURE