
RELAY AWD V6-3.5L VIN L (2006)
Constant Velocity Joint: Service and Repair
Wheel Drive Shaft Outer Joint and Seal Replacement - Rear
Wheel Drive Shaft Outer Joint and Seal Replacement - Rear
Tools Required
^
J 35566 Drive Axle Seal Clamp Pliers
^
J 42572 Drive Shaft Seal Clamp Pliers
Disassembly Procedure
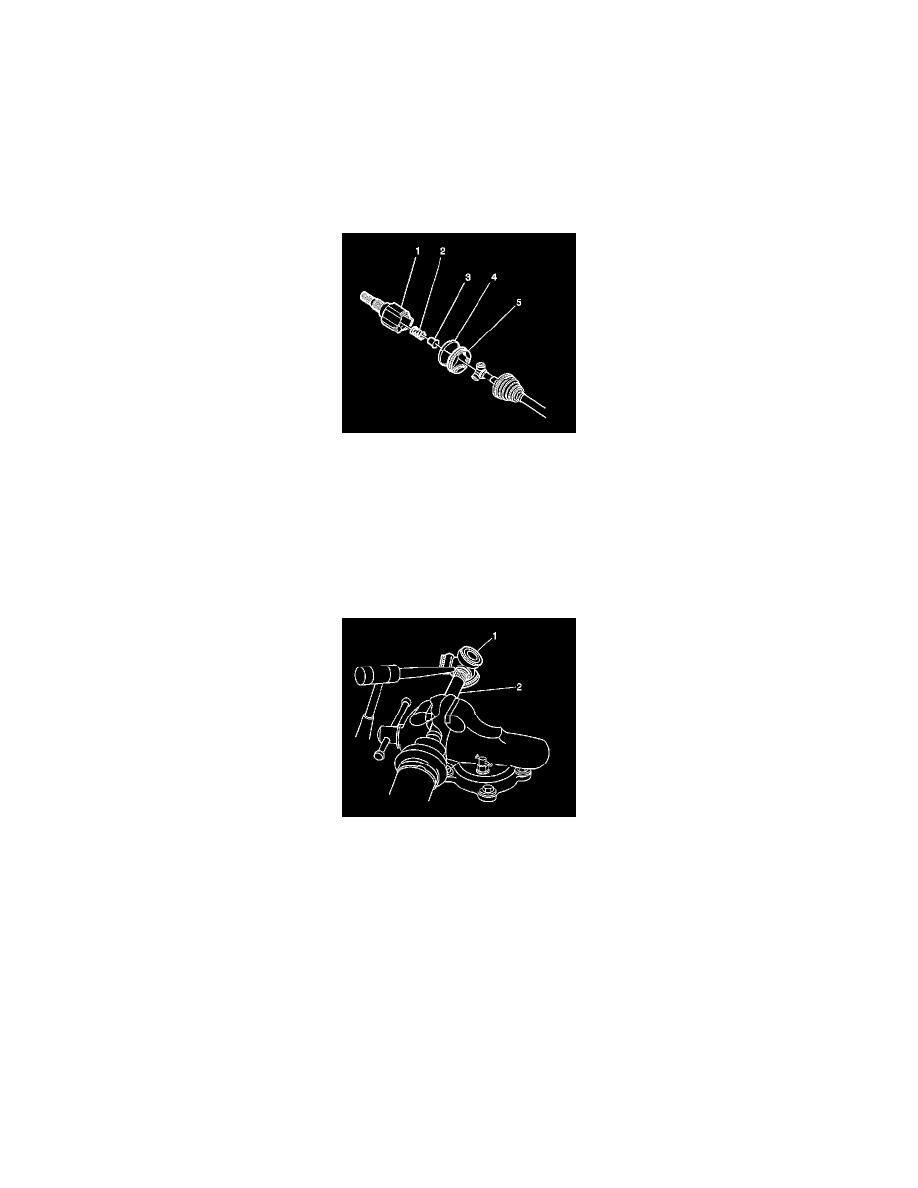
1. Remove the small seal clamp from the wheel drive shaft bar using side cutters and discard the clamp.
2. Important:
Do not cut into the wheel drive shaft trilobal tripot bushing.
Remove the large seal clamp (4) from the tripot joint with side cutters and discard the clamp.
3. Separate the wheel drive shaft outboard seal from the trilobal tripot bushing (5).
4. Slide the seal away from the joint along the wheel drive shaft bar.
5. Remove the housing from the tripot joint spider and the wheel drive shaft bar.
6. Important:
The correct 60 degree offset relationship between the inner and outer tripot spiders must be maintained. Accurately reference mark the tripot
spider position on the wheel drive shaft bar before disassembly.
Reference mark the position of the tripot spider (1) on the wheel drive shaft bar (2).
7. Using a brass drift and hammer, carefully tap around the tripot spider face in order to compress the barrel retaining ring on the wheel drive shaft
bar.
8. Remove the tripot spider from the wheel drive shaft bar (2).
9. Remove and discard the barrel retaining ring from the wheel drive shaft bar.
10. Remove the joint seal from the wheel drive shaft bar.
11. Inspect the following parts for damage or wear:
^
The wheel drive shaft outboard seal
^
The tripot joint spider assembly (1)
^
The housing
^
The trilobal tripot bushing
Assembly Procedure