
RELAY FWD V6-3.9L VIN 1 (2006)
Sliding Door Weatherstrip: Service and Repair
Weatherstrip Replacement - Sliding Door
Removal Procedure
Important: By removing the power sliding door (PSD) 15A fuse, the low current logic power for both the LH and RH power sliding door
modules (PSDM) will be interrupted and both PSDs will be inoperative.
1. If equipped with a power sliding door, disable the PSD system by removing the PSD 15A fuse from the instrument panel (I/P) fuse block.
2. Open the sliding rear door.
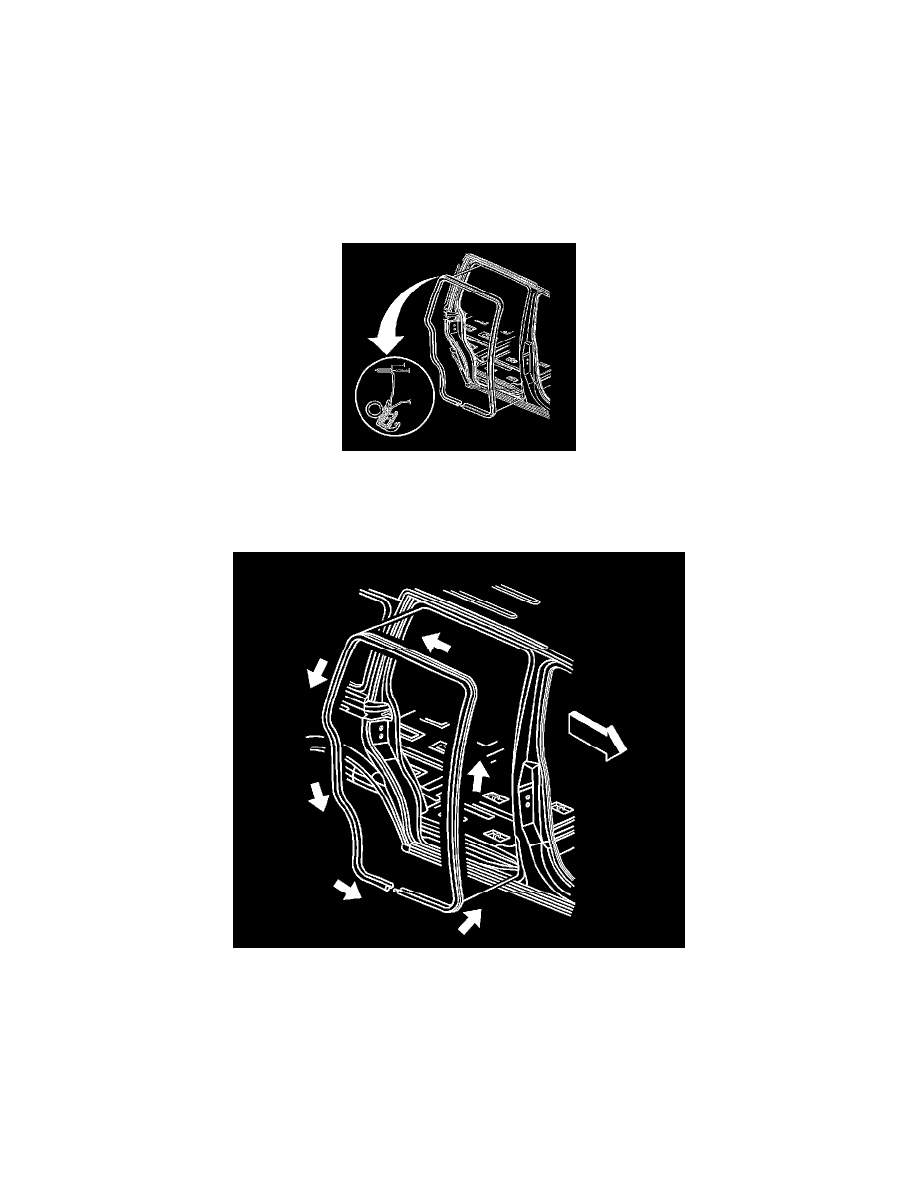
3. Remove the sliding door opening weatherstrip from the sliding door pinch-weld flange.
4. Clean all adhesive from the pinch-weld flange.
Installation Procedure
Important: A mastic/sealer/glue is inside of the new sliding door opening weatherstrip. If you are using a new sliding door opening
weatherstrip, DO NOT use weatherstrip adhesive.
If you are using the old sliding door weatherstrip, use weatherstrip adhesive.
1. Install the sliding door opening weatherstrip to the sliding door pinchweld flange.
2. Align the locator dot to the upper front corner and upper rear corners of the sliding door pinch-weld flange:
*
The pink dot indicates a long wheel base.
*
The yellow dot indicates a short wheel base.