
SC1 L4-1.9L SOHC VIN 8 (1997)
6. Remove I/P upper trim pad sound insulator.
Starter Relay Installation
7. Remove black tape from around starter relay and lift starter relay upwards toward windshield.
8. Disconnect starter relay electrical connectors and remove relay.
INSTALLATION
1. Connect starter relay electrical connectors.
2. Lower starter relay onto harness.
3. Tape starter relay to harness.
Starter Relay Installation
4. Install I/P upper trim pad sound insulator.
IMPORTANT
^
Make sure to tuck in all flaps.
^
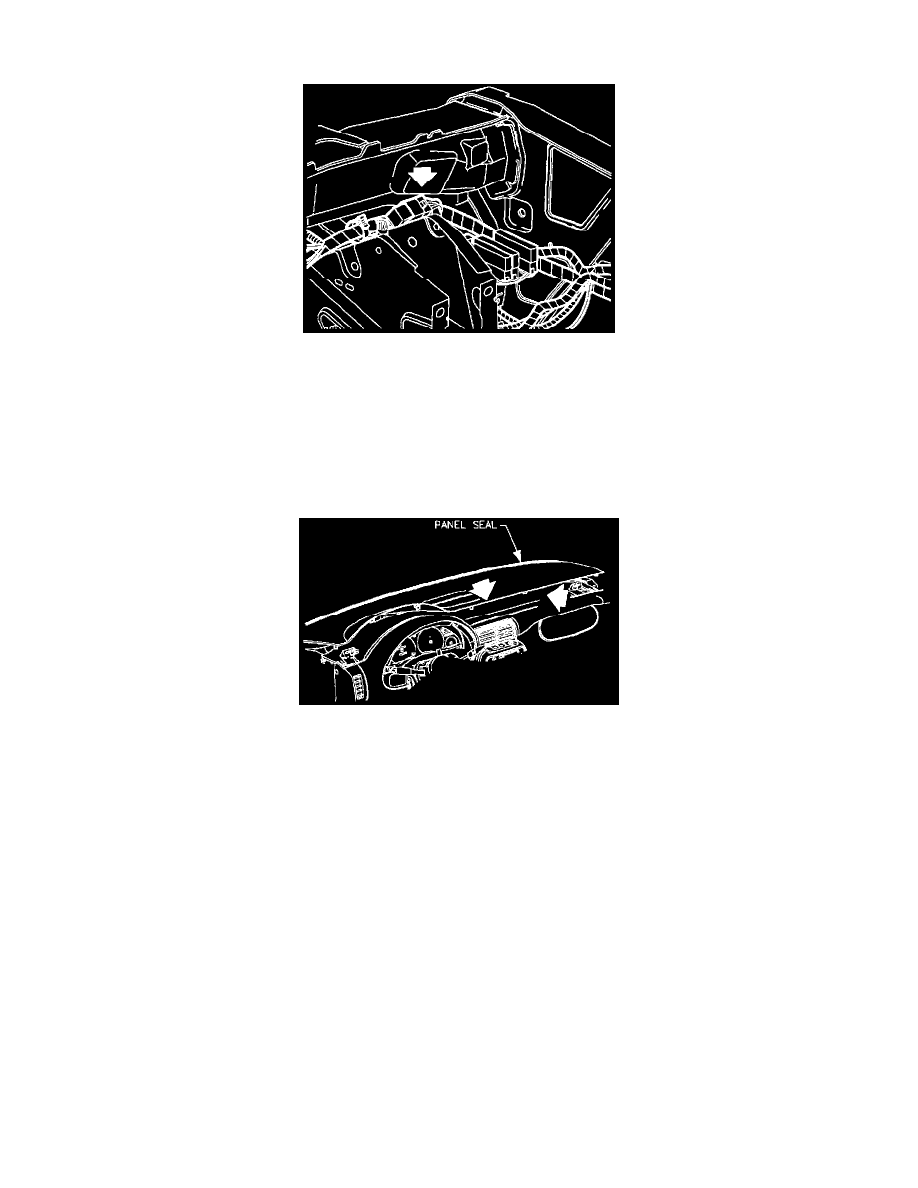
Be sure I/P upper trim panel seal is correctly seated on forward edge before installing upper trim panel (SL/SW only).
5. Install I/P upper trim panel into clips at base of windshield.
IMPORTANT: Be careful, when removing or replacing upper trim panel, not to damage VIN plate.
6. Lower I/P upper trim panel, making sure I/P upper trim panel alignment tabs interlock with windshield garnish slots (SL/SW only).
7. Push down at clip locations to secure.