
Sky L4-2.0L Turbo (2008)
1. Open the hood.
2. Remove the windshield wiper arms and blades. Refer to Windshield Wiper Arm Replacement (See: Wiper and Washer Systems/Wiper
Arm/Service and Repair) .
3. Remove the air inlet grille. Refer to Air Inlet Grille Panel Replacement (SKY) (See: Body and Frame/Cowl/Cowl Moulding / Trim/Service and
Repair)Air Inlet Grille Panel Replacement (Solstice) (See: Body and Frame/Cowl/Cowl Moulding / Trim/Service and Repair) .
4. Remove the interior windshield pillar garnish moldings. Refer to Windshield Pillar Garnish Molding Replacement (See: Body and Frame/Interior
Moulding / Trim/Trim Panel/Service and Repair) .
5. Remove the upper garnish molding. Refer to Windshield Upper Garnish Molding Replacement (See: Body and Frame/Interior Moulding /
Trim/Trim Panel/Service and Repair) .
6. Remove the rearview mirror. Refer to Inside Rearview Mirror Replacement (See: Body and Frame/Mirrors/Service and Repair/Inside Rearview
Mirror Replacement) .
Caution: Refer to Defroster Outlet Caution (See: Heating and Air Conditioning/Service Precautions/Technician Safety Information) .
7. Cover the following parts to protect from broken glass:
*
Upper dash pad
*
Defroster outlets and A/C outlets
*
Seats and carpeting
Caution: Refer to Glass and Sheet Metal Handling Caution (See: Body and Frame/Service Precautions/Technician Safety Information/Glass and
Sheet Metal Handling Caution) .
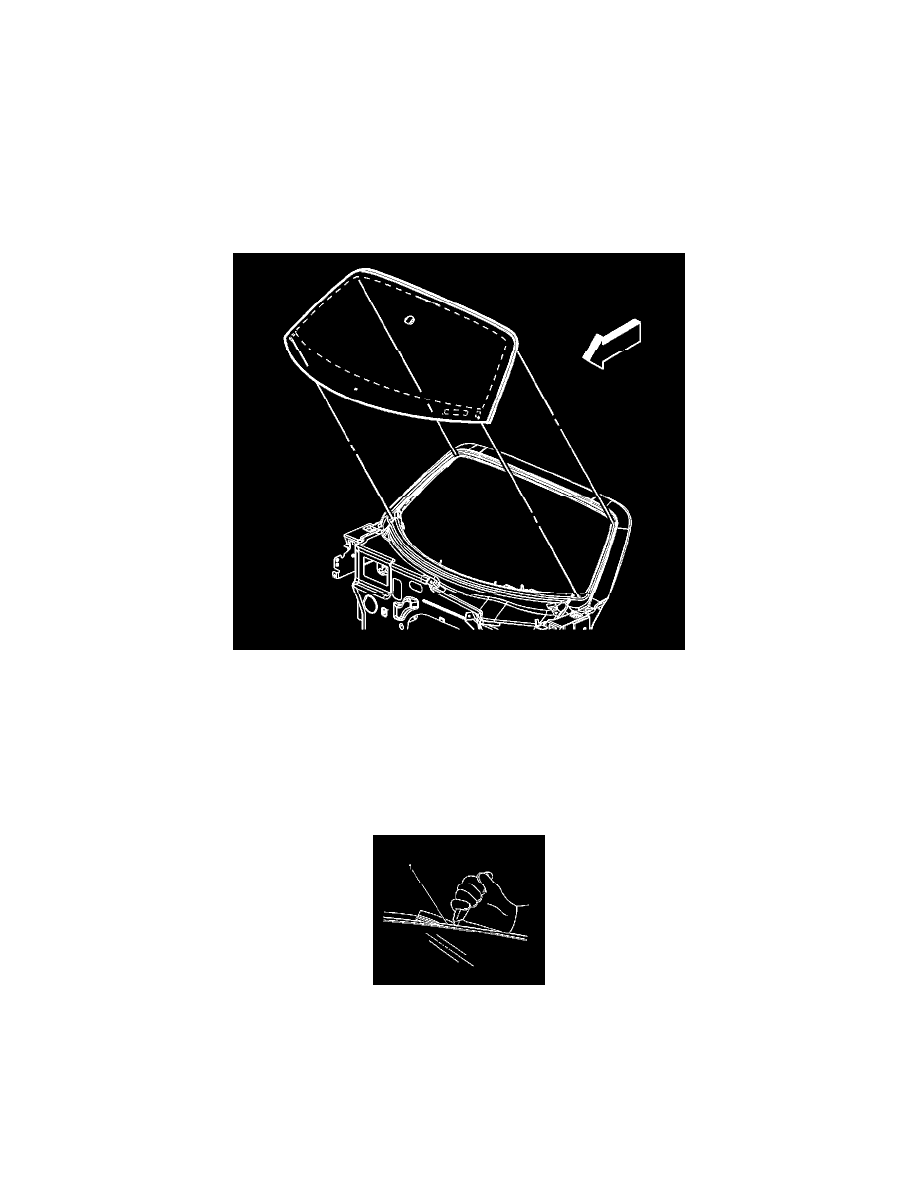
8. Using a utility knife, carefully cut the exposed reveal molding from the sides and the top edge of the windshield to access the urethane adhesive
bead.